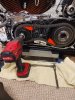
View attachment 139520
Working from memory (in my case perilous territory). I’m sure to have missed a point or two but you’ll figure it out if no one corrects
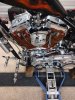
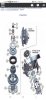
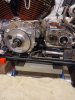
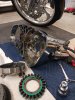
1. Remove #11
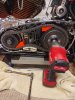
2. Remove #12 Get the little stair step locker and secure the primary chain—loosen the crankshaft bolt while you’re at it—a quality impact wrench is useful here.
3. Loosen #23 (left-hand thread) With both crank and clutch hub nuts loosened, remove the primary chain adjuster.
4. Remove the four #18 bolts
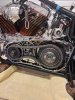
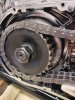
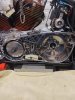
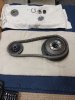
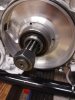
5. you should be able then to take off the crank and clutch bolts and remove the clutch, crank drive pulley and the chain all at once
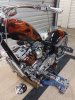
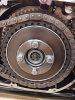
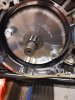
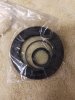
6. you’ll find two threaded holes in the rotor housing—find two bolts (I use stove bolts) and then pull (fight) the rotor magnet-do NOT strIke or drop the rotor
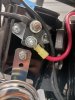
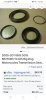
7. Treat the small stator bolts gently during re-assembly.
8. When re-installing the wiring thru the primary housing, use a high quality RTV and cure for a day or two.


 166.8 KB Views: 0
 166.8 KB Views: 0
 80.6 KB Views: 0