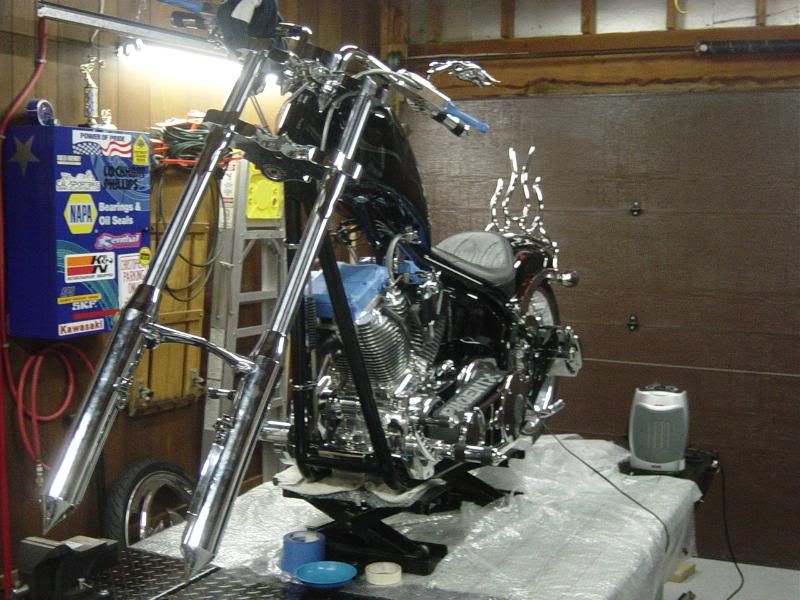
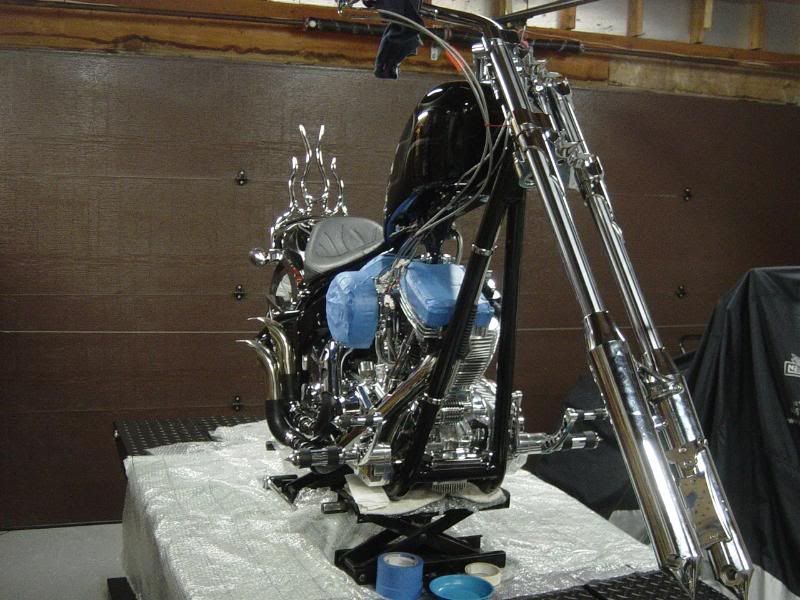
The Rebirth of the Phoenix

Cutter

Well-Known Member
Yeah I knew what AL had... But Al ran a different brand coil mount.

Either way I'm happy with the way it turned out.
I got the same 1 too :rolleyes: , now I might have to make a flame mount instead... not that anyone will be looking at my scoot if I am parked next to Al or Gas...:here:

will post some pics if anyone else (outside MI :D) is interested.
 

Gas Man

Cool isn't cheap
Calendar Participant
Lee, we definately will be video taping the start up... Biker Build off... well I think as far as time goes... I'll have about 30 days of work on it. Granted alot of those days were short, only being a few hours.

Cutter... make a thread on it...
 

Gas Man

Cool isn't cheap
Calendar Participant
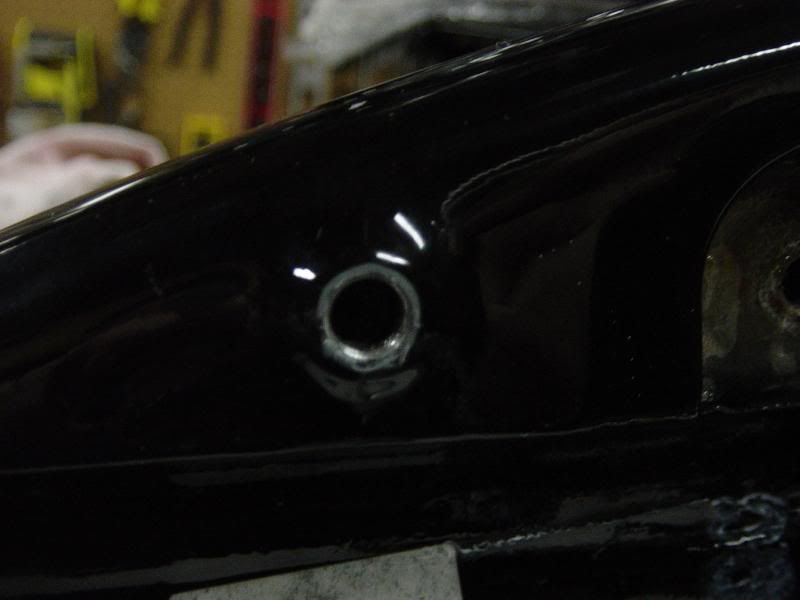
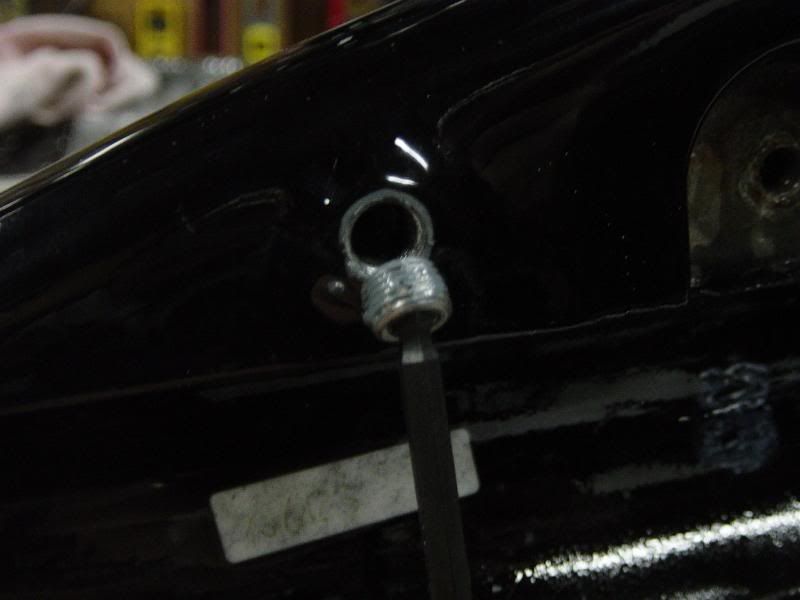
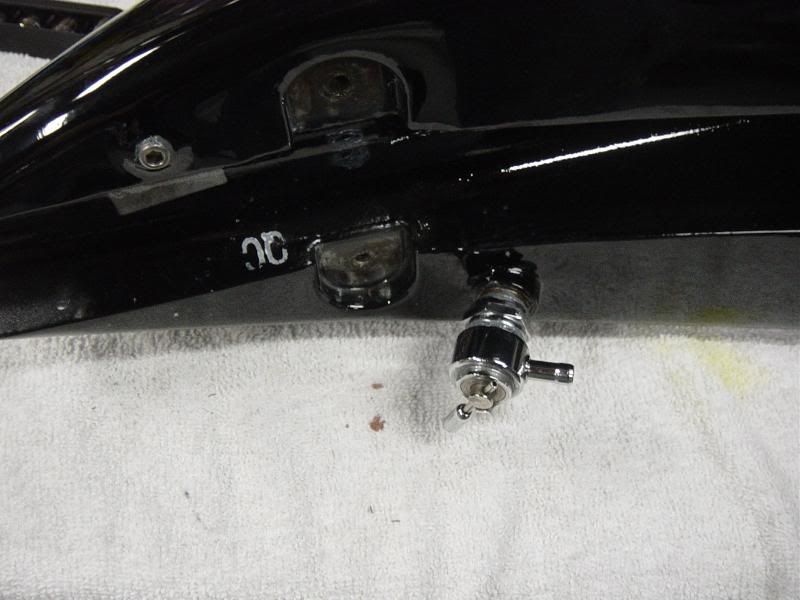
Well I flushed out the gas tank with some gas. Then installed the plugs and fittings.

The non-used vent hole


Dope and plug


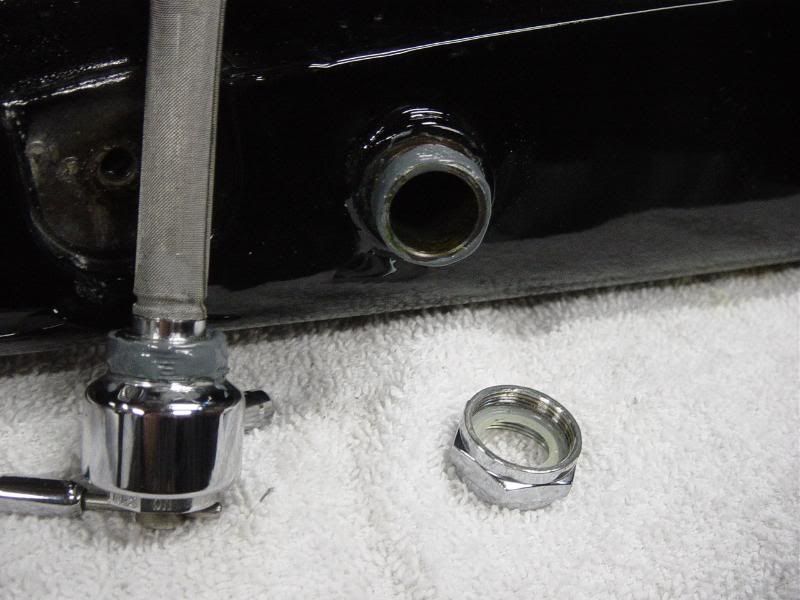
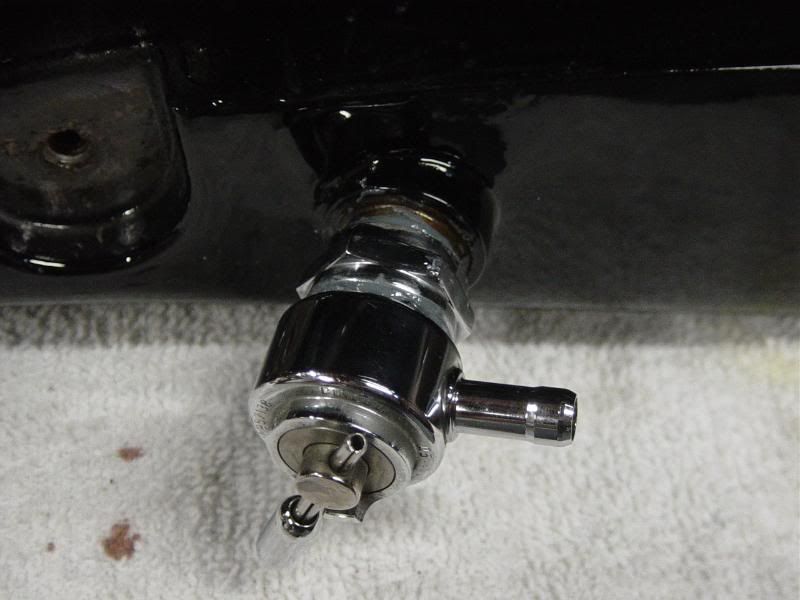
Dope nipple, install coupler and petcock. Understand that one side of the coupler is right handed threads for the tank nipple, the other side is left handed threads as well as the petcock.


BAM


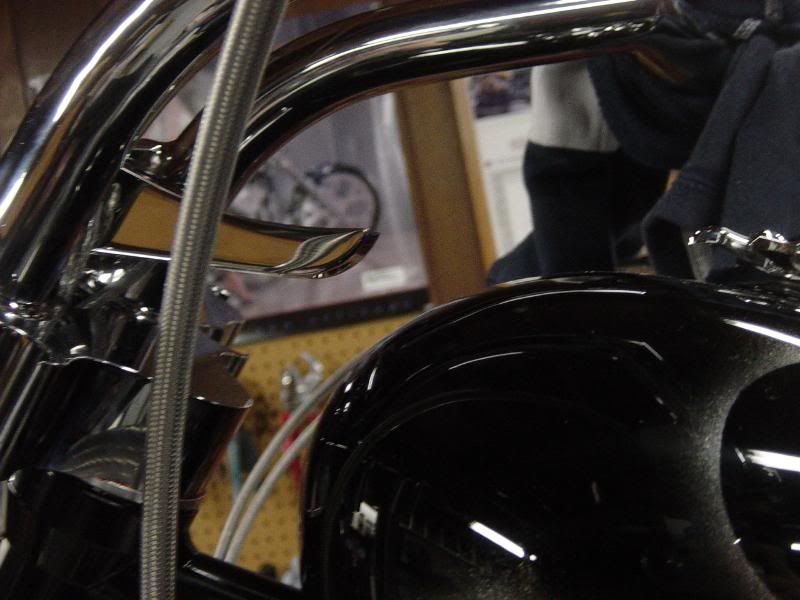
Put the gas tank back on the bike for safe keeping. And checked clearance for the speedo stem. WAY more than before!


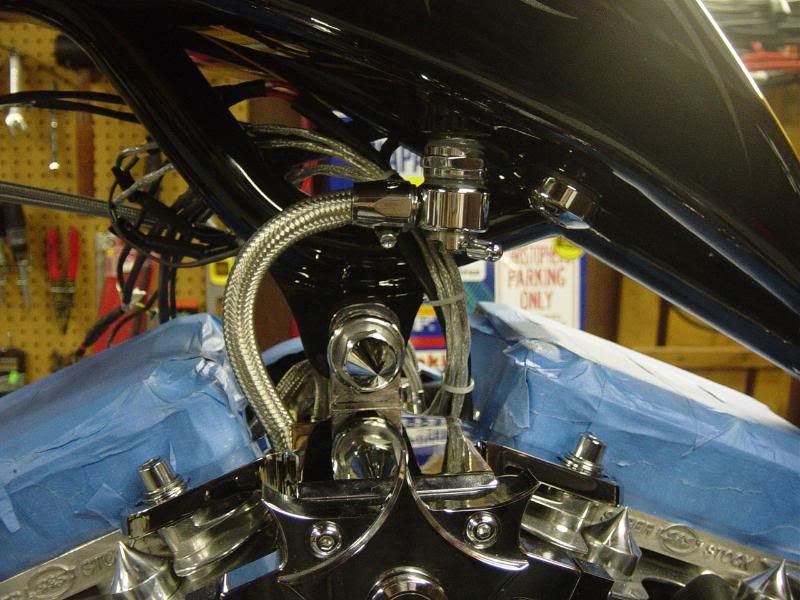
Also hooked up the gas line which will have to come off later to finish up wiring for the headlight and speedo/tach.


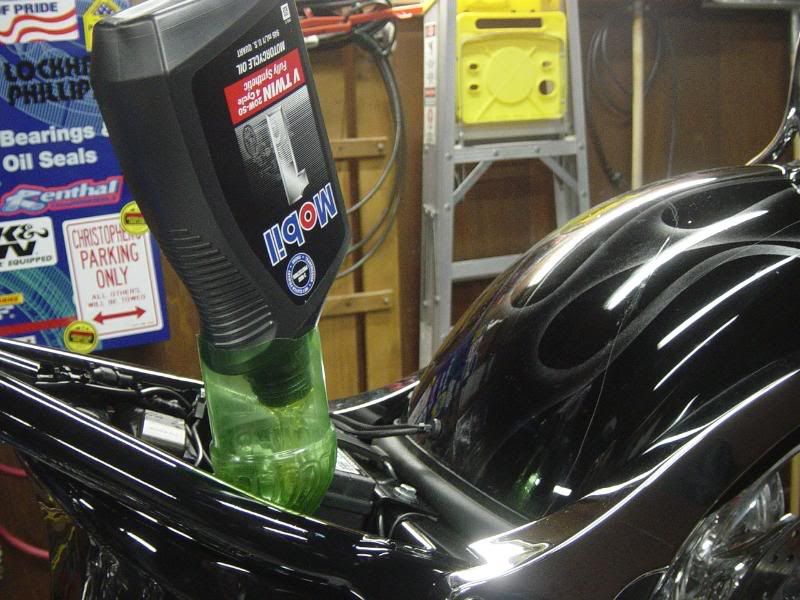
Then to get the bike ready to start... lets change/add oils.

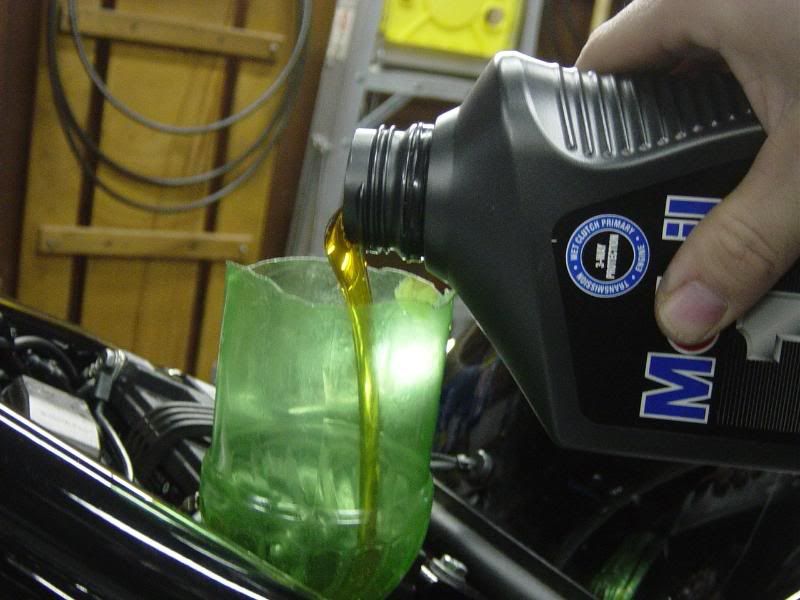
In goes some Mobil 1 motor oil


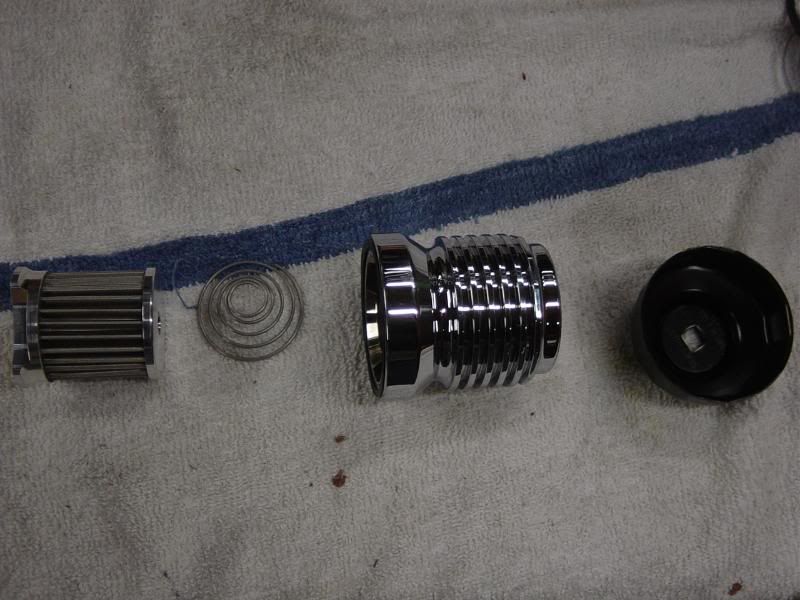
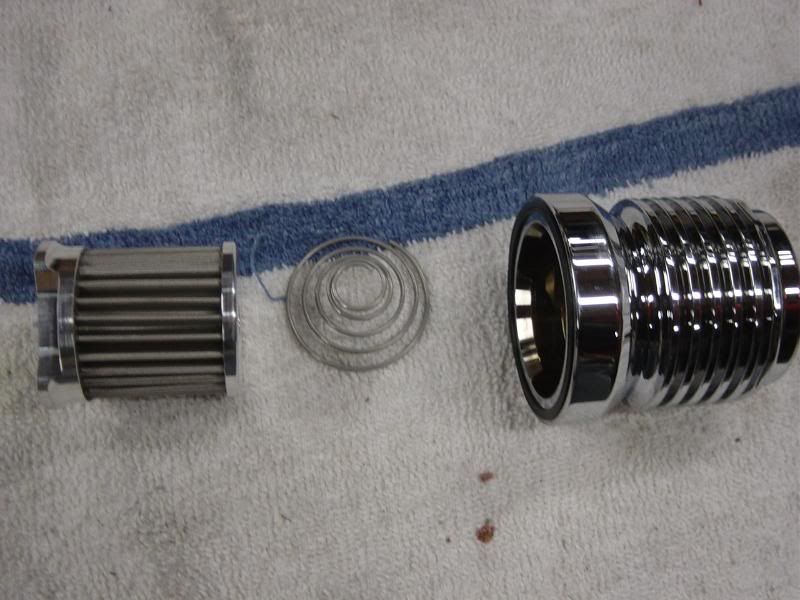
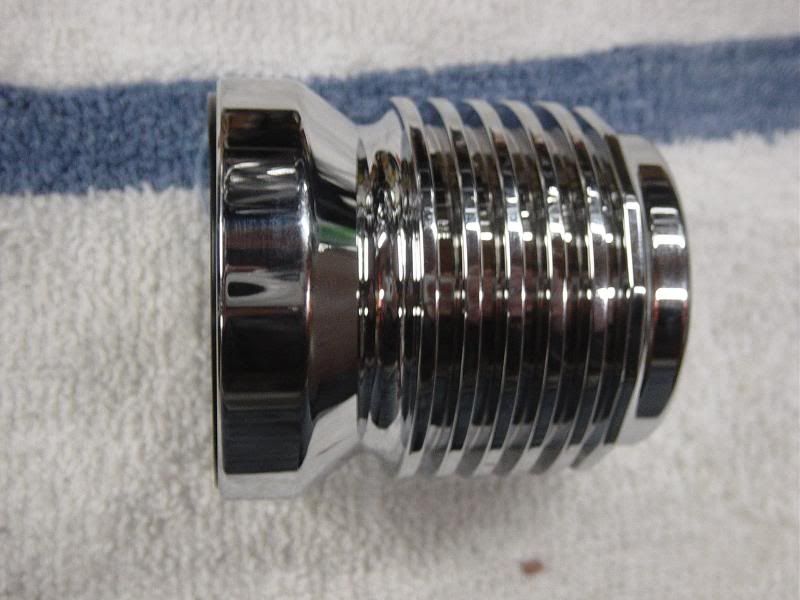
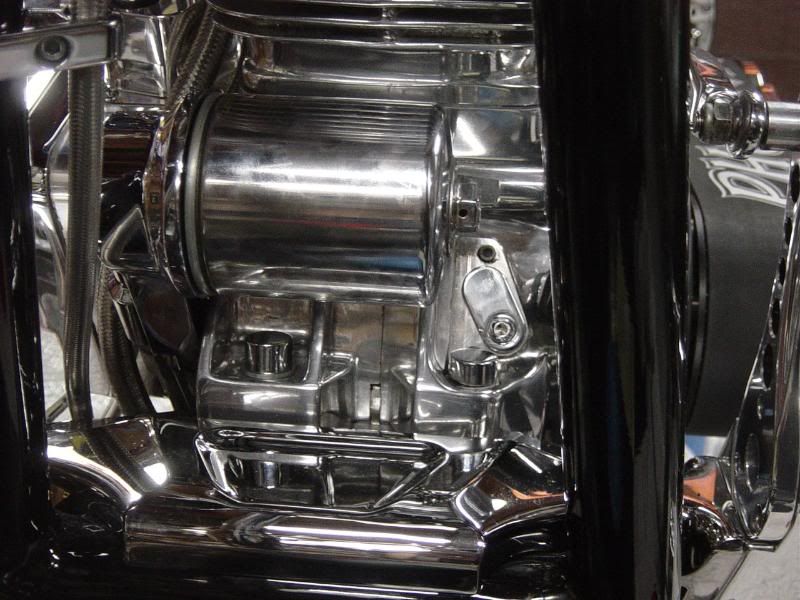
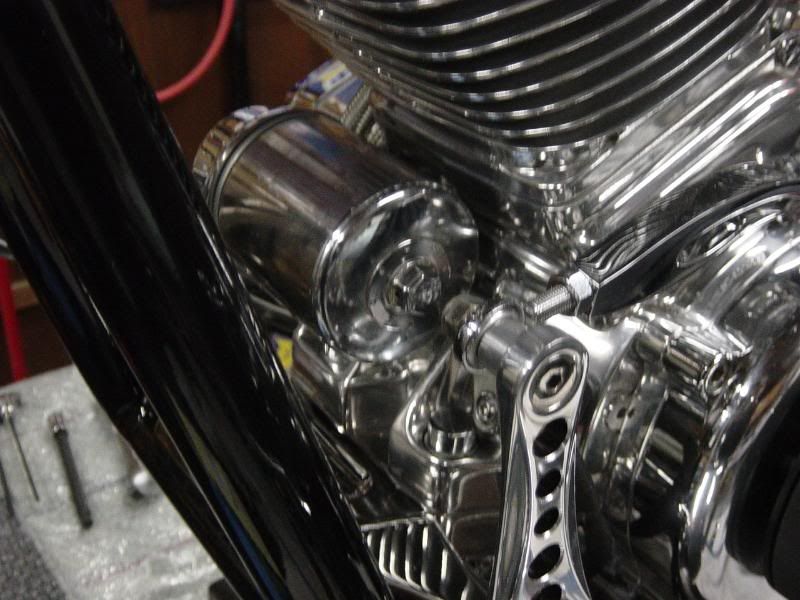
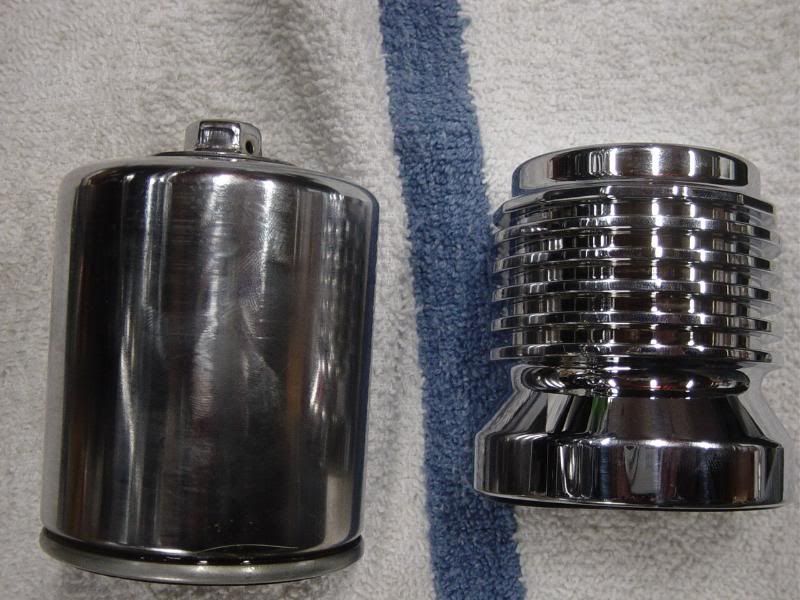
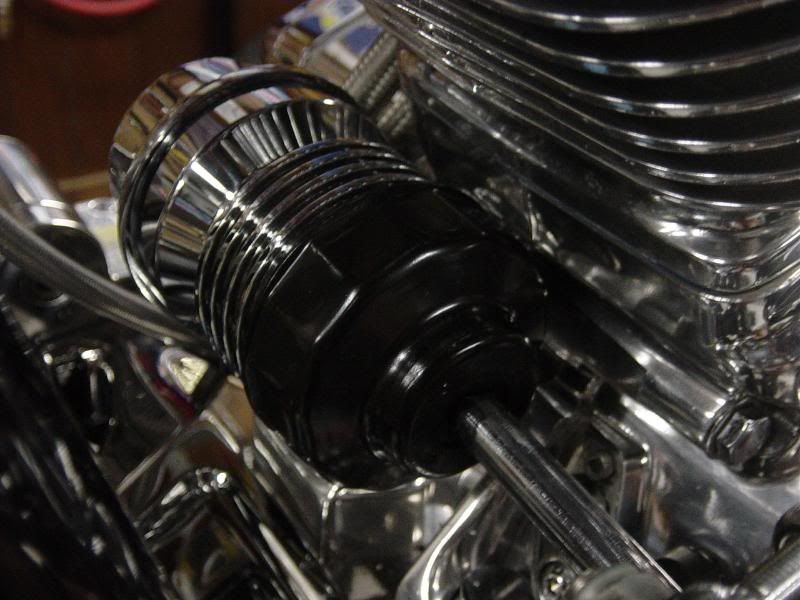
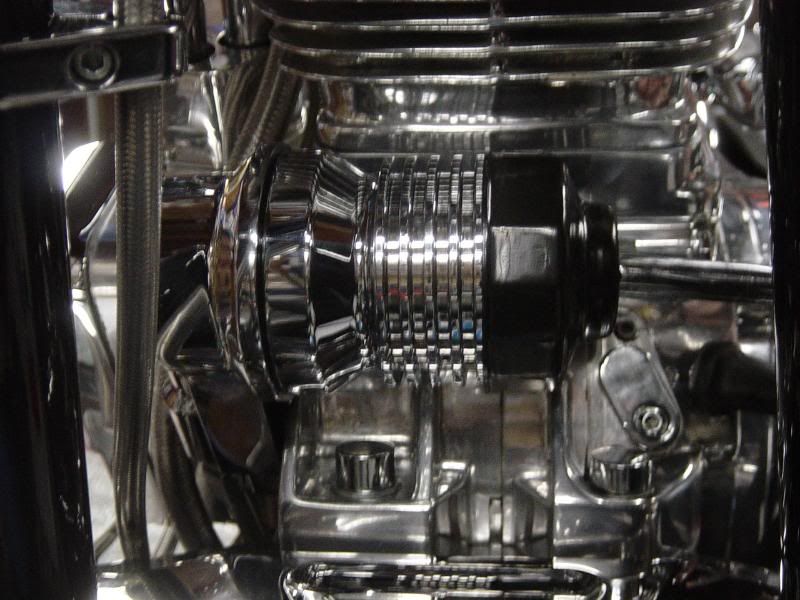
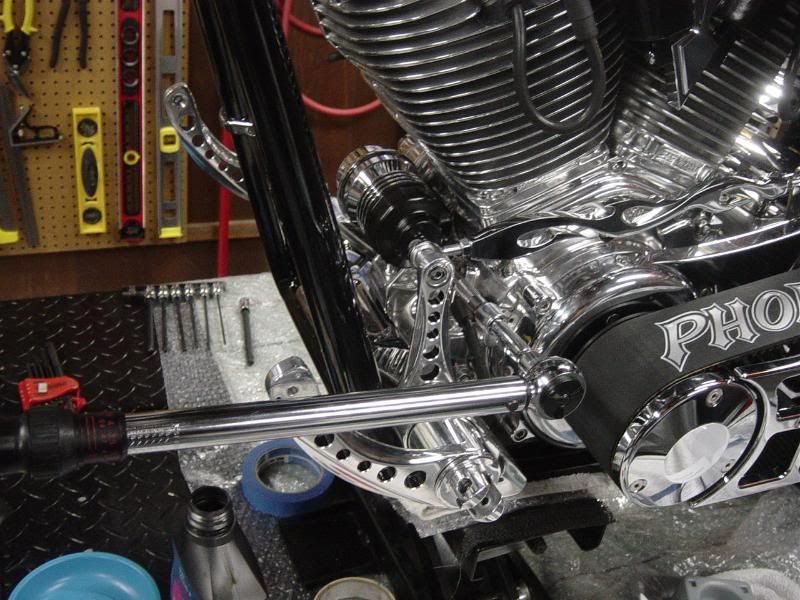
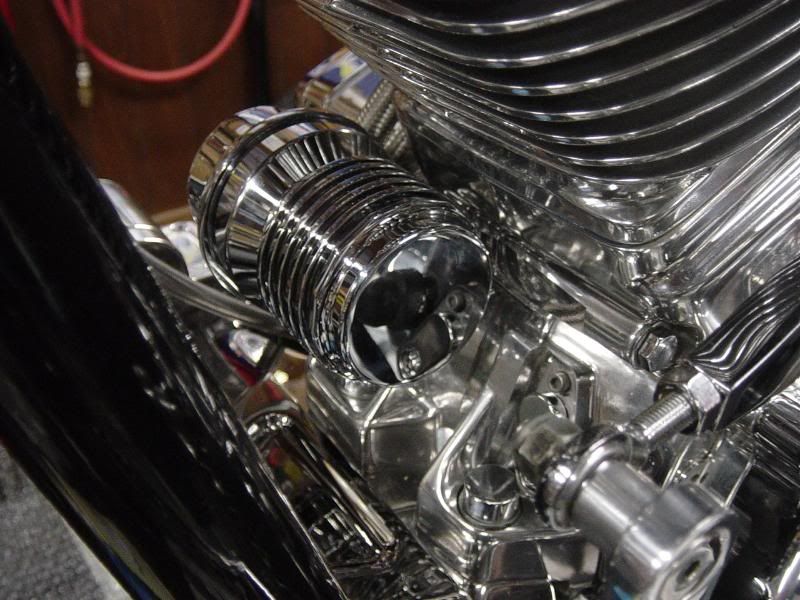
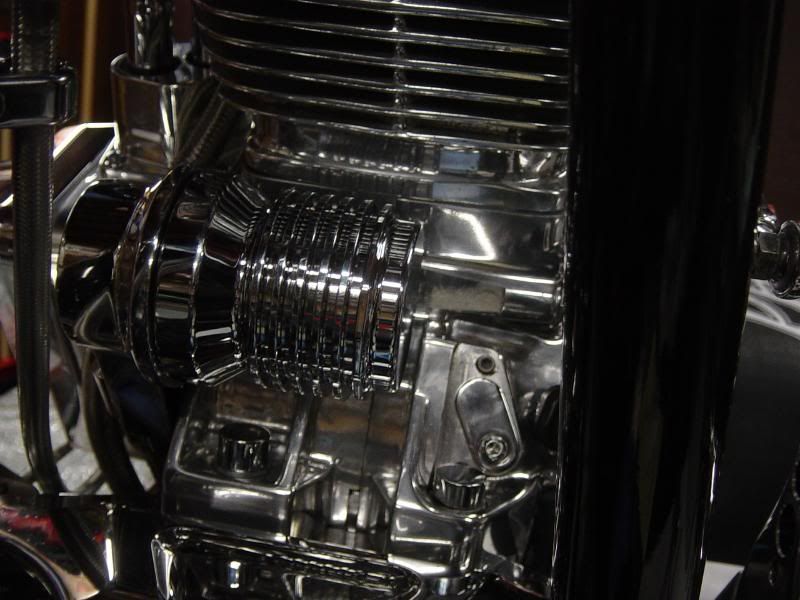
Assemble the sweet chrome K&P oil filter


The old K&N oil filter... YUK


never thought much of the oil filters till you do this..


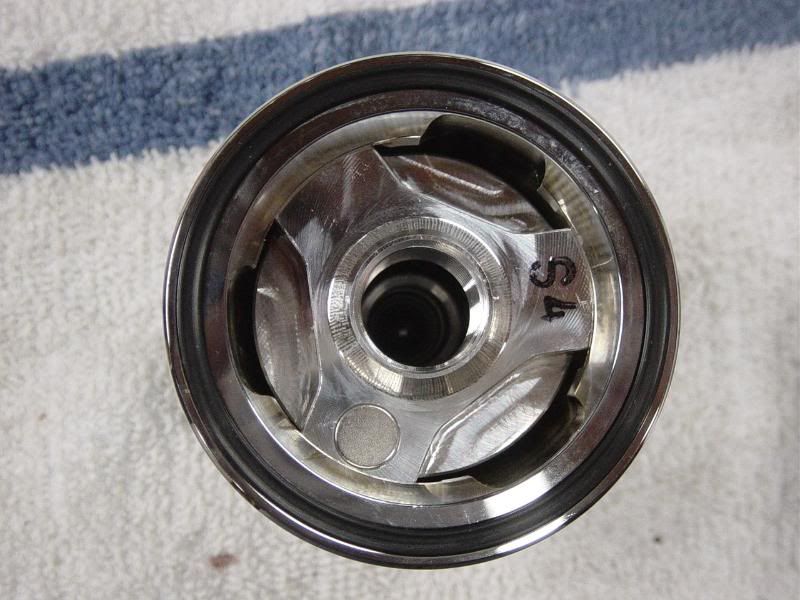
Wet the oring and install


Torque to 22ft lbs


I never thought a oil filter could look soooo good!


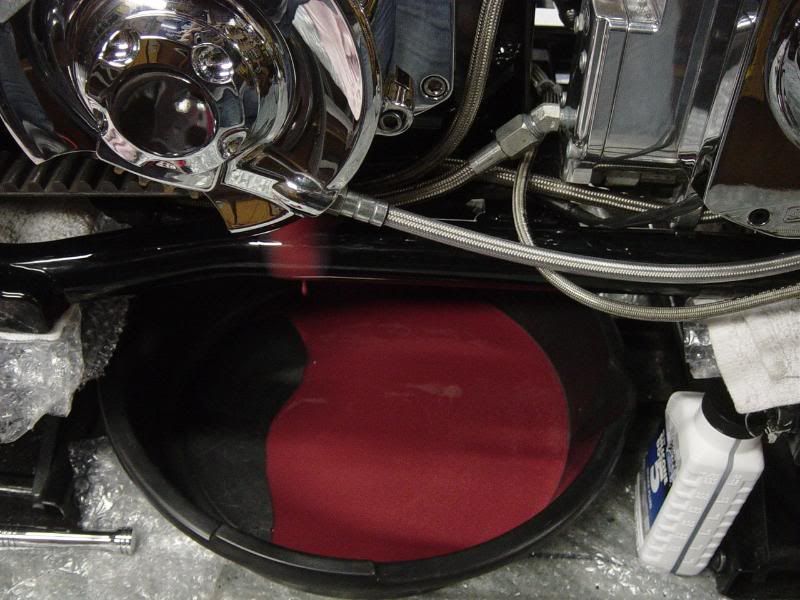
Drain the tranny oil


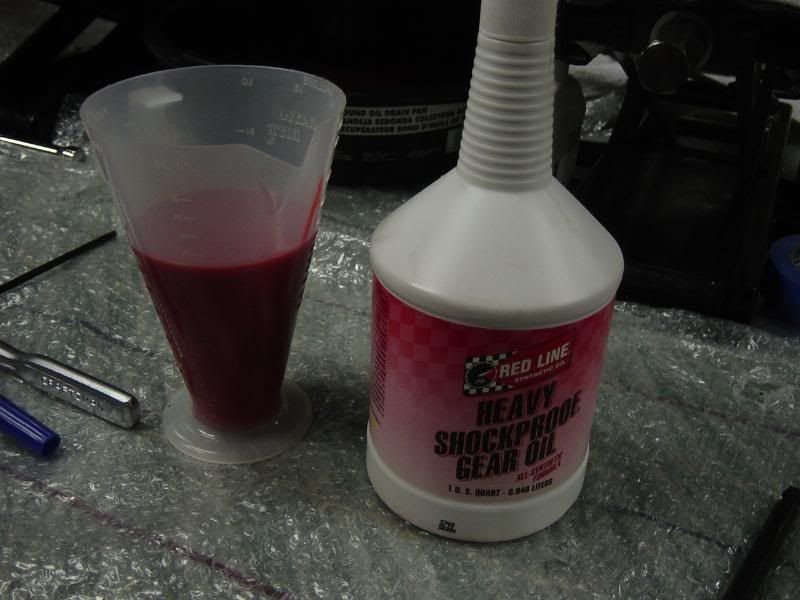
Refill with this 10oz..TWICE for 20oz


After cleaning up... only about an hour and half... but that's all I had time for...

Still need to bleed the rear brakes this week... while I wait on my front hub to return. And then I need to prime the oil pump, add gas, and start. But don't want to start till I get the front wheel together... don't want to chance it vibratig off the jacks..
 

LamboV12

Active Member
"Dope nipple, install coupler and petcock."

Did I hear dope and nipples? - Never mind :)

Chris, as always, killer job. I may be right behind you on the belt. Really interested in how much whine that belt puts out compared to Baker. So get off the couch and get that thing done, will ya? The suspense is killing me.
:)
 

Gas Man

Cool isn't cheap
Calendar Participant
Man.. you might gets done first.... I'm no shop, doing it in little spare time and taking my time. For example... I don't want to start it till I get the front wheel on. Afraid it could shake itself off a jack and go boom!
 

LamboV12

Active Member
LOL - We'll my bike is still down so going to Daytona in the morning in the cager - Airbrush guy showed up with my side covers while I was at the shop = most excellent work. The guy working on it is over annal - I'm having a hidden kill switch installed - so he comes out from the parts room with a switch, looks at it and says "Hey, this says Made in Mexico" so because of that he won't install it - no cheap shit and no short cuts. I shit you not. Had to send a kid to the marine store down the road to get a switch made in USA.
The good news is that I know everything will be tight and right. Robby Knievel was there - he and the owner, Eric, shot film for America's Most Wanted - Will air this Saturday - I'll be drunk in Daytona so can't watch.

As always, I bow down to your patience, skills and perseverance. Stay on a roll and let's hear that bad boy fire up -
:)
 

BubbleHead

Big Dog Biker test account
Chris, when you gonna put some chrome on that beast? :) actually your gonna blind people with that weapon!!!!
BBD
 

Gas Man

Cool isn't cheap
Calendar Participant
OK... due to the show coming up in a week n half.... I may take a stab at this....

Man... I'm going over what needs to be done...

bleed brakes
prime oil pump
mount exhaust
add gas
mount speedo
mount headlight (old mount till new one is done)
button up wiring (will have to re-do later)
button up the front wheel/fender stuff and front brakes (waiting on wheel hub)
start and clean.

I guess I could run the POS headlight mount sense I wouldn't be driving it. Cause the new one WILL NOT be done before then.

But may have to scrap the whole "starting party" idea...
 

Gas Man

Cool isn't cheap
Calendar Participant
Well got a few hours in the garage today....

Finally figured out the rear brakes. I originally posted on page 7 about rebuilding. ( I have sense corrected so I don't give the wrong info)

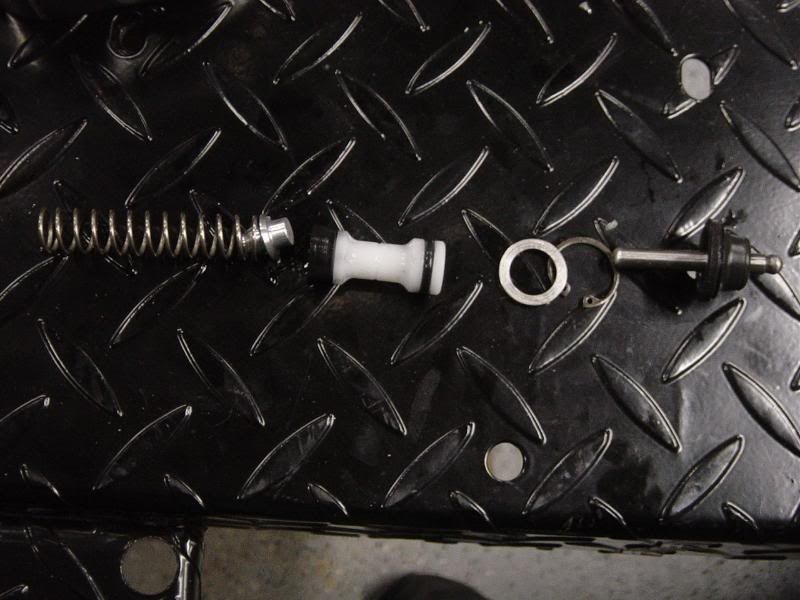
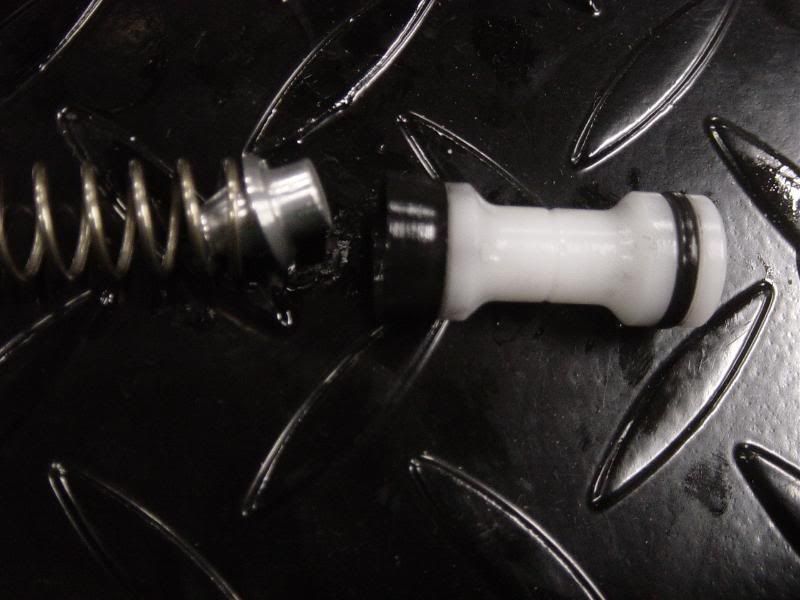
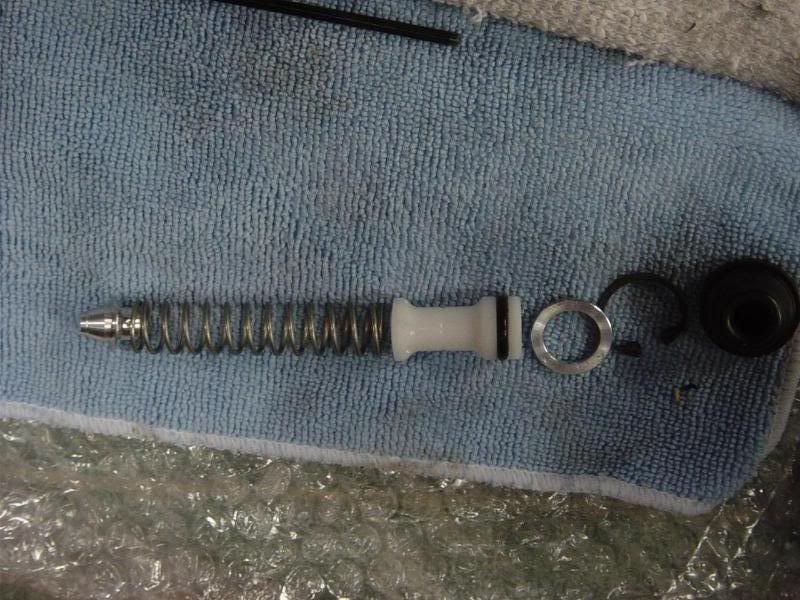
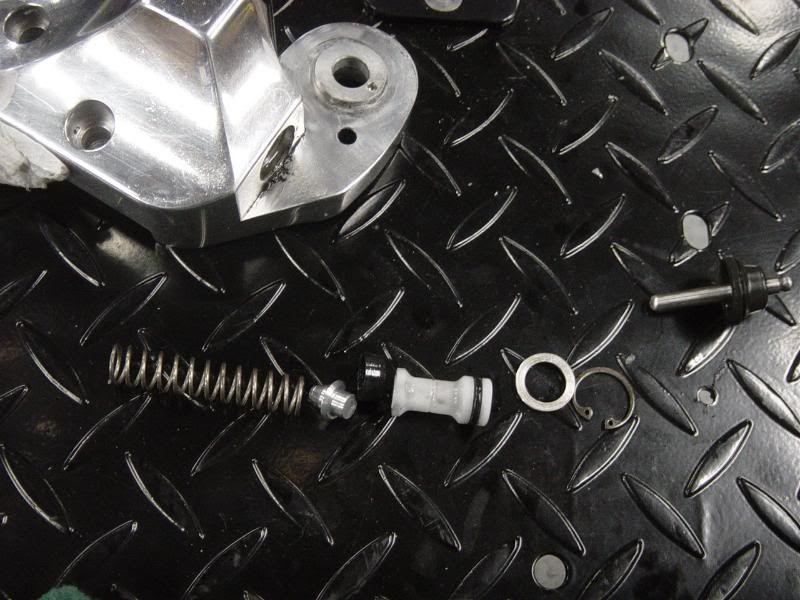
The rebuild kit came with everything to do both front & rear. Further neither of the BDM directions in the kit or the service manual have a layout of how it all goes together. So I was using my used ebay one that I took apart as a model. That is where I got this layout...


However, after pulling apart my old wasted from the concrete rear master cylinder. The one I knew worked.
Guess what I found... the ebay one was fucked up, in the wrong order and missing a rubber cup.

So here's how its suppose to be...


With it like that, it actually pumped brake fluid... who would have thunk!!

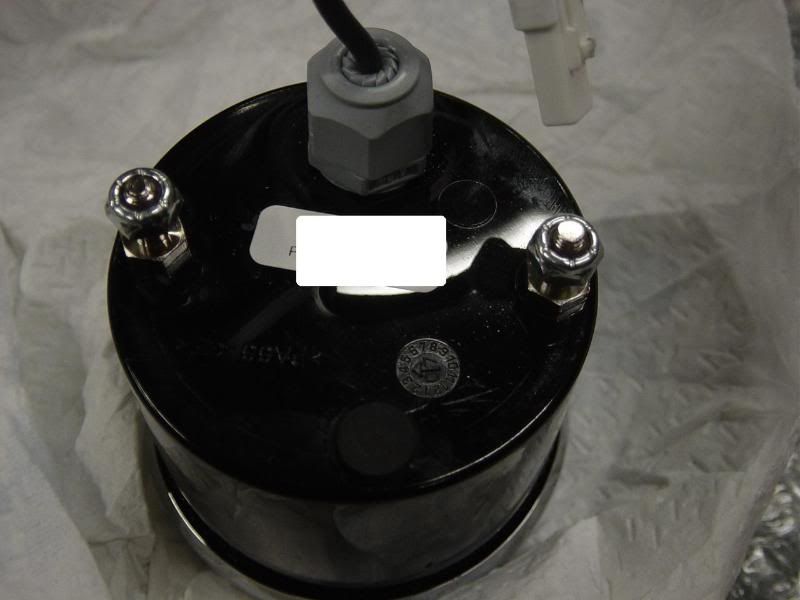
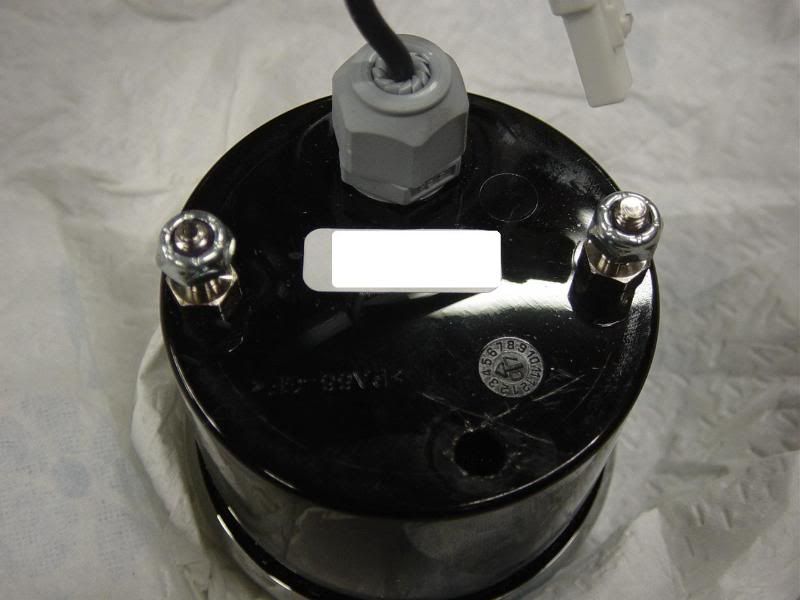
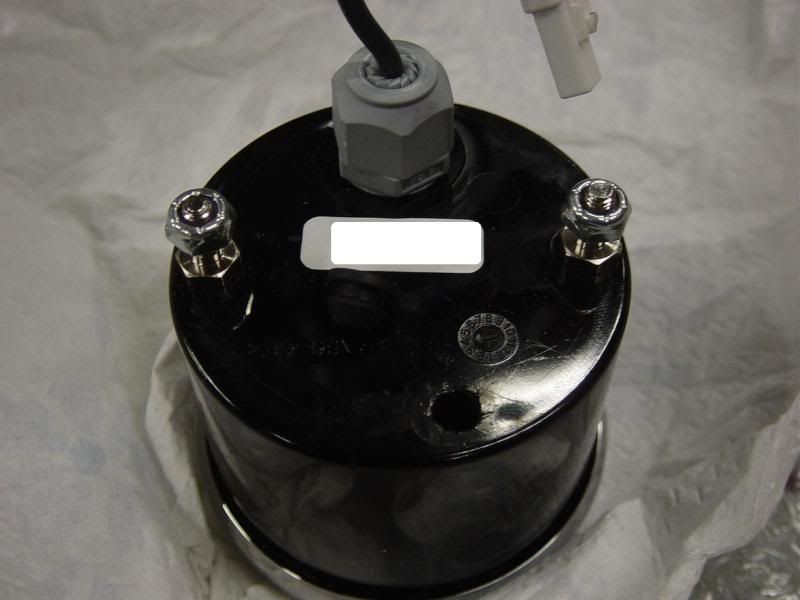
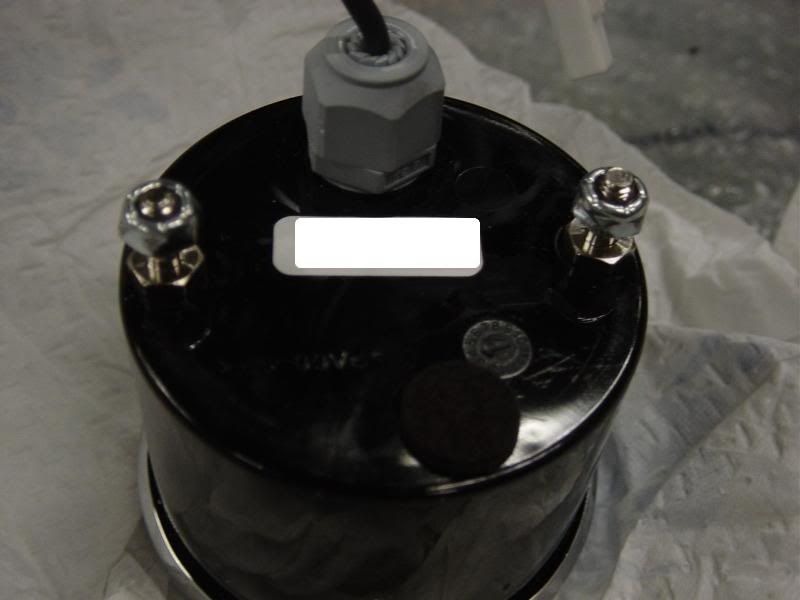
Then I worked on the speedo. BDM is having the programming plug removed to help with fogging.


Remove the plug


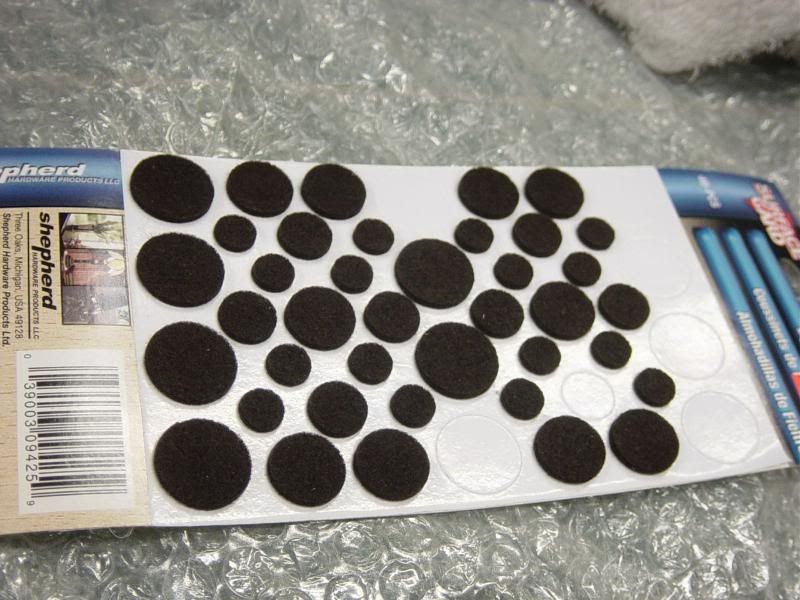
This is a temperary fix till BDM gets gortex replacements out. But I figured a felt sticky might help a bit till I get the gortex replacement. Simple fix.


Will mount next time I take the gas tank off.

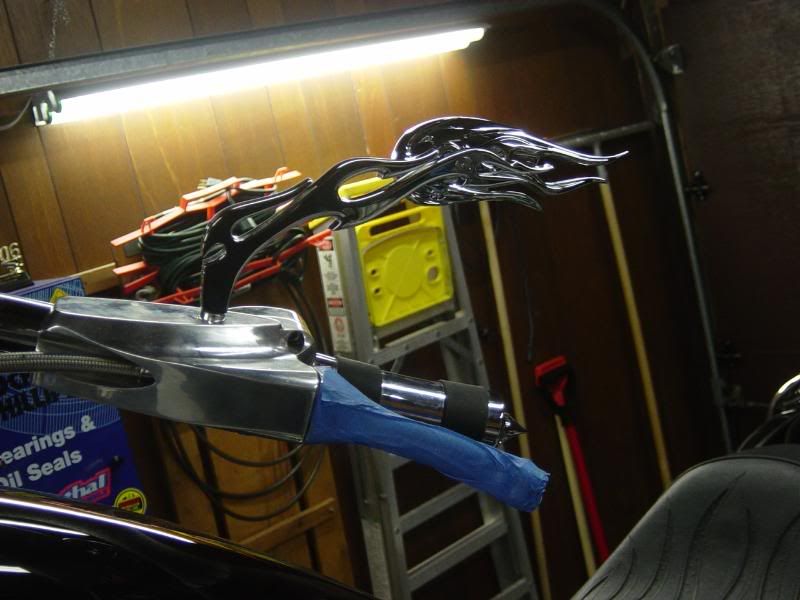
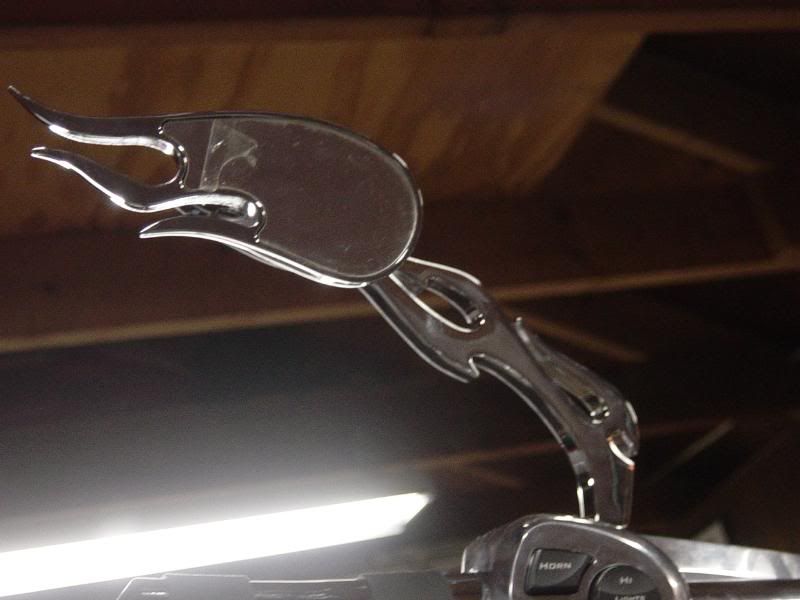
Then I mounted the mirrors...


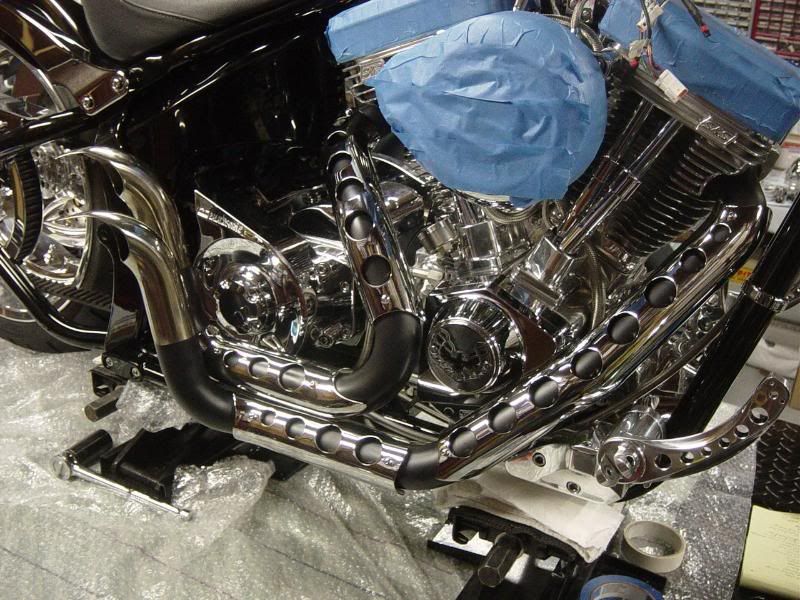
Now lets get to some good stuff... custom exhaust!!!

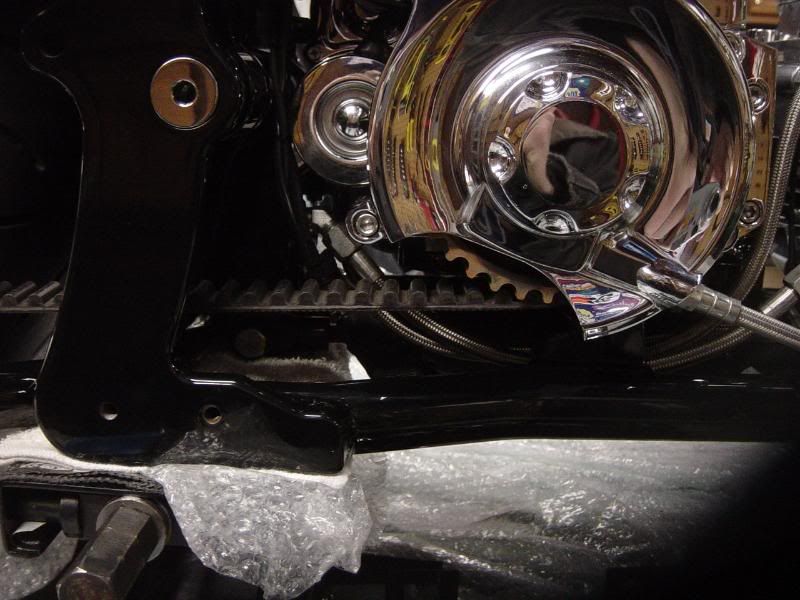
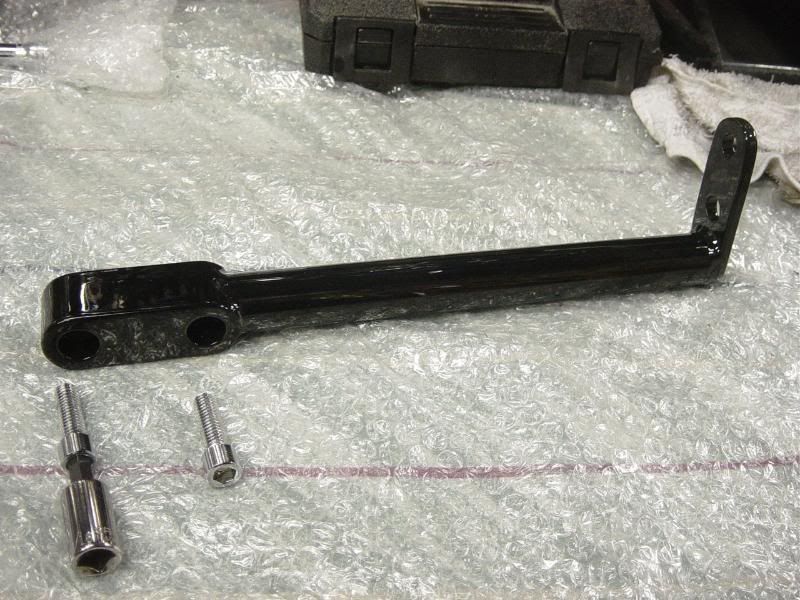
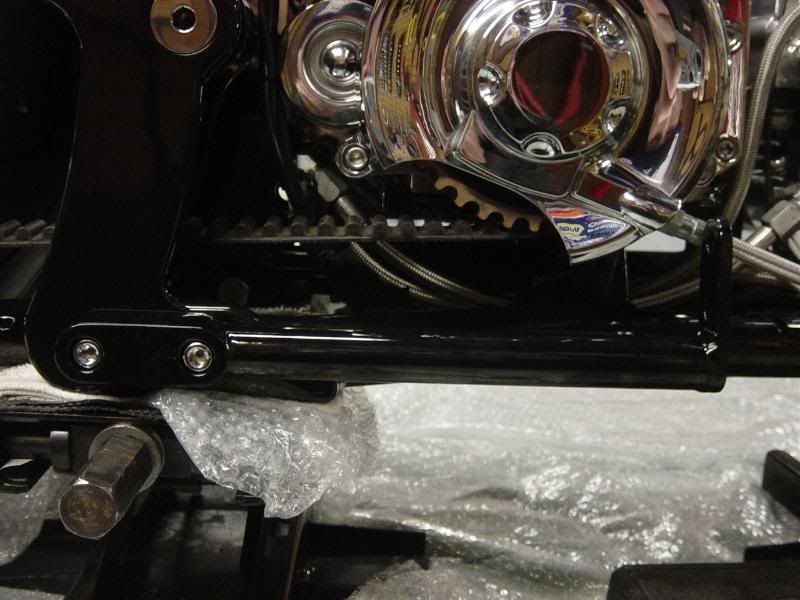
Install the exhaust mount


I love how well the mount blends in with the bike and you will barely see it once its done.

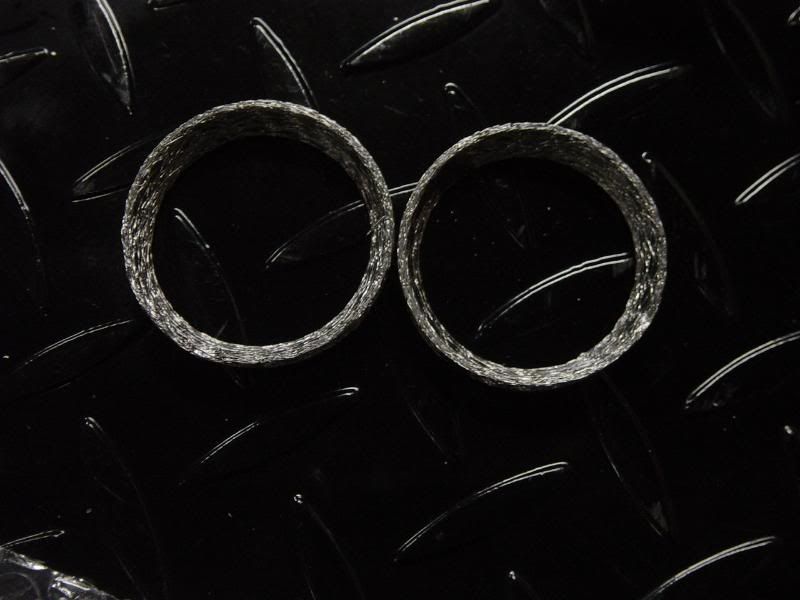
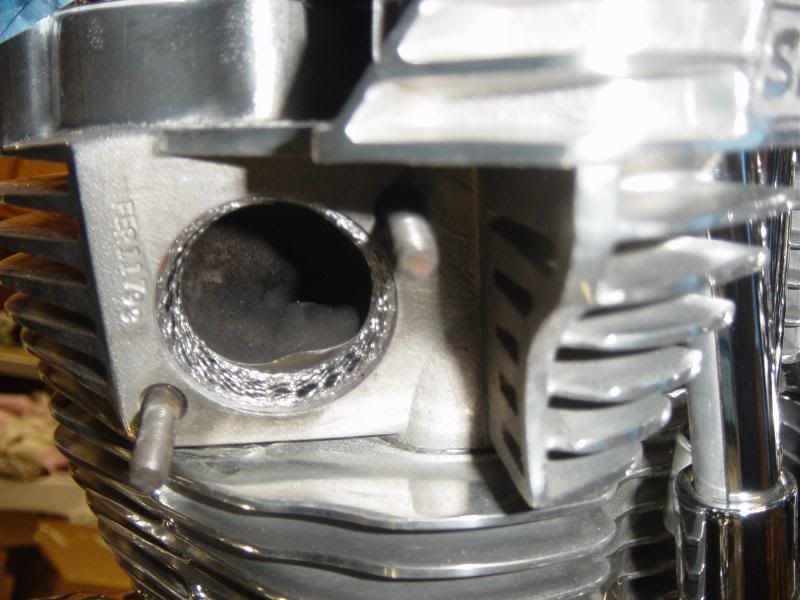
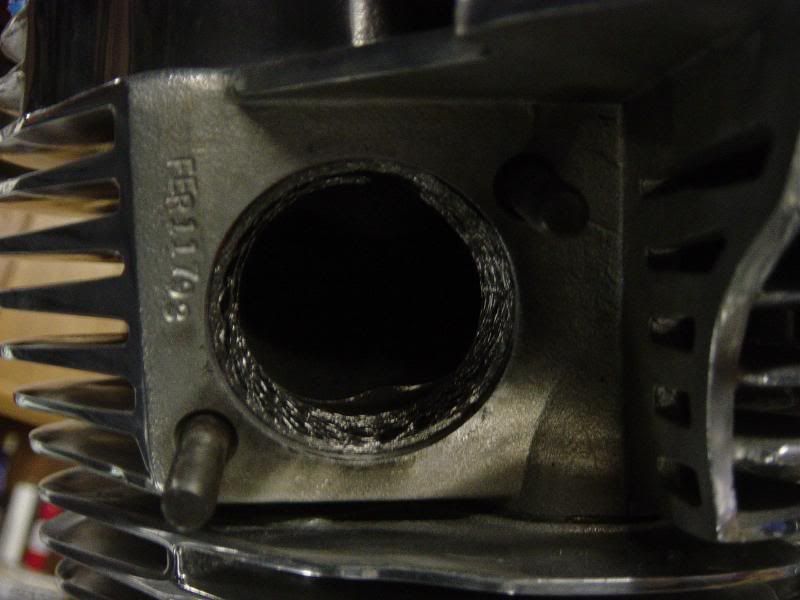
2 new exhaust gaskets


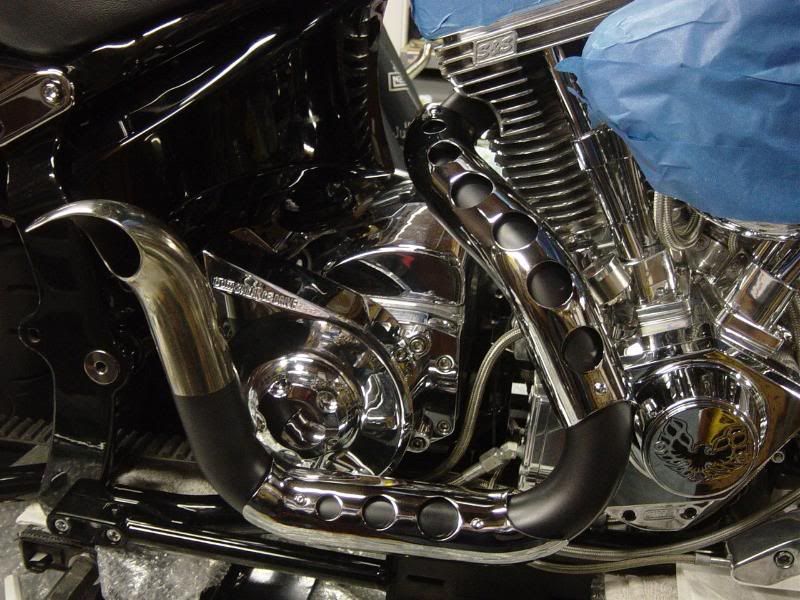
With my pipes you have to mount the rear first. Do this by loosely bolting at the head and the lower mount. Then torque at the head per BDM instructions. ((20in lbs at the bottom, 70in lbs top, 70in lbs bottom))


Then install the front... oh boy...


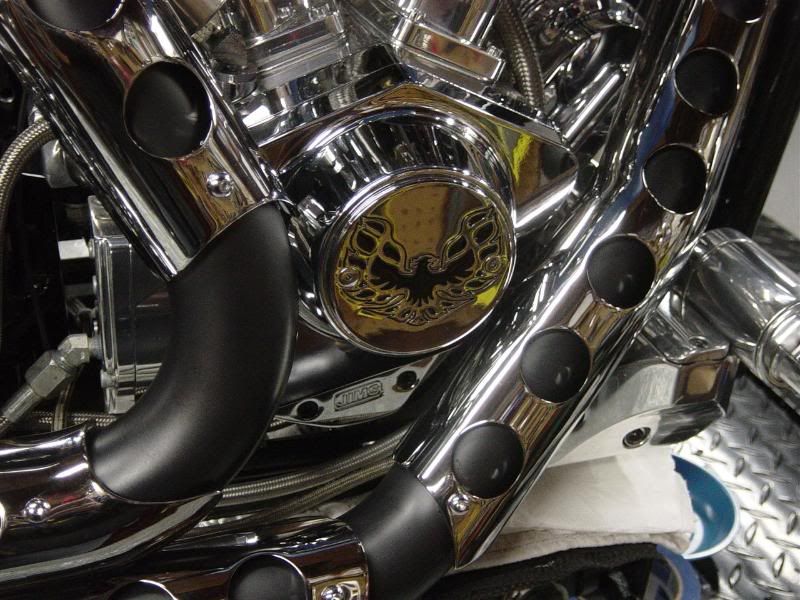
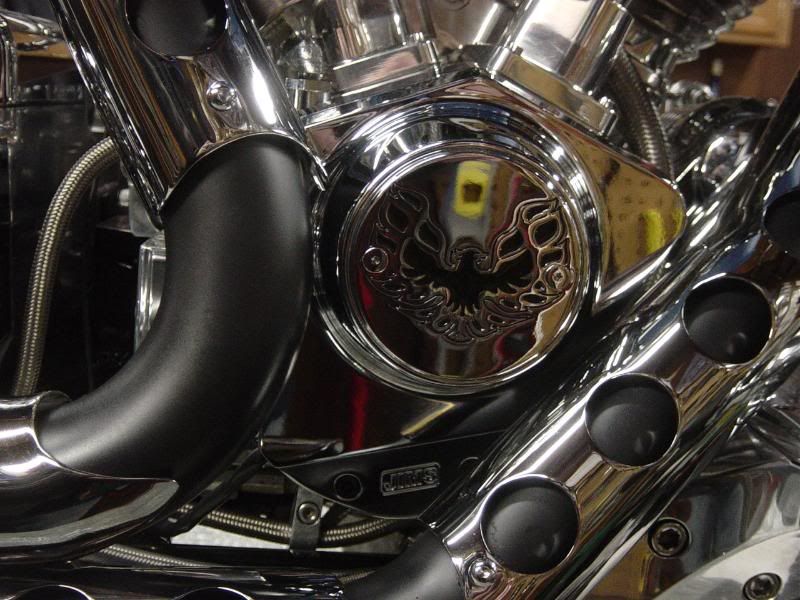
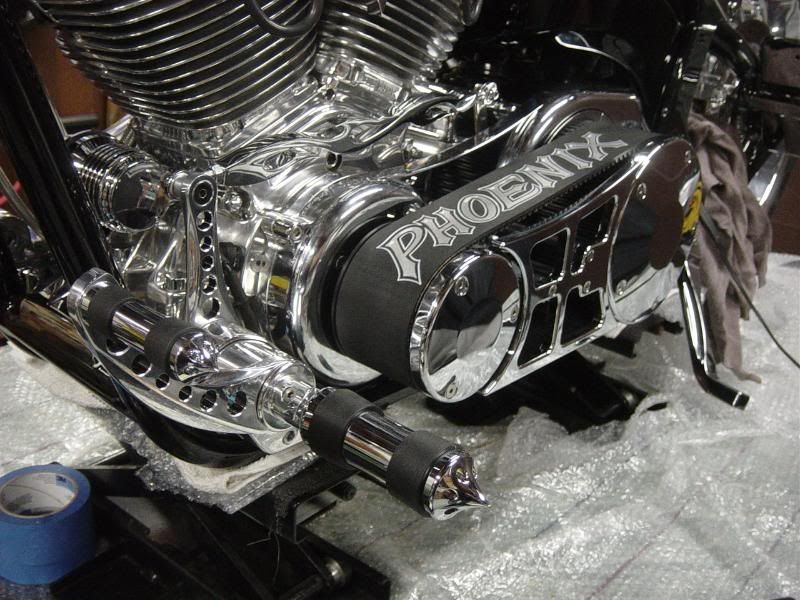
Here's a shot of the Phoenix covered cam cover with the exhaust installed


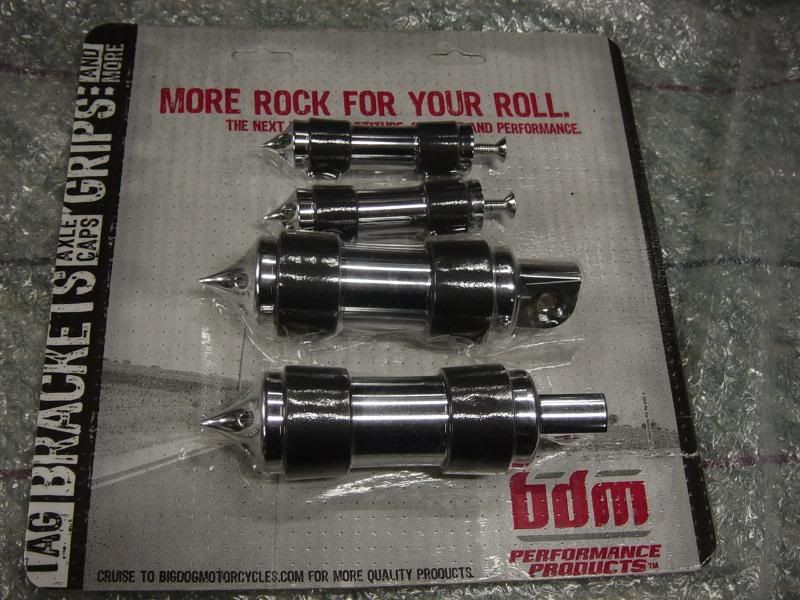
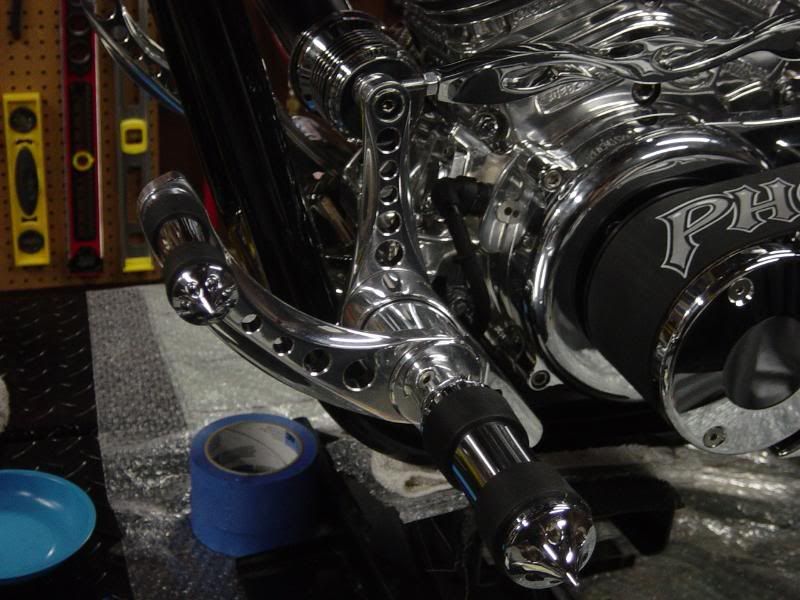
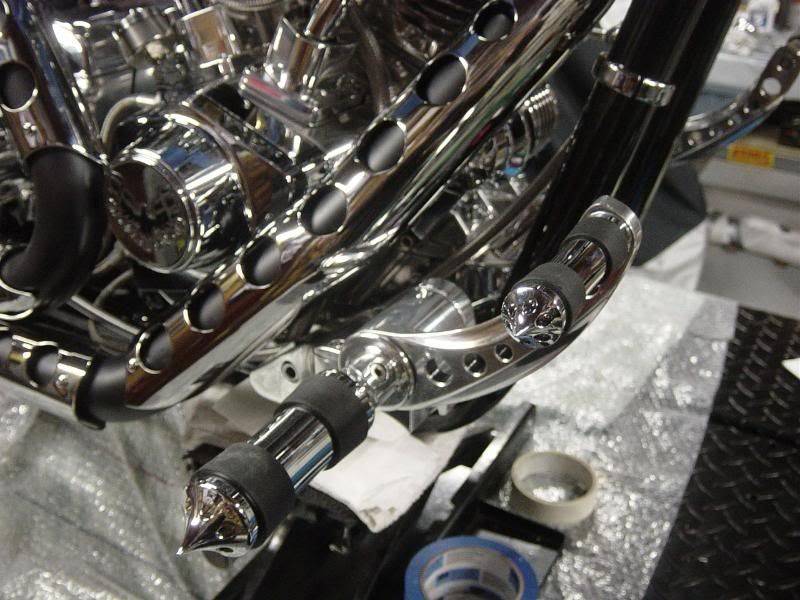
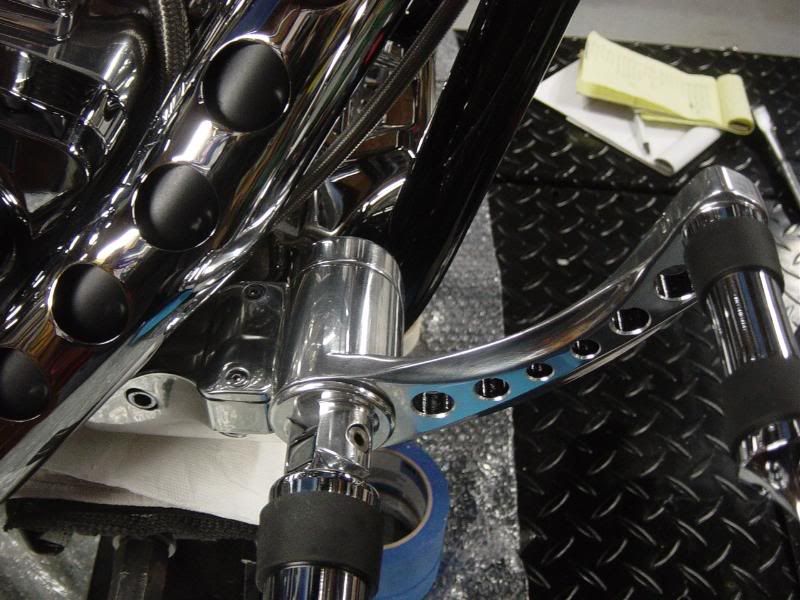
Now mount some pegs


Left side looks nice..


But the right side with the speed holed exhaust and controls... just work well together.


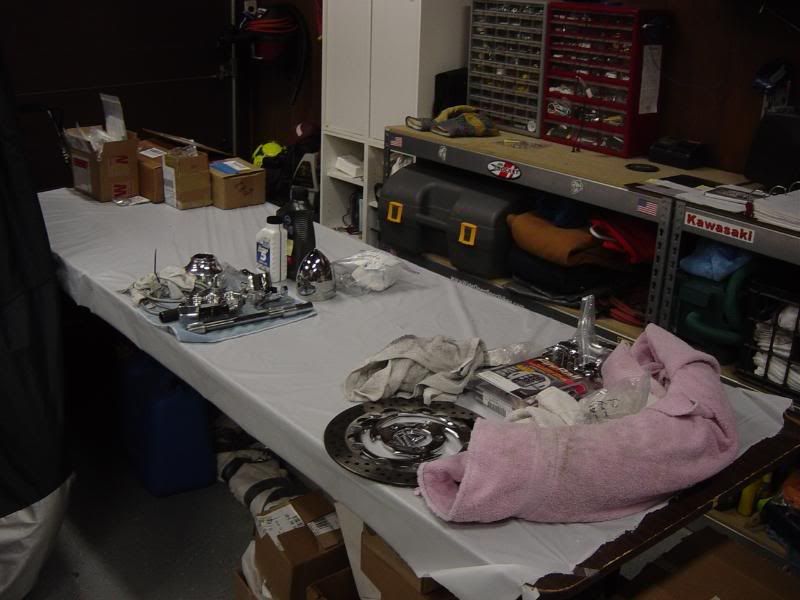
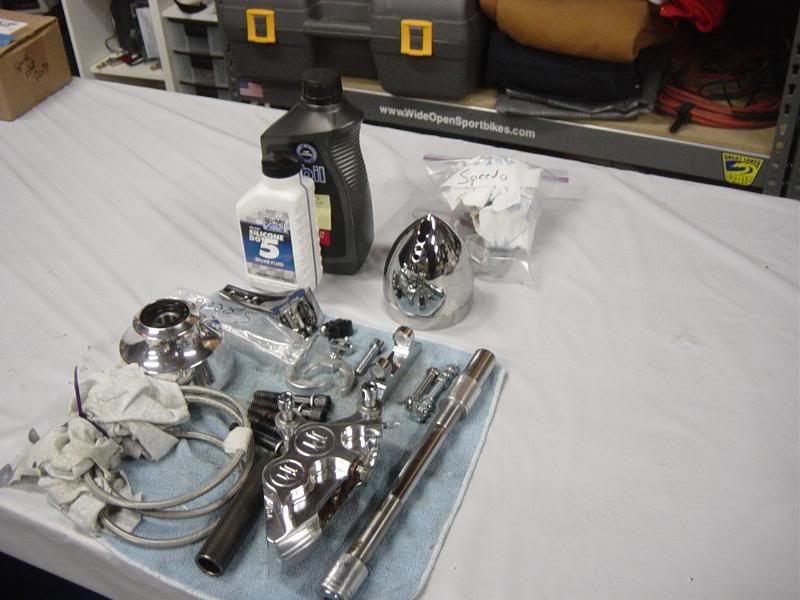
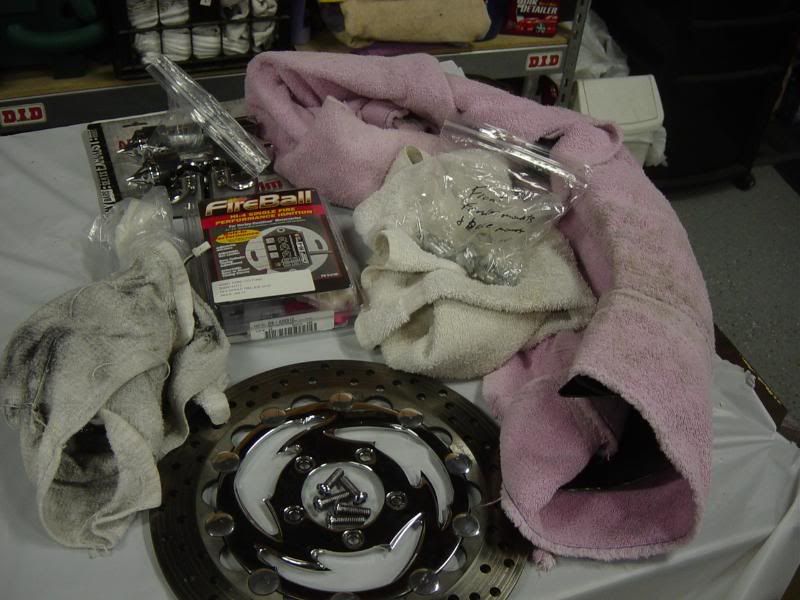
Then organized some things in the garage and got things in order. Man it has come so far. You can really tell by looking at the table.


The stuff closer to the door is either junk or spare parts. But there isn't much left to do or install


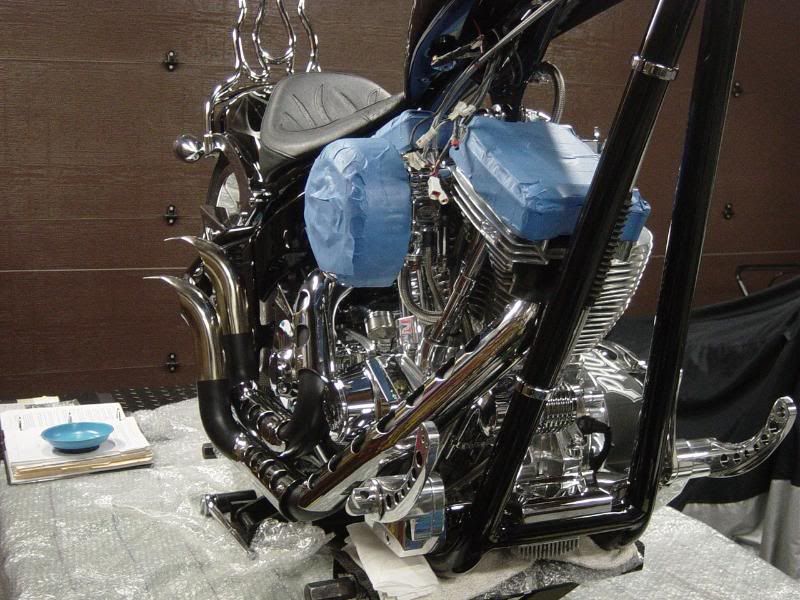
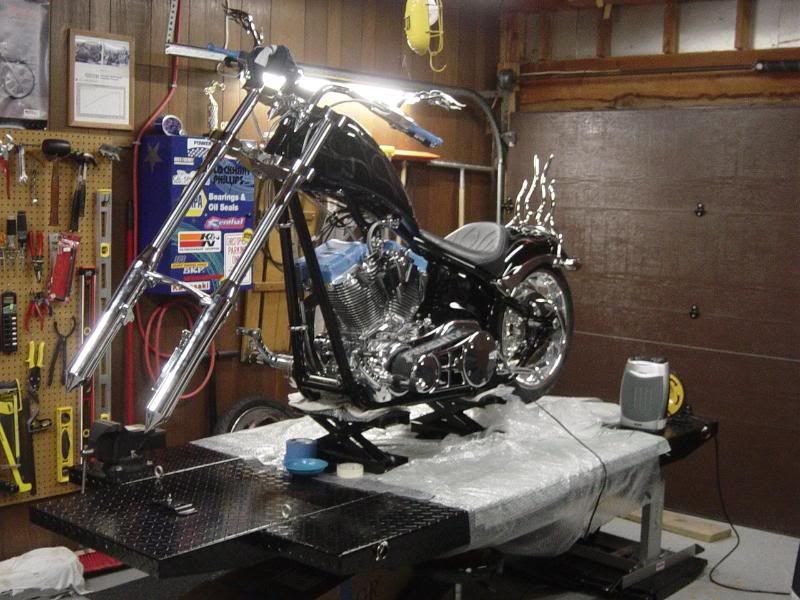
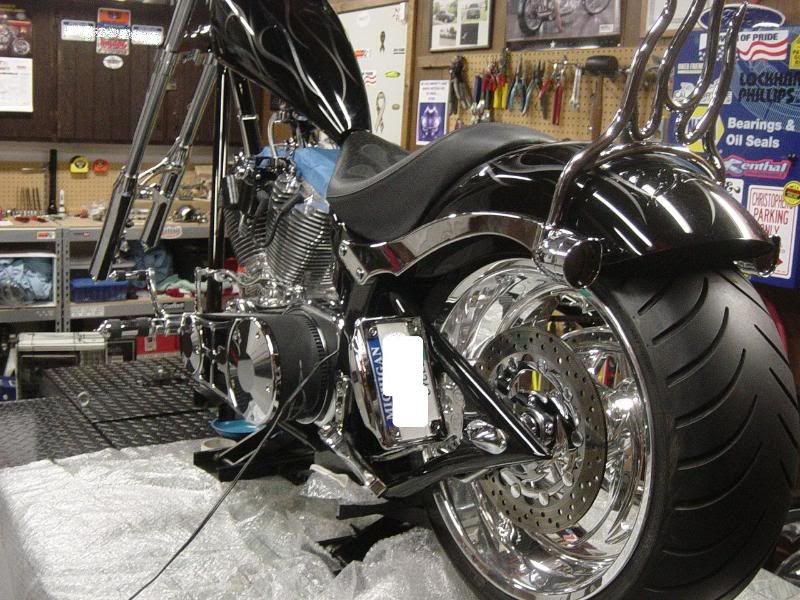
Here's the bike after today. Obviously the best part done is the exhaust!!!


Top