The road to the Phoenix

Cutter

Well-Known Member
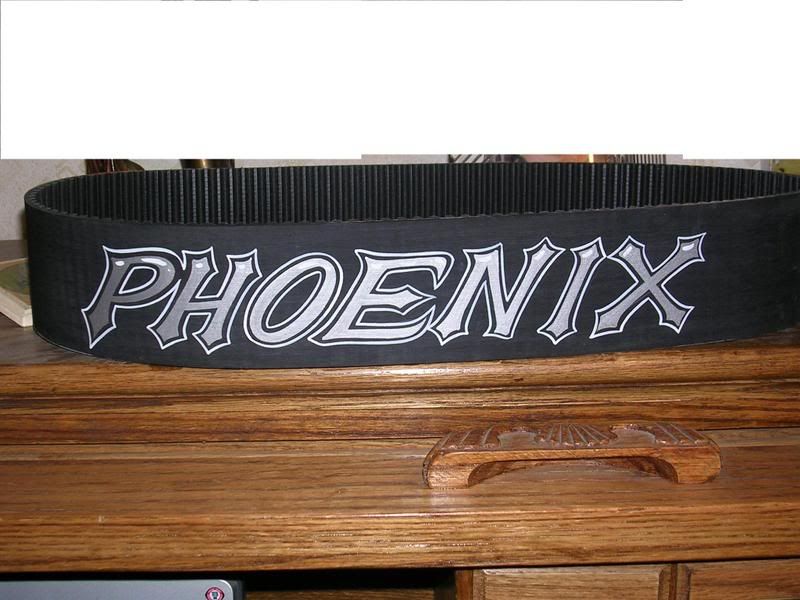
Also got a pic of the newly painted belt... Pics from Vickie, and she says they don't do it justice... would have loved to do more color but the bike's paint don't support that... so this looks great... the shading in the font is awesome...
I think it looks fanfuggintastic :flag:

Might as well polish those ports - you got her torn down so far...

That is one helluva project Gas :2thumbs:
 

Chopper Dave

SIICK!!!
Also got a pic of the newly painted belt... Pics from Vickie, and she says they don't do it justice... would have loved to do more color but the bike's paint don't support that... so this looks great... the shading in the font is awesome...

Sick ass belt!!:2thumbs:
 

P8RIOT

Well-Known Member
Calendar Participant
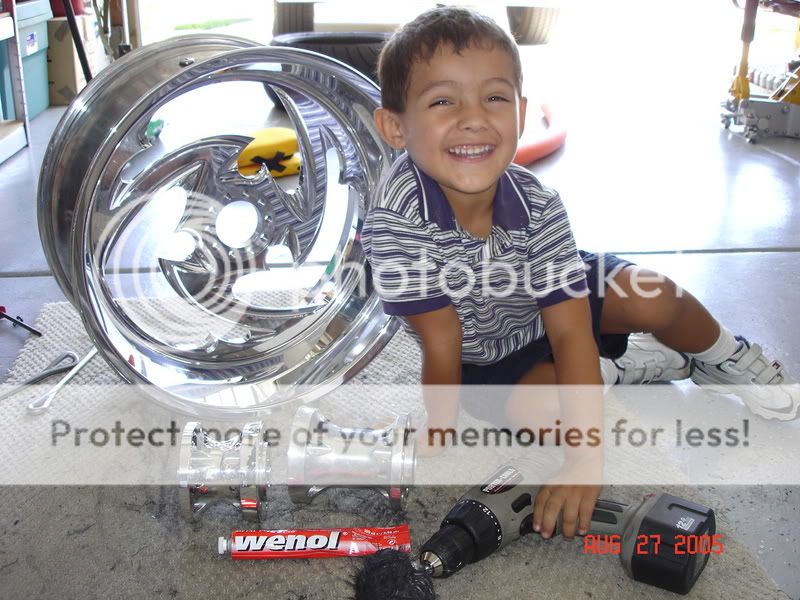
(wifey thought it would be funny to take more pics of me)
Awright, Gas - somebody's gotta say it - we'd much rather see UMA holding the wrench, and YOU takin' the pics! :whoop:

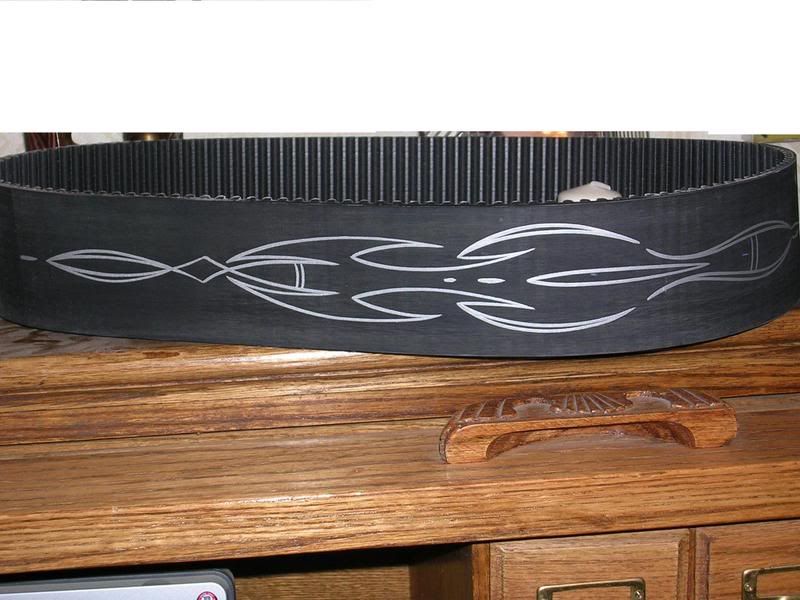
Seriously, that belt really looks great! ...and not just the Phoenix name, but also the way the pattern goes around the other side. :up:
 

Raywood

The Pirate
Staff member
Calendar Participant
Troop Supporter
But you got them from a BDM dealer... so probably nelson can get them for me... so I don't worry about them being wrong. Right?

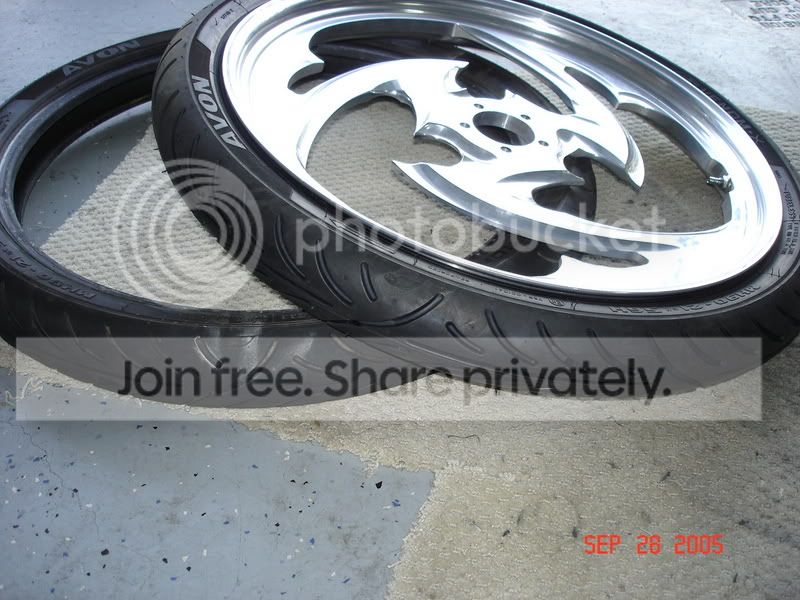
Now, you said to pull the rear hubs, but the front tire I have to just take the whole tire in, correct?

Have you ever just did it yourself? I have access to a press... hell I have access to presses 30 times too big for the job at my bro's tractor shop.
The hubs bolt to each other and pinch the wheel between them. The bearings are in the hubs so pull them apart. Easy to do.
Yes you can do them yourself if you have the right size bearing press so that they go in straight. And Nelson can hook you up for sure.
NOTE: If I remember right they are indexed so mark where the hubs are in relation to the wheel. There is a marker on the wheel and hub I think (been awhile).
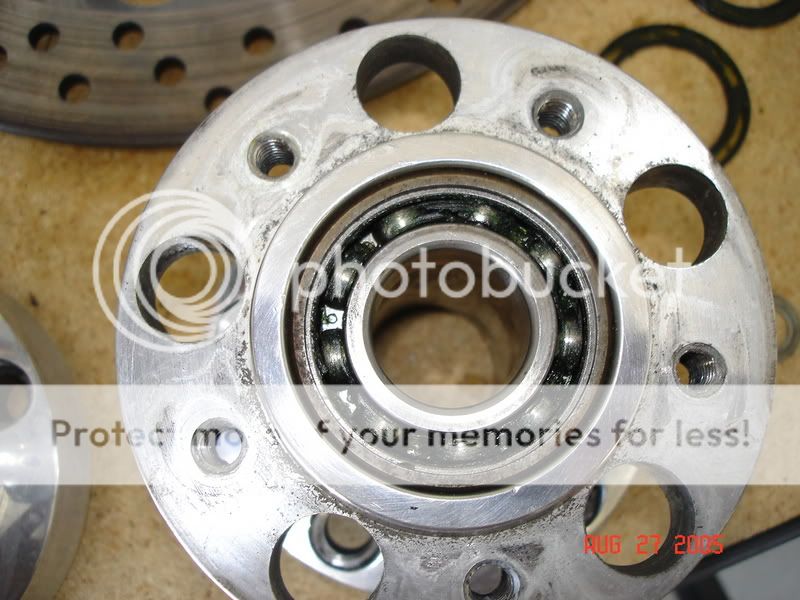
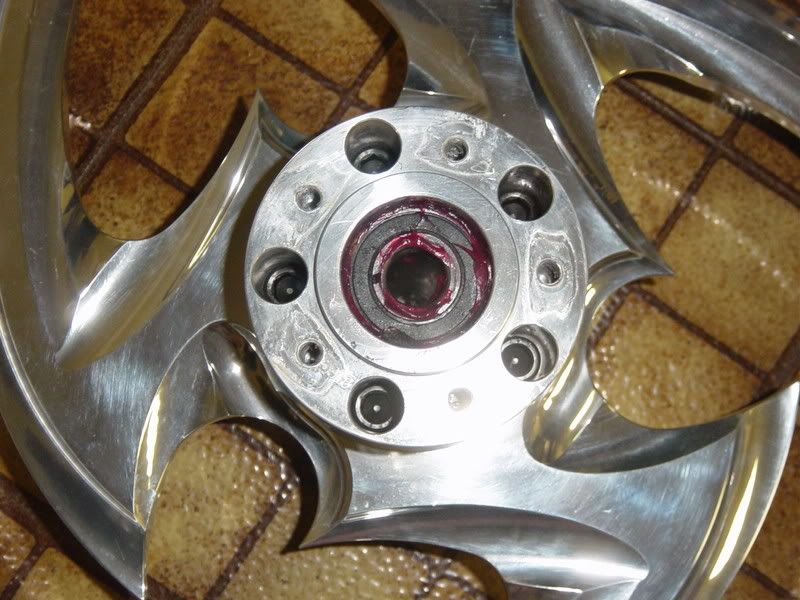
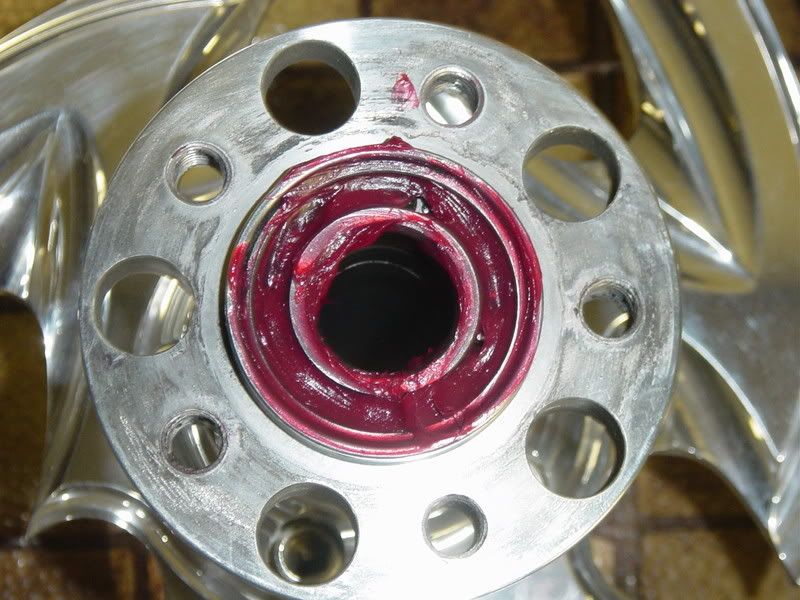
Here is a pic of the hubs.


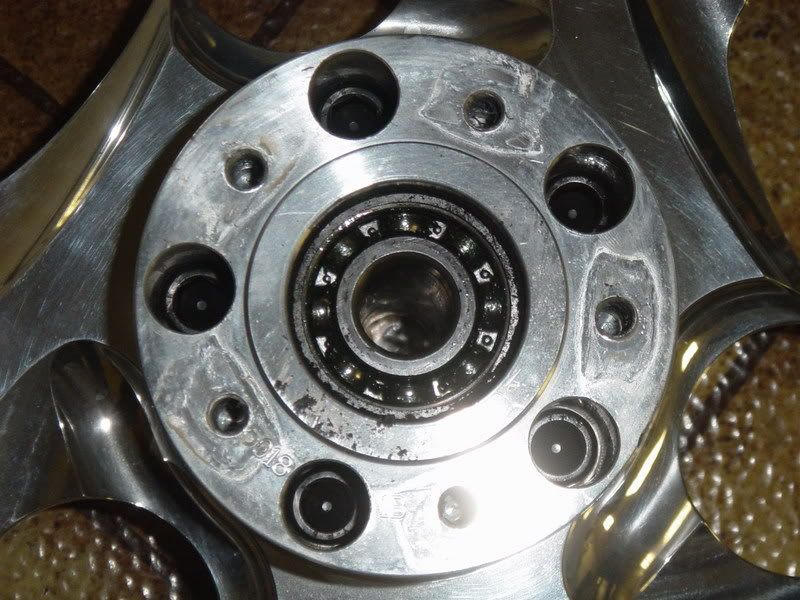
Here is the inner side of the rear hub. Drive side has two bearing for extra support. 10 bolts on the rear, 5 for the front.
 

Gas Man

Cool isn't cheap
Calendar Participant
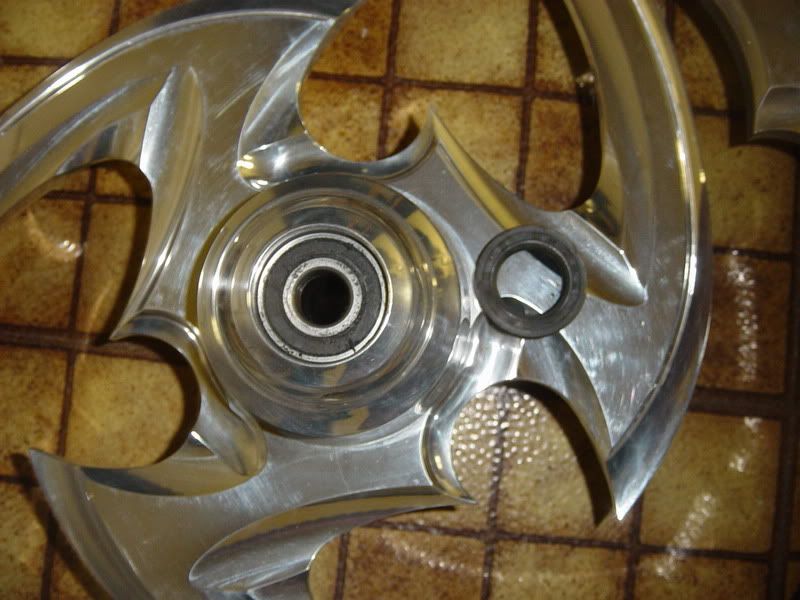
Mine look a bit different... mine look to be a sealed set, you can't see the bearings themselves.

Also, how loose are they suppose to be. Mine seem stiff compared to what I would commonly say a bearing should spin?????
 

Raywood

The Pirate
Staff member
Calendar Participant
Troop Supporter
Mine look a bit different... mine look to be a sealed set, you can't see the bearings themselves.

Also, how loose are they suppose to be. Mine seem stiff compared to what I would commonly say a bearing should spin?????
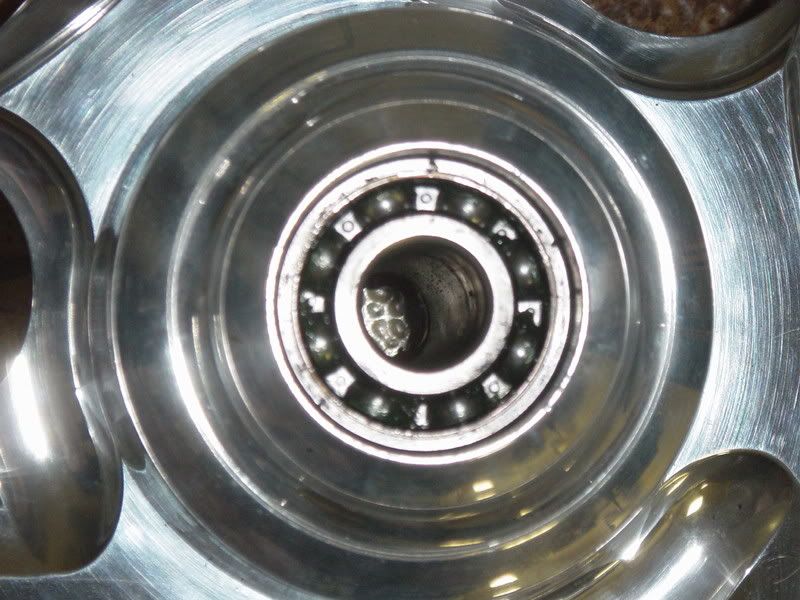
For this photo I pulled off the seal to show the dried up bearings. They were really dry and turned like they had sand in them. Of course this was at 19,000 miles.
Ours should all be the same. They are tight and thats good as long as they are smooth but with 6000 on them and a requirement for every 10,000 then you should probably change them unless you plan on pulling them again in 4000 miles.
Pull the seal off one of yours and they should look the same.

:cheers:
 
Last edited:

Gas Man

Cool isn't cheap
Calendar Participant
Mine don't look like that, they are still a sealed unit under the removeable seal...


And also, here's the pics of what's left.


Raywood

The Pirate
Staff member
Calendar Participant
Troop Supporter
Mine don't look like that, they are still a sealed unit under the removeable seal...

Still should be the same. Use a dental pick and pull that second seal off and see what you have.

Good job on the dis-assembly. I haven't taken one down that far in a while! :eek:

:D
 

Gas Man

Cool isn't cheap
Calendar Participant
Thanks for the info Sul. I kinda figure they would exchange up with HD parts.

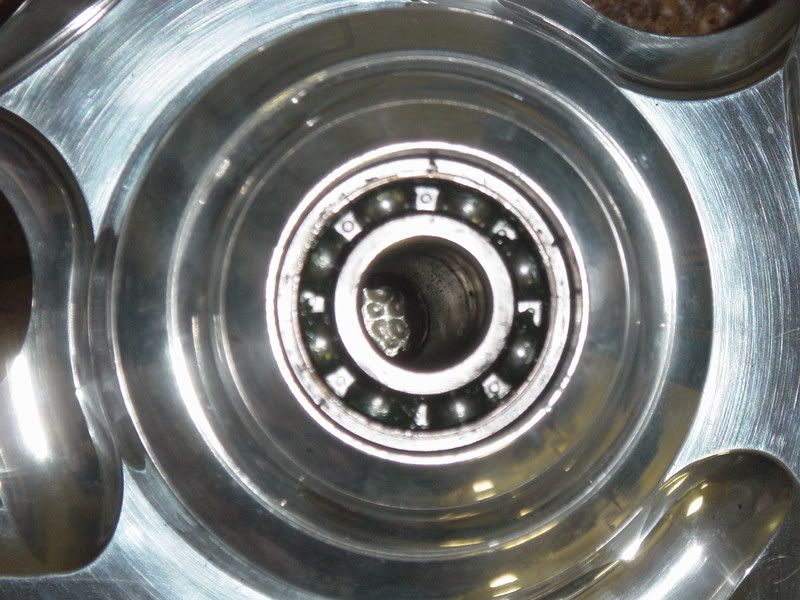
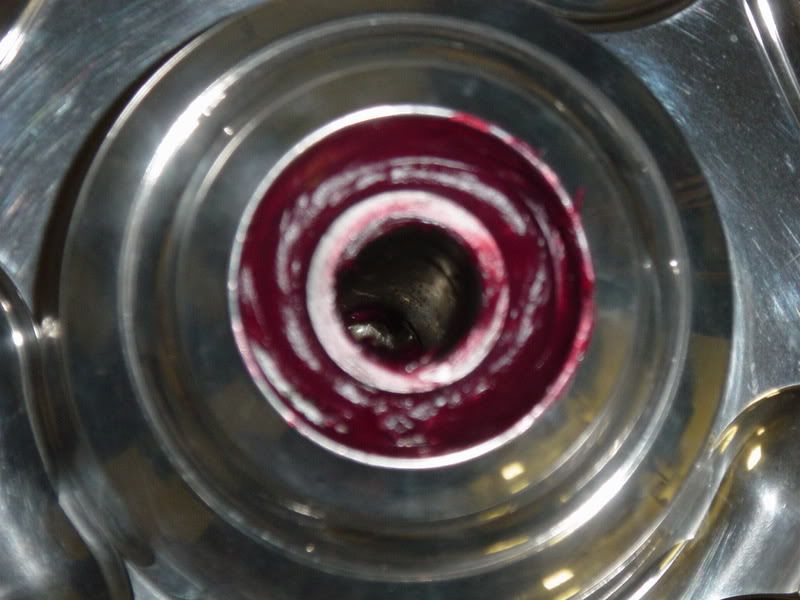
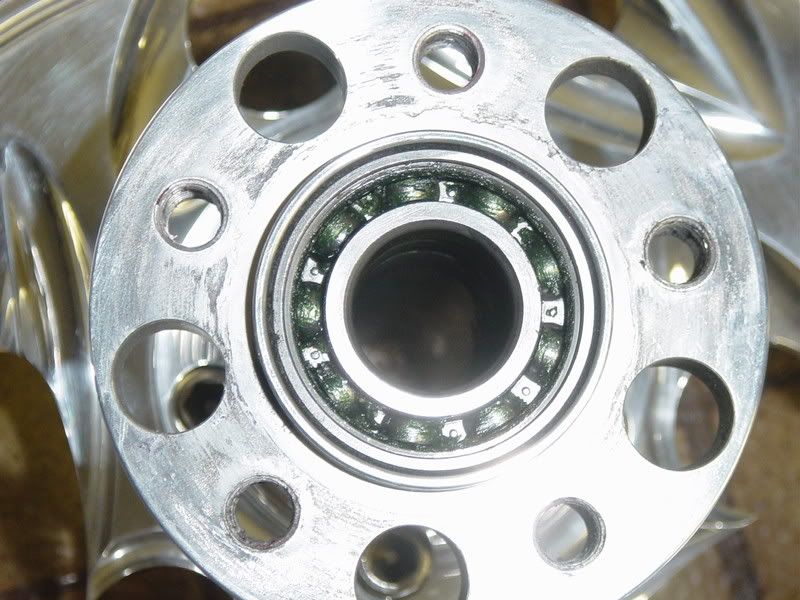
Thanks for the tip Ray. I pulled the inner seal (didn't want to at first not wanting to F it up) and they didn't look bad. As I said, they don't feel gritty or ruff at all. But they are a firm spinning bearing. As in they don't go wizzin around with the flick of a finger.

They still had some of that green sync grease, look to be the same as the grease in the neck.

Front:


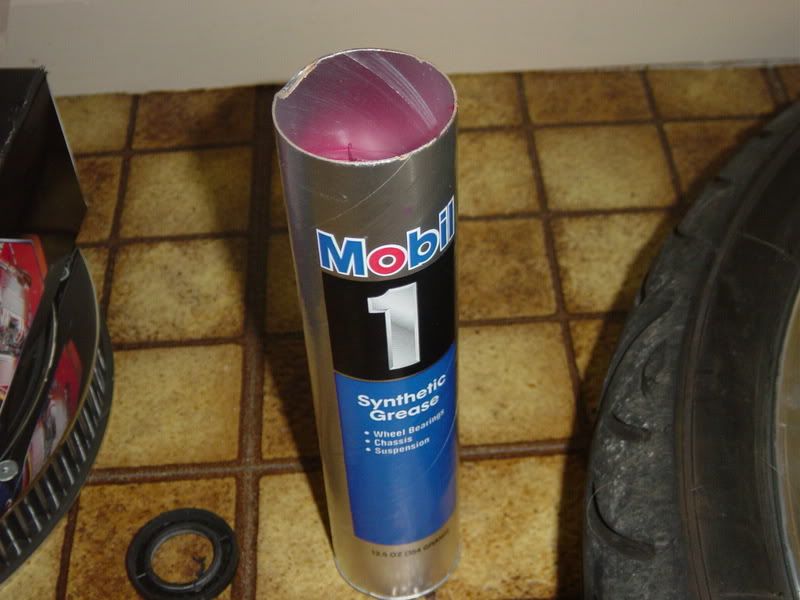
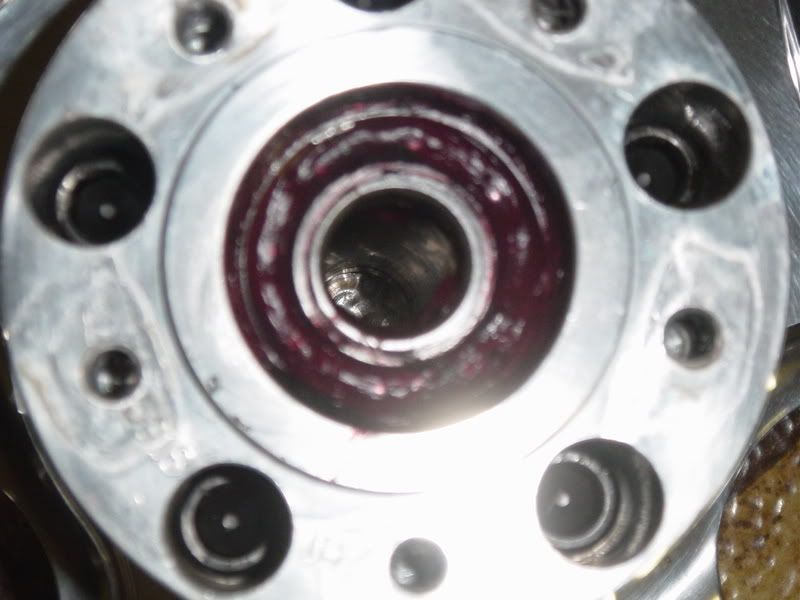
So I put a bit more Mobil 1 sync red grease in them, spun the bearings, they loosened up some more and recapped them.


Rear:


Well as I said, they don't feel bad, they only have 6k on them. And probably by the time I get to 10k I'll need new tires and do them all at once. I don't mind doing PM but I think doing these now is just throwing out 50% of the bearings life. So I will just leave them as greased and call it good.

Again, thanks for the help and tips. Keep them coming...
 

Gas Man

Cool isn't cheap
Calendar Participant
And of coarse I think when they get heated up and spinning down the road that will all soak in a bit more
 

Raywood

The Pirate
Staff member
Calendar Participant
Troop Supporter
And of coarse I think when they get heated up and spinning down the road that will all soak in a bit more
Sounds good. I repacked mine waiting on some shop to get my new ones in so rode them for a few thousand more after repacking them till I finally got a full set.
By the way, I use the same grease but mine came in a tub vice a grease gun cartridge.

:cheers:
 
Gas.....sure wished I lived close to you. :D This is just to much information for my little brain to take in at one time.:eek: Going have to start reading only a few threads a day. Looks great man :2thumbs:
 

Gas Man

Cool isn't cheap
Calendar Participant
Sounds good. I repacked mine waiting on some shop to get my new ones in so rode them for a few thousand more after repacking them till I finally got a full set.
By the way, I use the same grease but mine came in a tub vice a grease gun cartridge.

:cheers:
Yeah they weren't bad. Spoke to Vickie today on them and she said "yes they are a firm bearing spinning bearing" This way I get what life out of them I should. Then next winter when I got miles on it, I'll just replace them with a set of HD's like Sul said.

Mickee... yeah, you're a ways away...
 

Gas Man

Cool isn't cheap
Calendar Participant
Ok... multiple things happened in Day 11

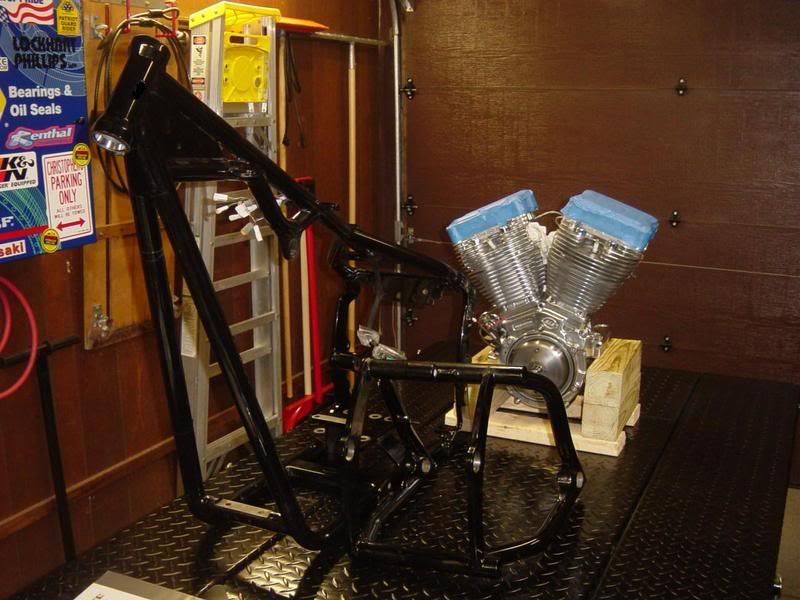
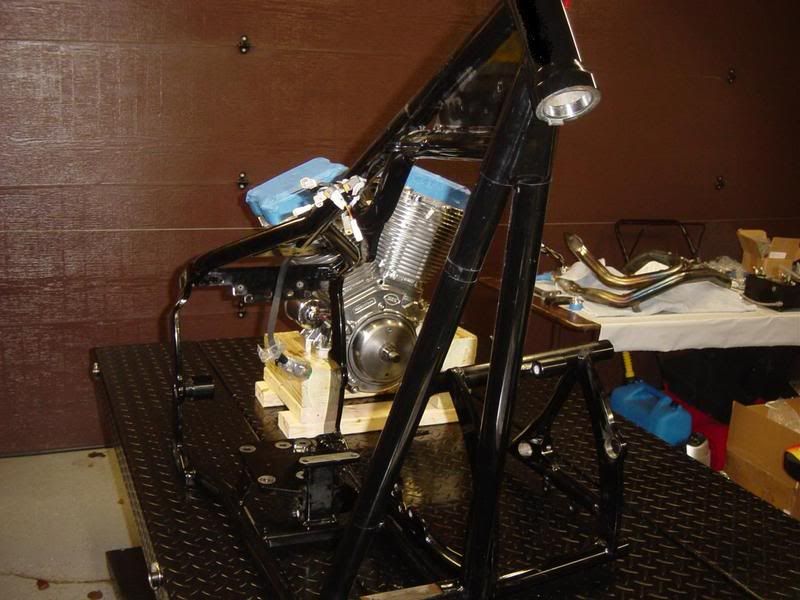
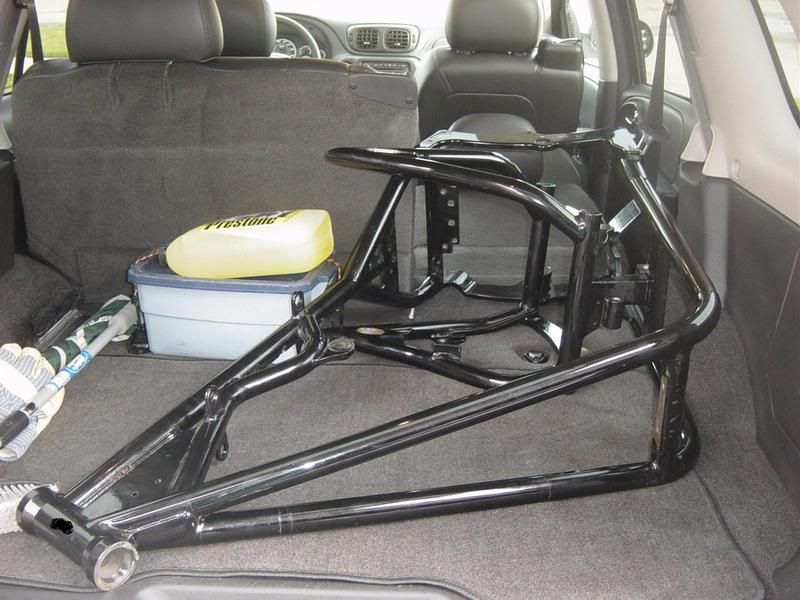
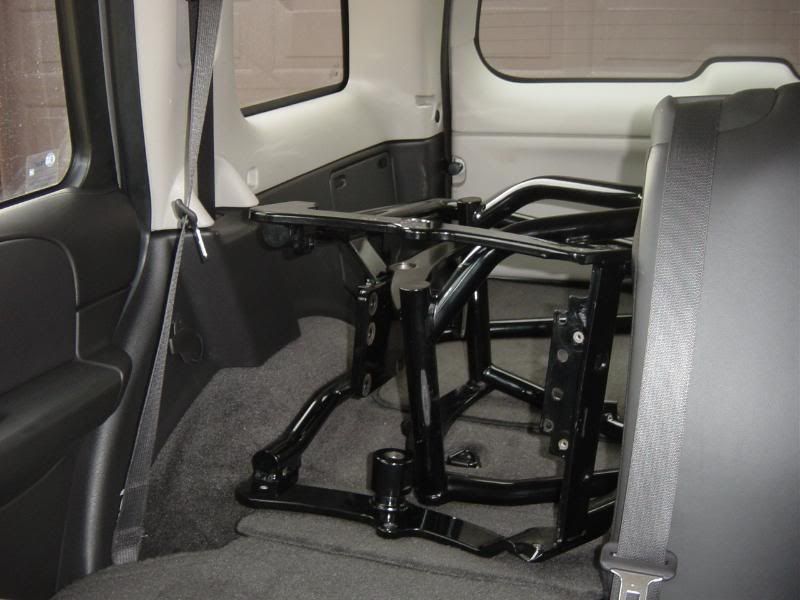
Dropped the frame and swingarm off at the acid dipper. They should have it for a week.


Got my custom modified motor/coil mount back from the miller


Had the front facing edge milled to give it a more finished look


Also, when I mock bolted it to the bike before it was going to need 1/2" more at the frame. I didn't want to run a 1/2" spacer behind the original mounting point so I had a new mount made.


Also, on the coil mount, the meat of the key behind it wasn't fitting together... so i had the bottom side of the motor mount milled out to accept the key.


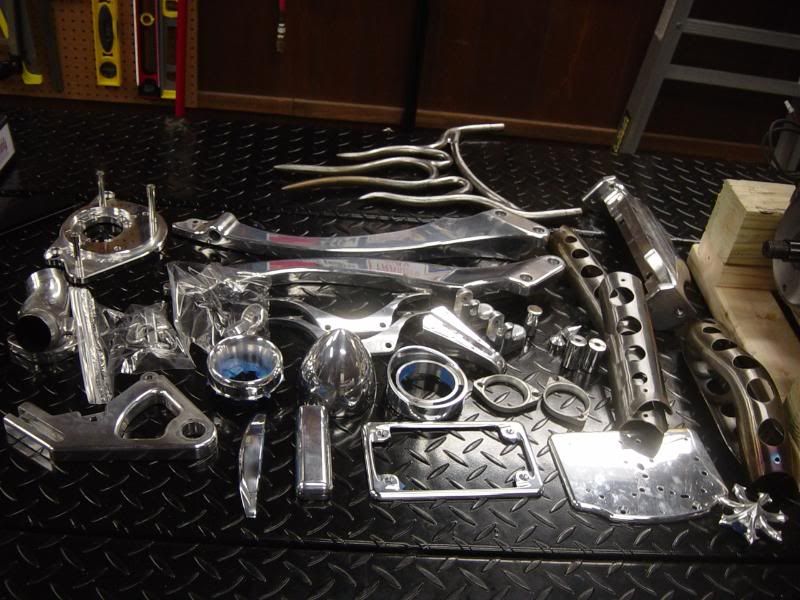
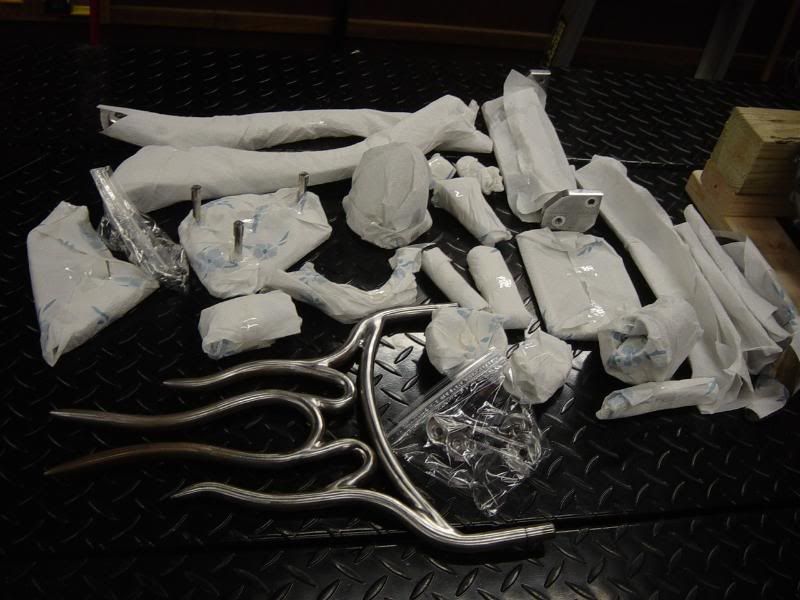
Then with that being the last part to be in... I made my chrome pile of 41 pieces.. BLING BLING


Wrapped and ready to ship.


Then I pulled the circuit boards out of the bike to clean and spray board sealant on.

The hand controls ended up being a pretty well sealed unit so nothing done there.


But worked on the plate LED board


Taped up the LEDs


Then I did the tach board, and the tail lights


Then pulled the clutch lever for the side of the tranny. Inspected and added more mobil 1 grease. But you can see the inner workings of this RSD unit. And I figured this would be a good time to add grease sense there is no grease nipple


3 ball bearing setup


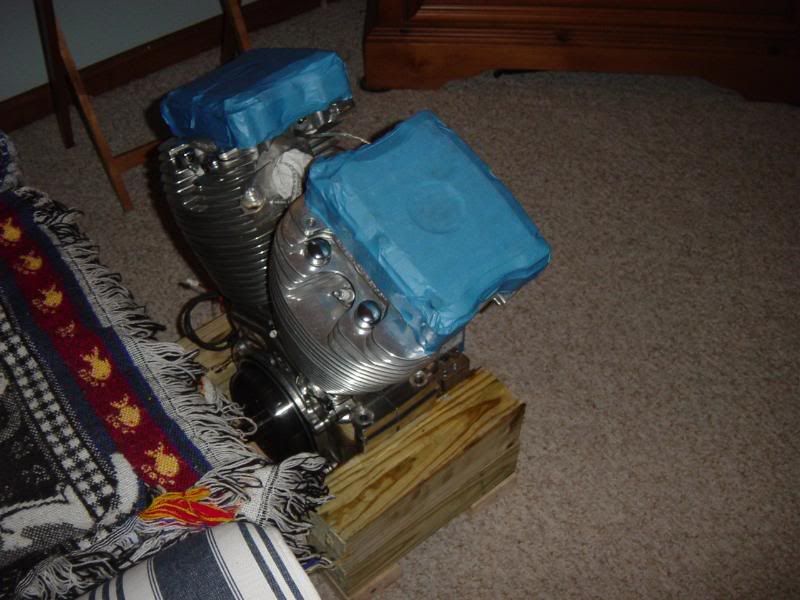
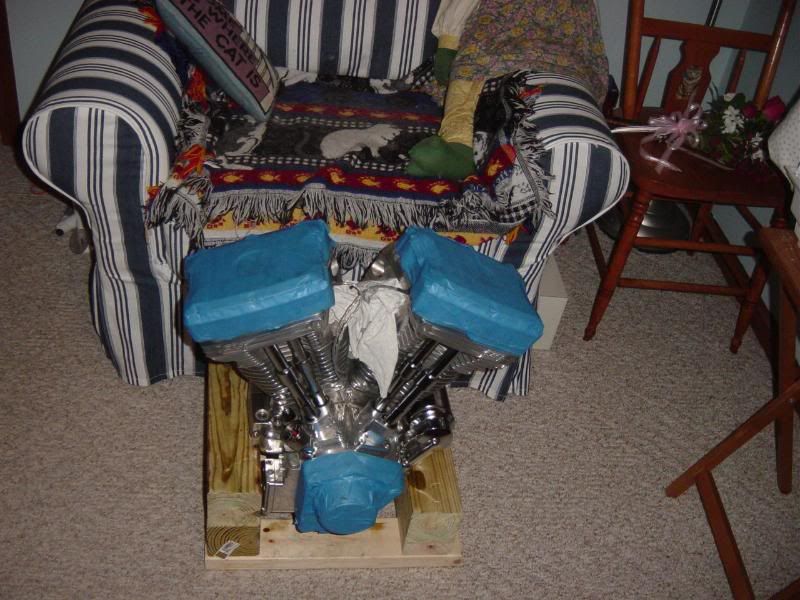
Then I moved the motor inside to the spare room, want to get it up to a heated temp so i can polish it. I wonder what the wife will say when she finds it in here reading room. :lol:

 
Top