The road to the Phoenix

Energy One

Gas Man

Cool isn't cheap
Calendar Participant
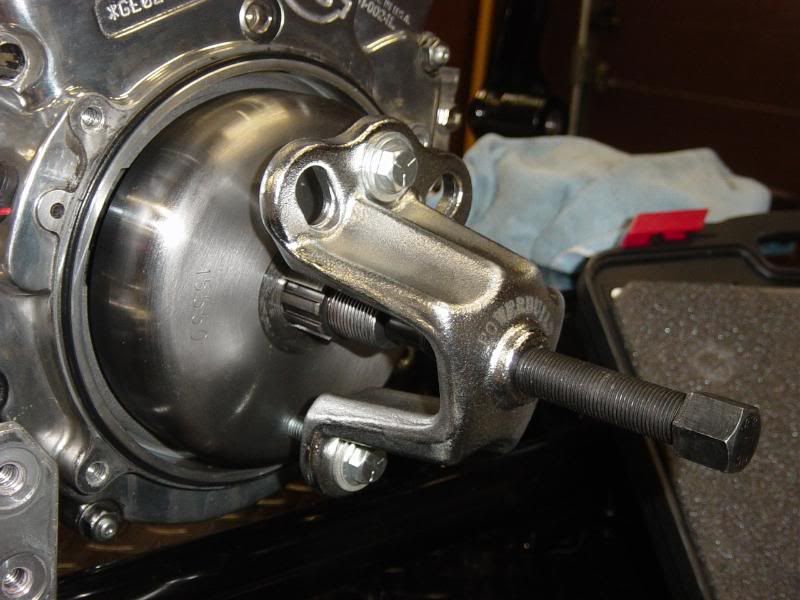
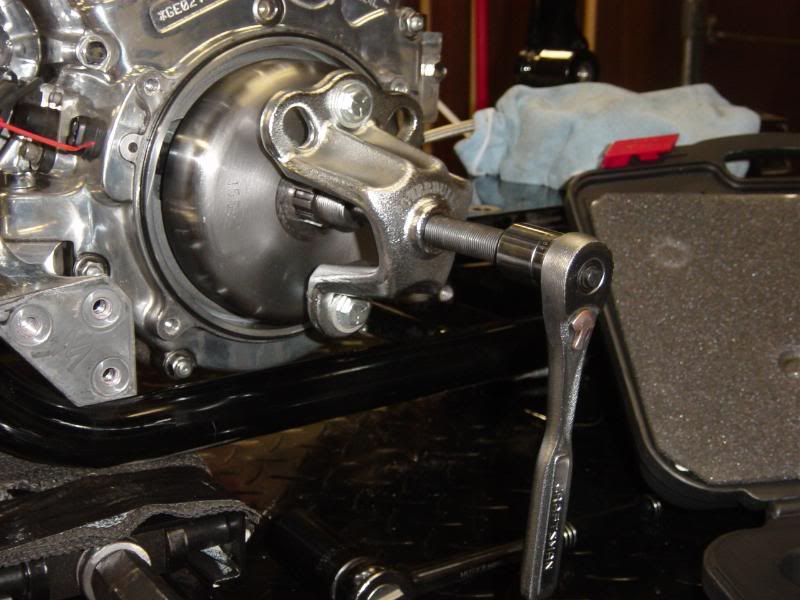
No real trick. Its put on with some good power, and red loctite like a MOFO. Then you can't really geta ratchet on it either. So its 1/4 turn crap, blowin out "your o-ring" with a box end wrench. SUCKED balls!!! The worse part to date on this tear down.

That being said, Al and I were surprised how much is different between his daytec 2004 chop and this bdm frame 2006 chop. There is so much different!! Everything from the upper motor mount, the oil bag, the primary, ect... Kinda crazy and I think a learning expierence for both of us.
 

Gas Man

Cool isn't cheap
Calendar Participant
i know the shock bolts are tight as hell but would have thought the pivot bolt would of been tough also.

how were the trans bolts to the plate. found mine to be pretty loose. yours?

the manual has a low tq spec on those which i was surprised with.
Yeah the shock bolts were horrible... all four of them... could see the red loctite powder coming out on every 1/4 turn. The pivit bolt wasn't bad at all. Standard 3/8 ratchet with just a little arm push... not bad at all.

I didn't check torque on the tranny bolts to the plate but they were loose. I was thinking the same thing you were... "DAMN those are loose."

We were also surprised with this RSD how little adjustment (side to side) movement you have.


Hey Gas, you stated you were getting the swing arm dipped. You mean as in chrome or stripping it?
Its getting acid dipped with the frame before I get it all re-powdered.
 

Vegas

Well-Known Member
You have one hell of a mess but I bet you like that bike twice as much when it's done. It will have your taste and heart into it. Looks like a blast to me.:up:
 
Was very surprised to find no evidence of any loctite on the 6 tranny bolts.He just had the swingarm bolt recall done not too long ago so that probably explains why it wasn't too bad to get out. Was a little surprised that like gas said that one of the swingarm bushings was seized up pretty good. Fot those that never seen one of these bushings they are similar to a heim joint like on you shift linkage. Doesn't look to difficult to get it all lined back up. The flat 1 pc. motor plate for his new belt drive will make that part easy.
 

Cutter

Well-Known Member
Nice job and info for all of us Gas. :up:
Awful nice of you to asssist as well Al. :flag:

:2thumbs:
 

Gas Man

Cool isn't cheap
Calendar Participant
Today I drove around in circles trying to track down the correct bolts to replace ones that I have removed and want either chrome, or just to replace worn looking sets...

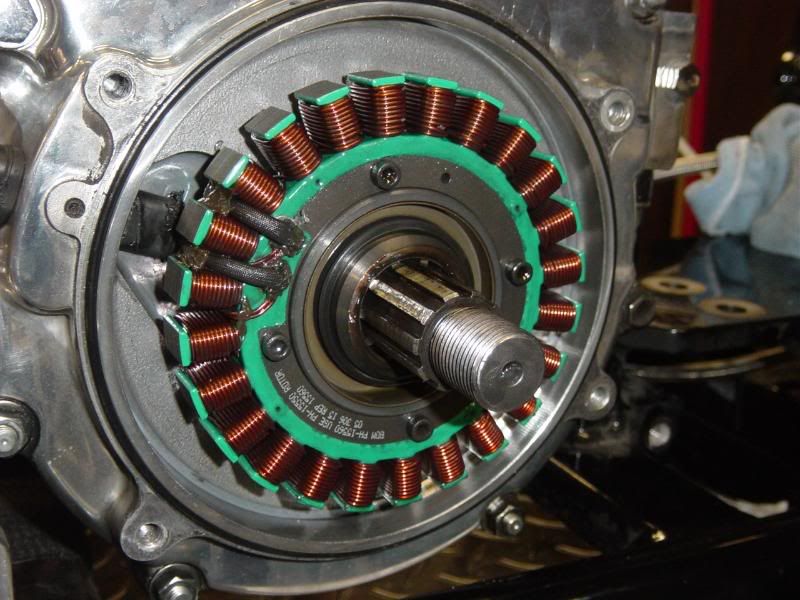
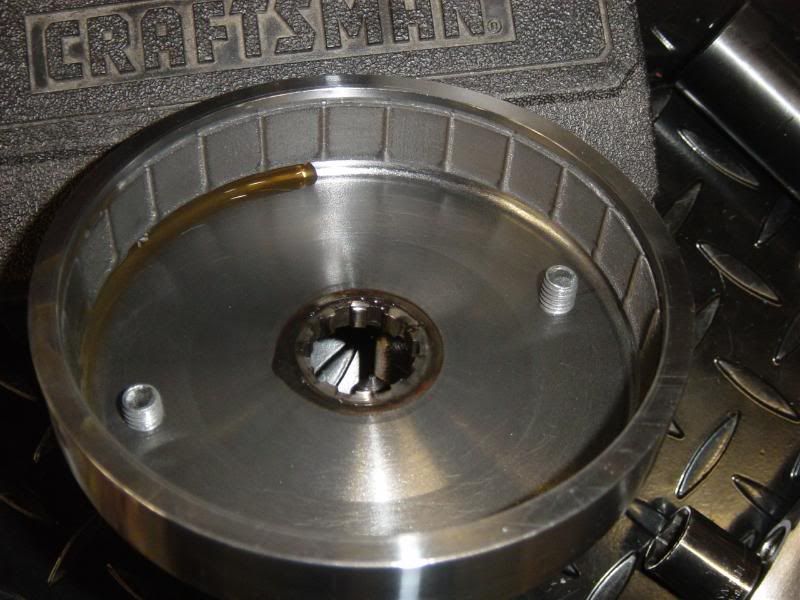
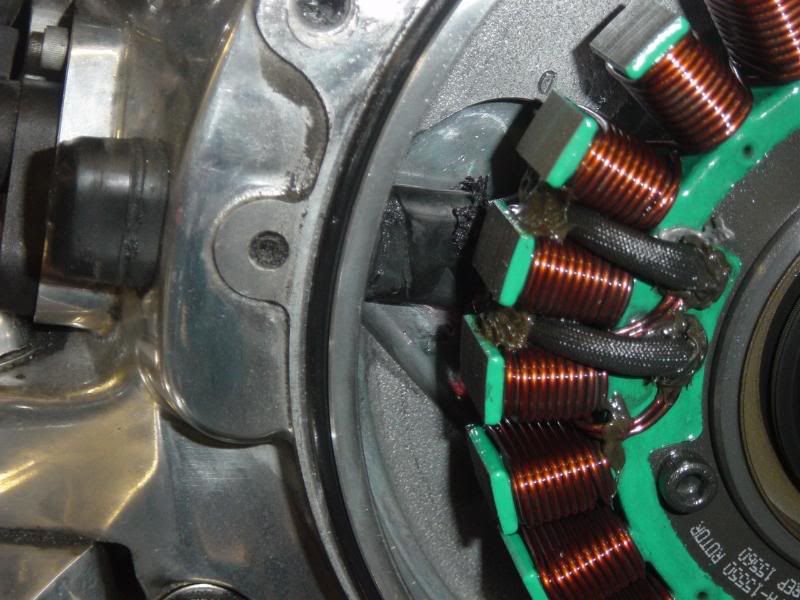
Anyway, came home for a bit, pulled the rotor on the motor to inspect the charging system... all looks good!!!


Also, straightened up the tables a bit and seperated some stuff. Also, started to compile the chrome box. Hopefully Sat I can go out and clean up some of the "left over bits" for re-sale.
 

Vegas

Well-Known Member
It may be easier to find the hardware you need online. The specialty stuff is hard to find atleast where I live.
 

Gas Man

Cool isn't cheap
Calendar Participant
Yeah I got a buddy checking the bolt supply store where I use to live. If not I'll probably go online for it...
 

Gas Man

Cool isn't cheap
Calendar Participant
Nah... then I would have a complex.

Today I didn't get much done. Straightened up the garage tables a bit and organized the left overs destinted to sell.

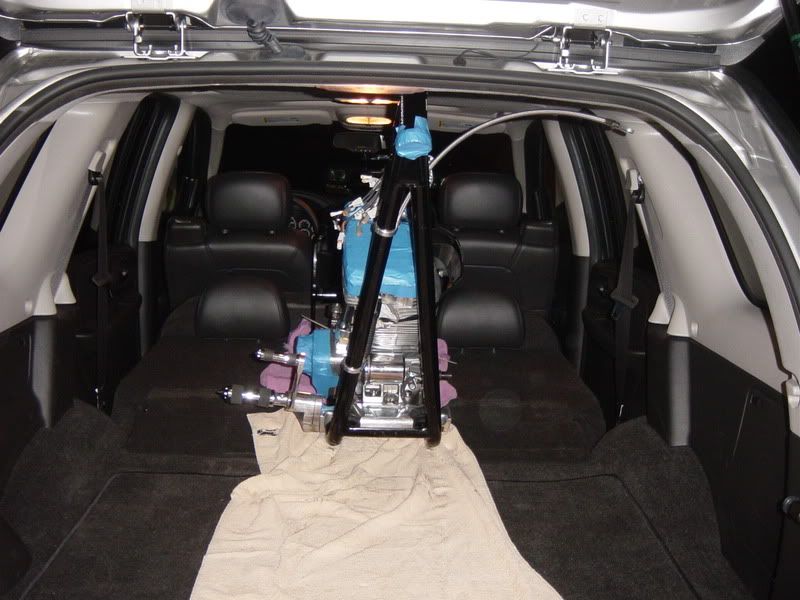
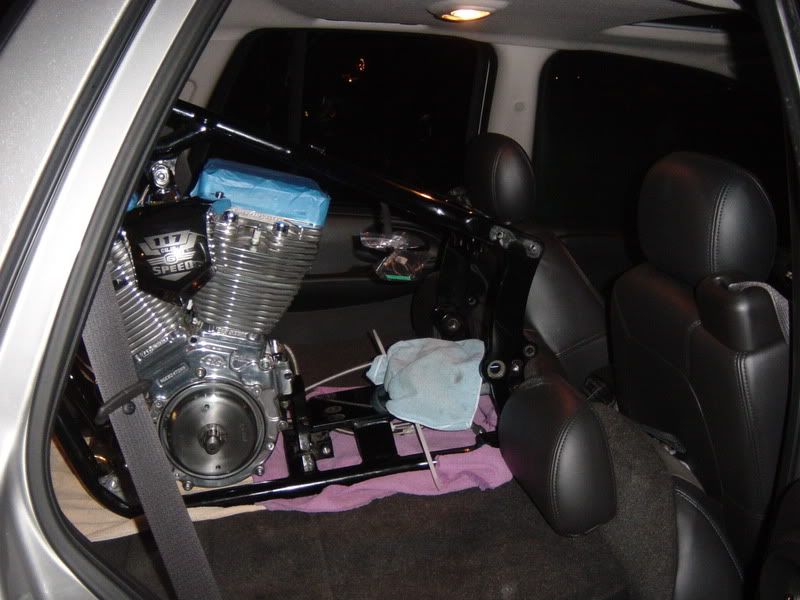
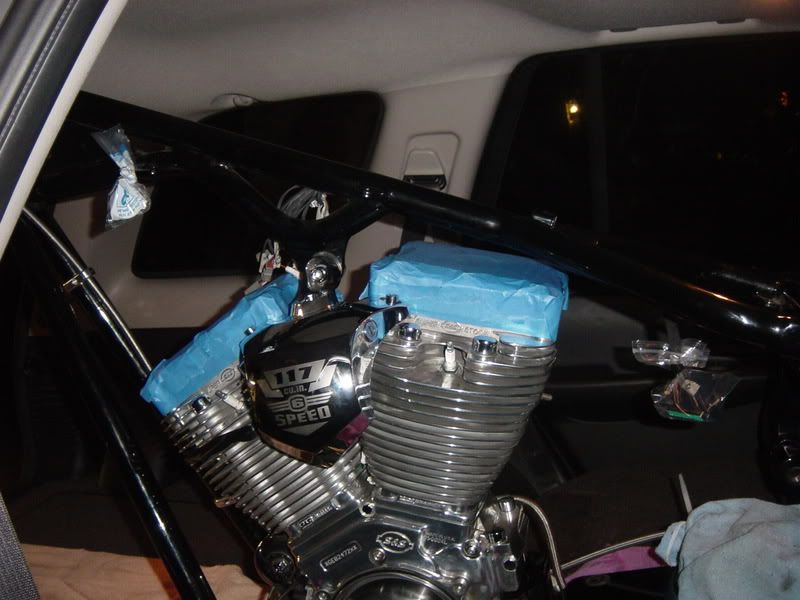
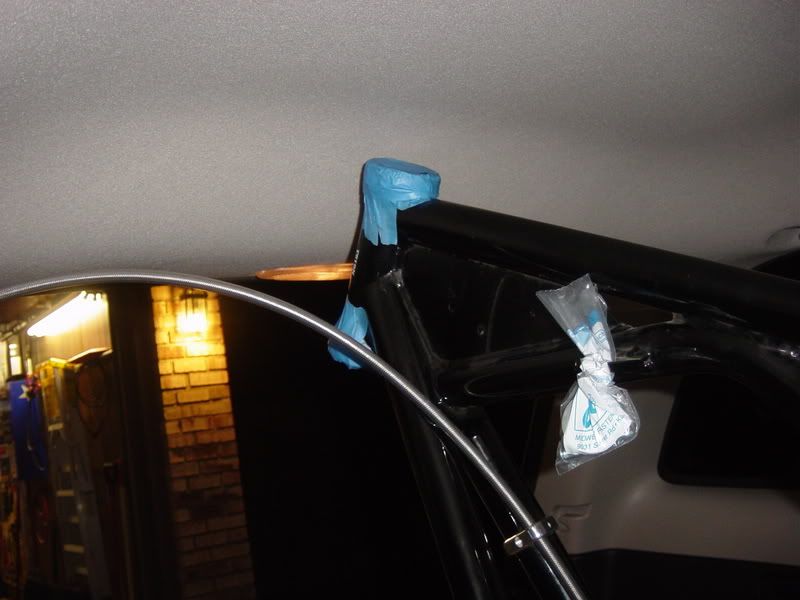
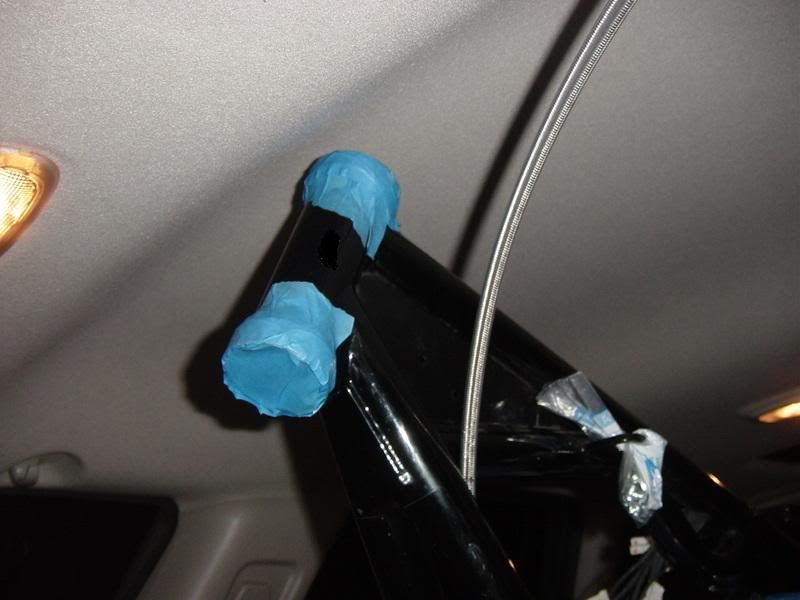
However, I did load the bike... well the frame into the SS for unique transporting. Why run a trailer when I can just haul inside the SS.


Tight fit on the height


Also made a bit of humor out of it too... CLICKY

Hopefully on Monday I will be able to take the motor out and get the frame acid dipped.
 

Gas Man

Cool isn't cheap
Calendar Participant
Well today wasn't too bad... got alot done...after running chores and errons.

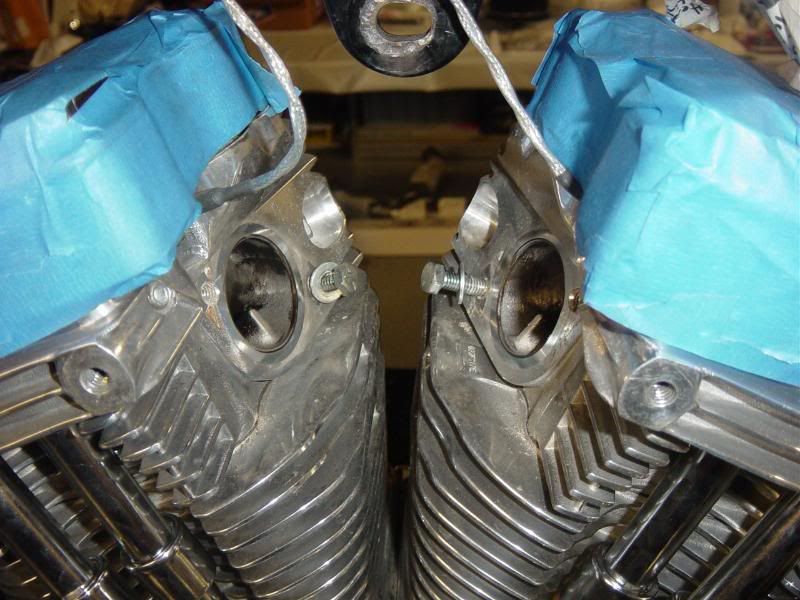
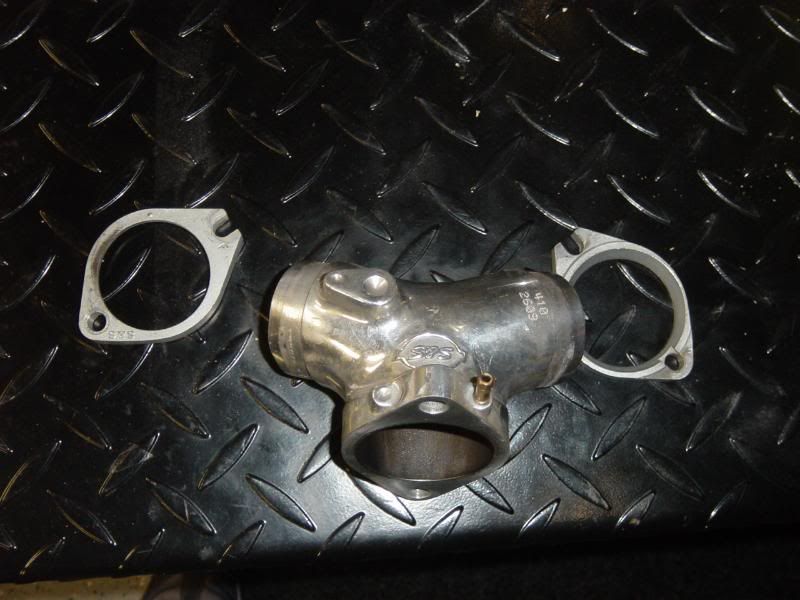
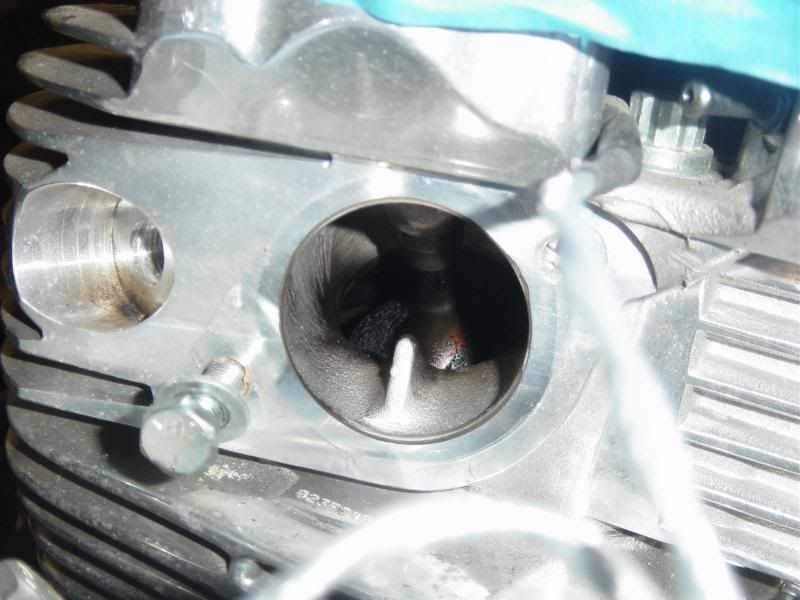
Pulled the intake for chrome


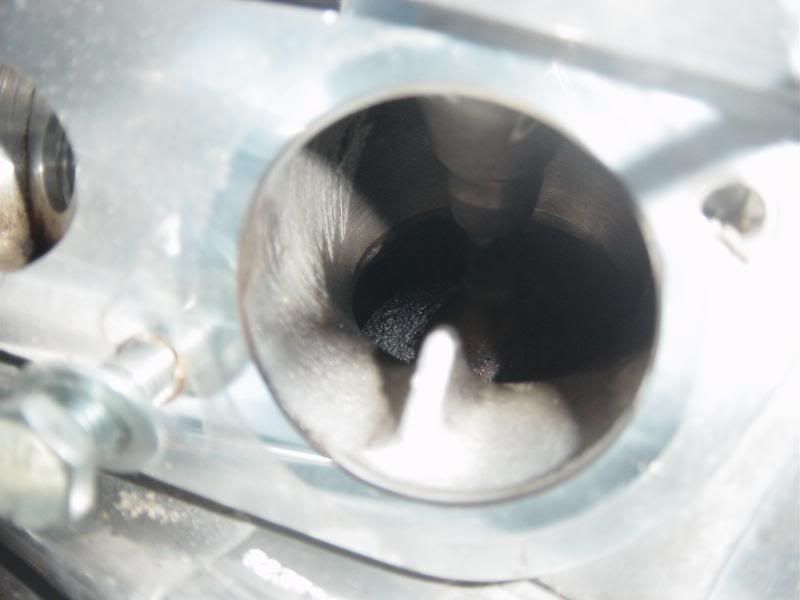
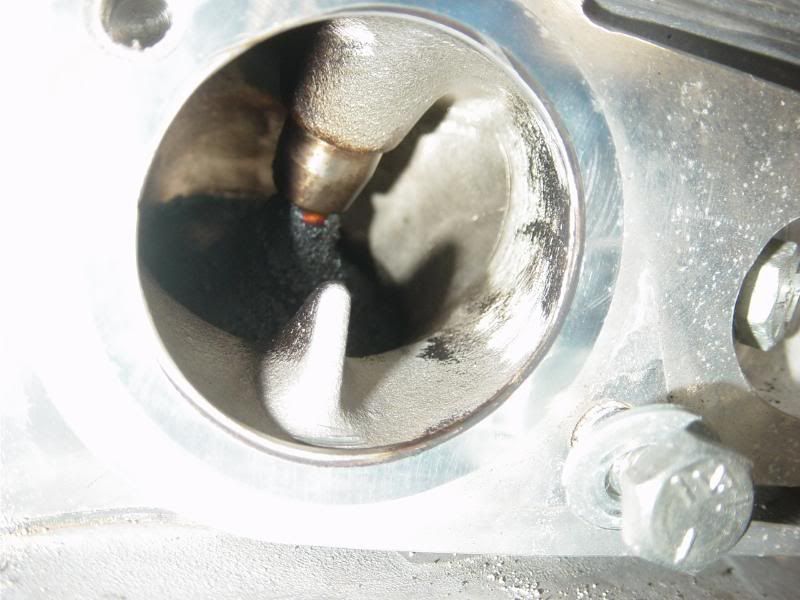
Looked inside to see what I see

Front:


Rear:


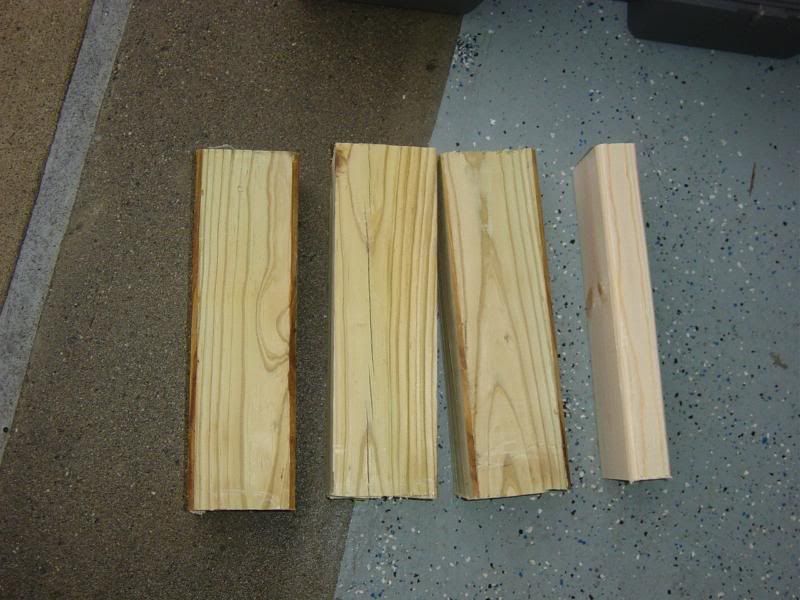
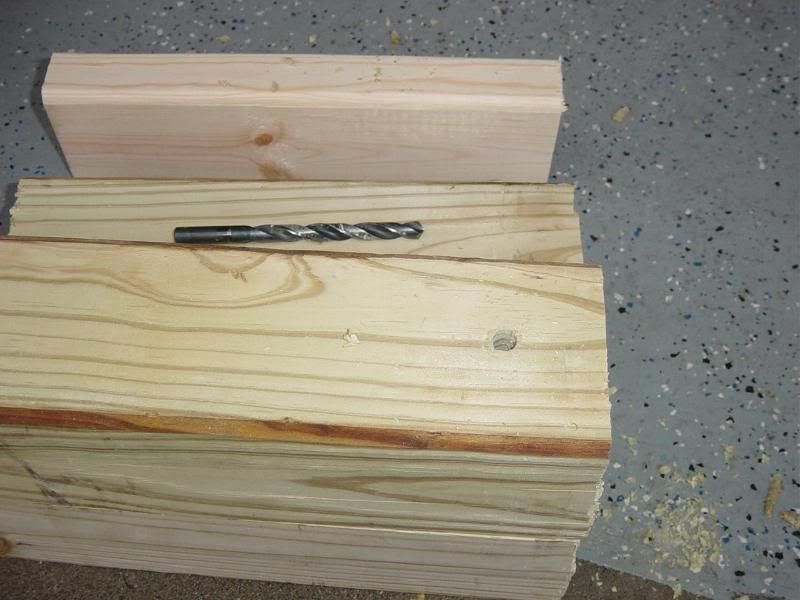
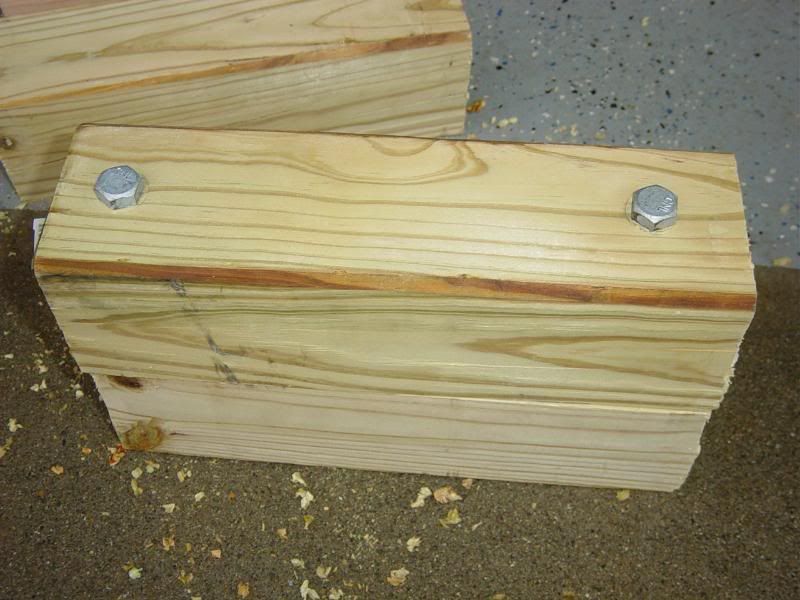
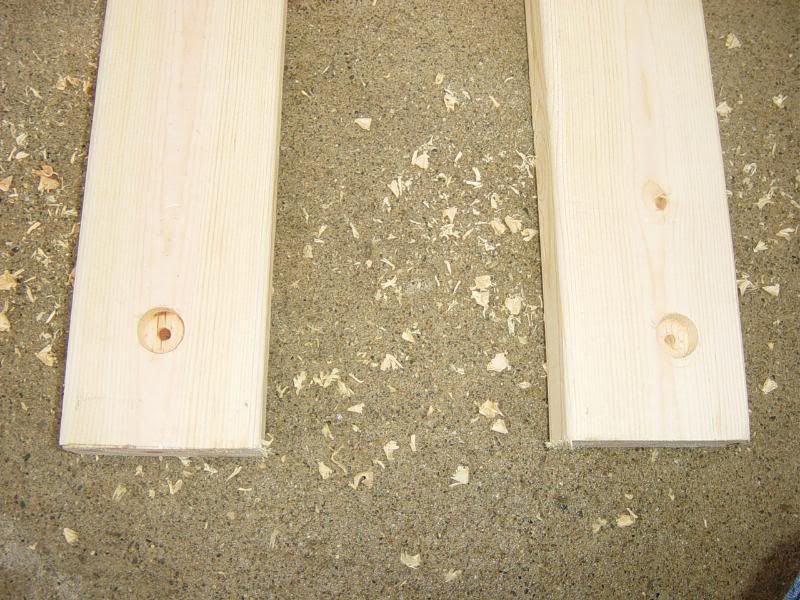
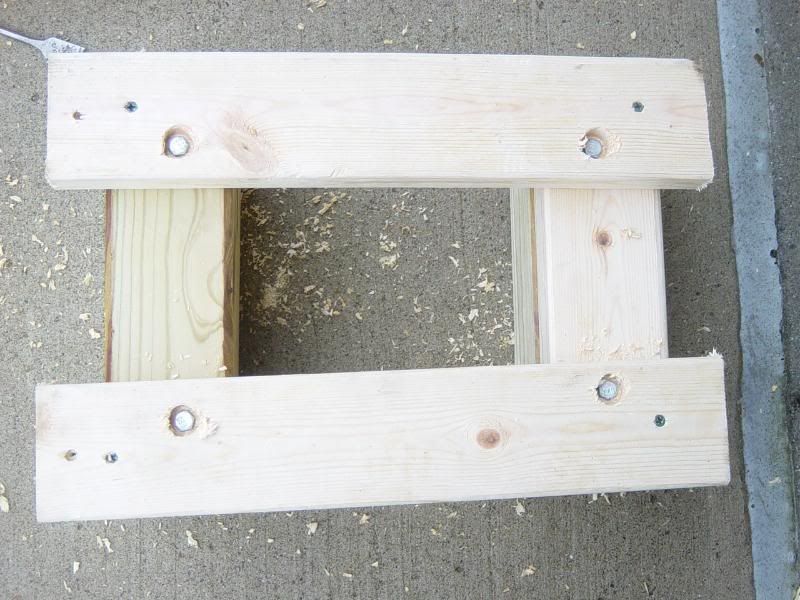
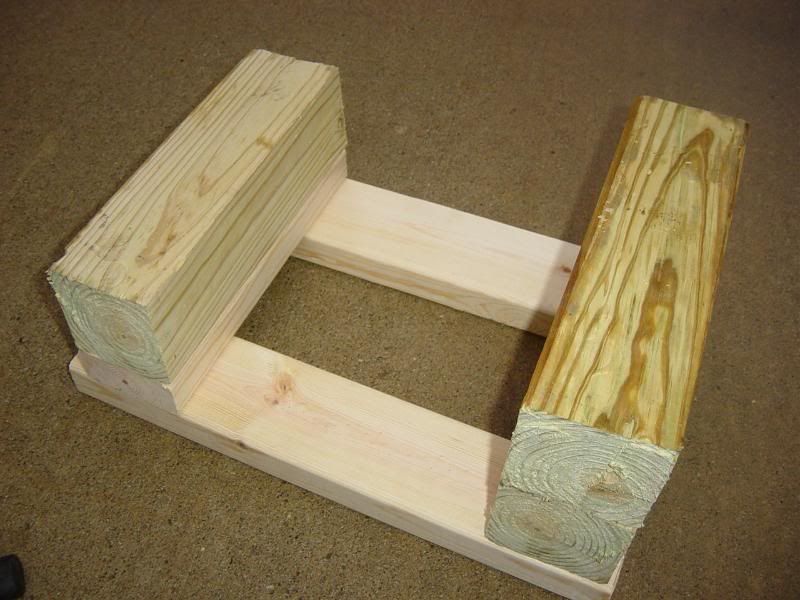
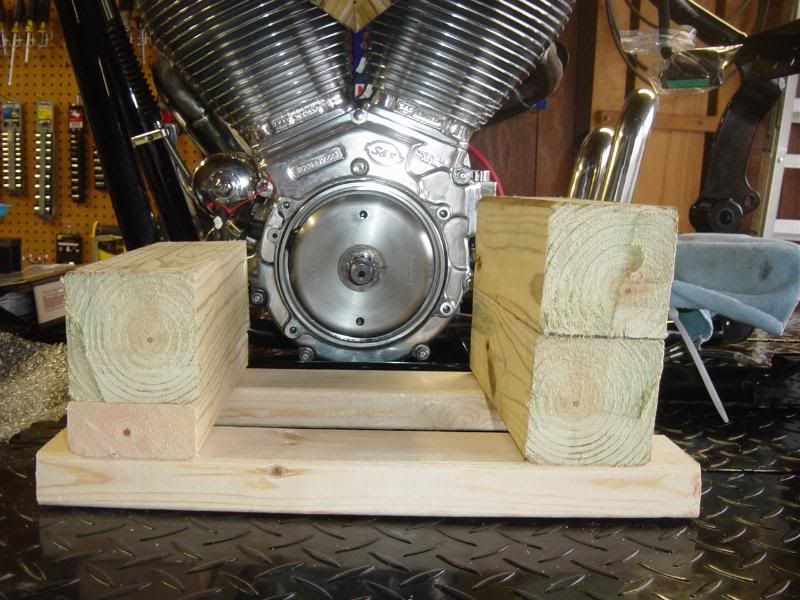
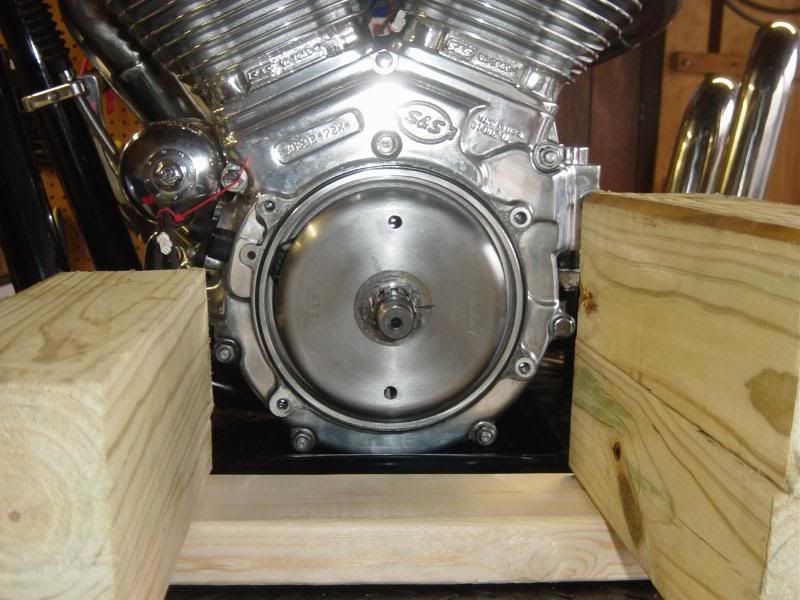
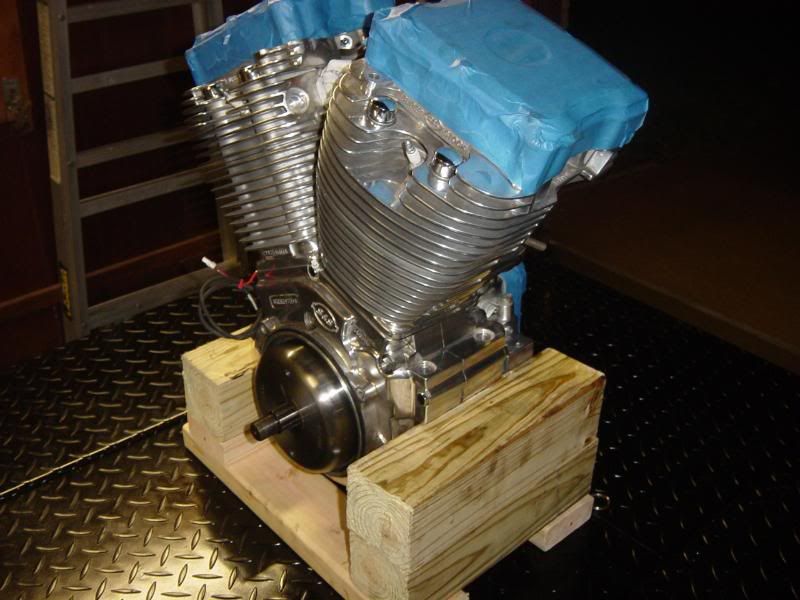
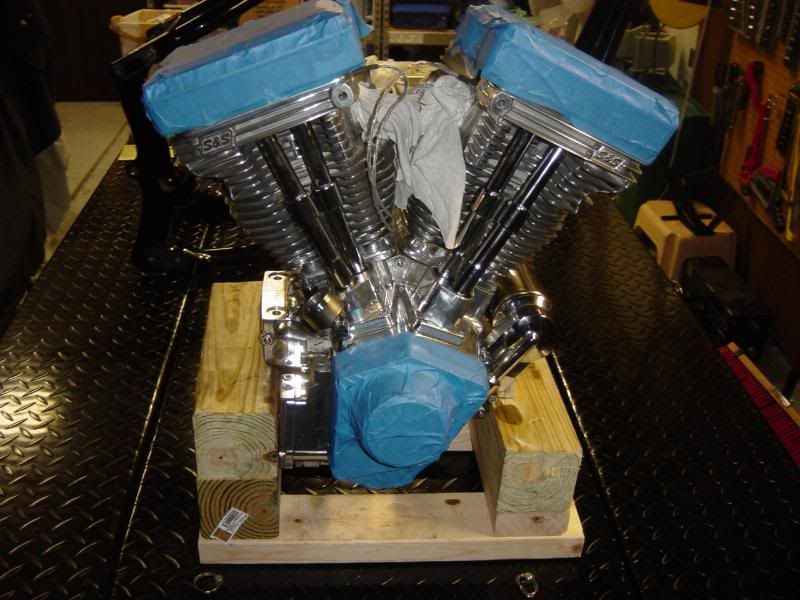
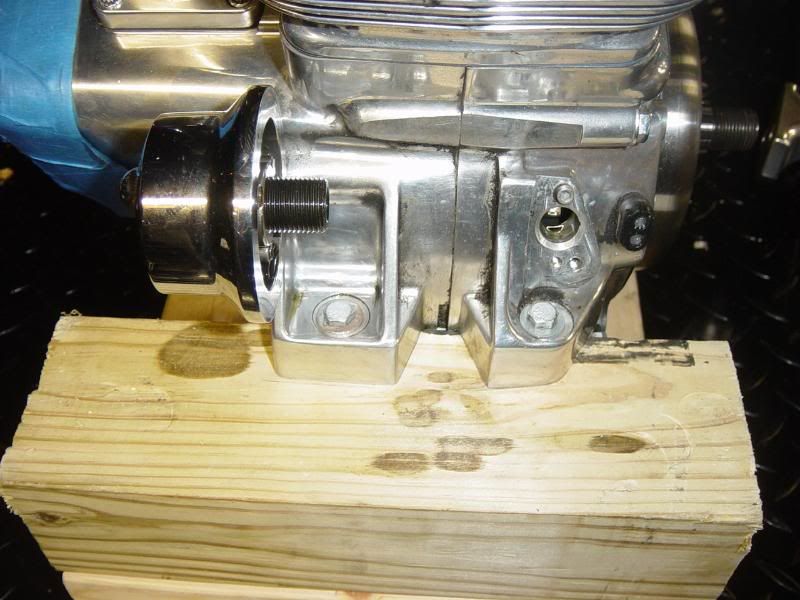
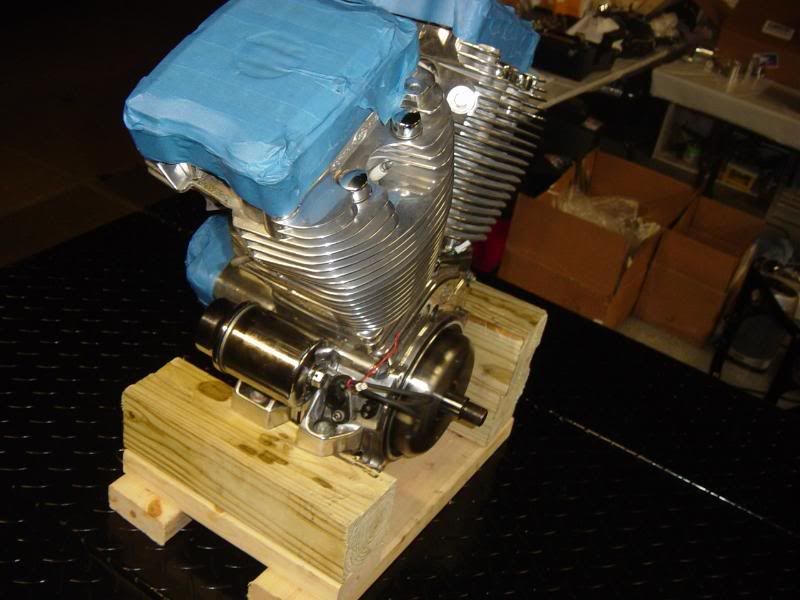
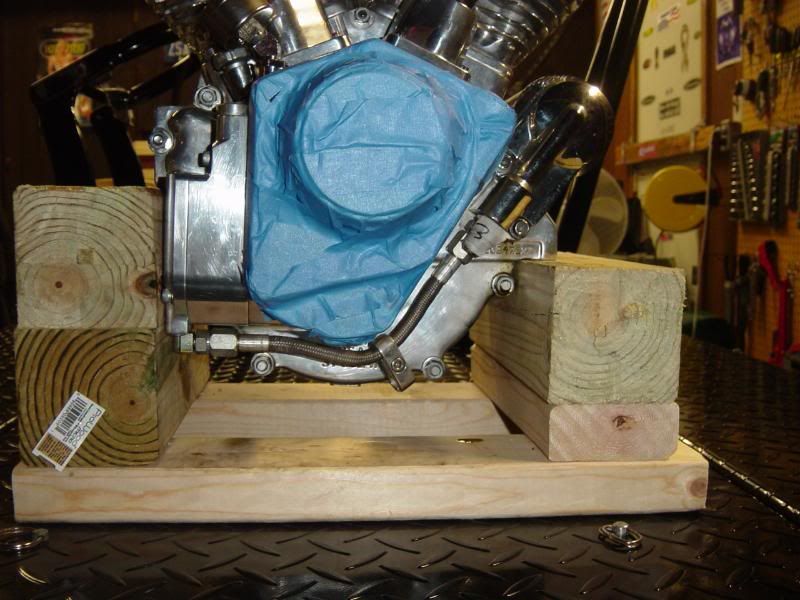
Took some measurements on the motor in the frame and constructed a stand for the motor out of some 4x4 and 2x4

Some 12" pieces


Drill them out and lag bolt them together.


Some 18" bottom rail 2x4's counter sunk for the heads of the lag bolts for the "risers"


And the bottom where I lag screwed the rails to the risers


Then BAM and I used big lag screws... its STURDY!!


Looks like it might fit


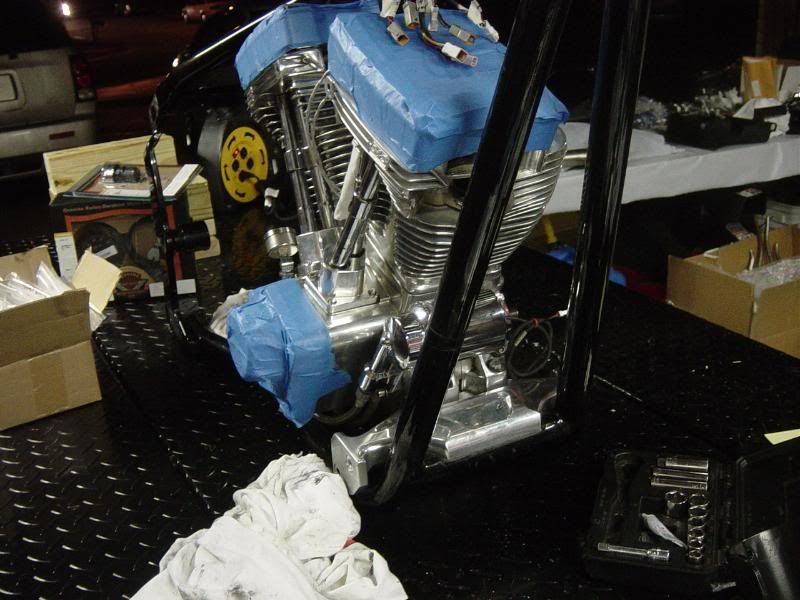
Unbolted the motors 4 bolts, picked it up and put it in my stand and bolted it to the stand

From:


To:


Cost for wood (still have a lot left over) and the lag screws $20. Sure beats buying a S&S stand...
 

Gas Man

Cool isn't cheap
Calendar Participant
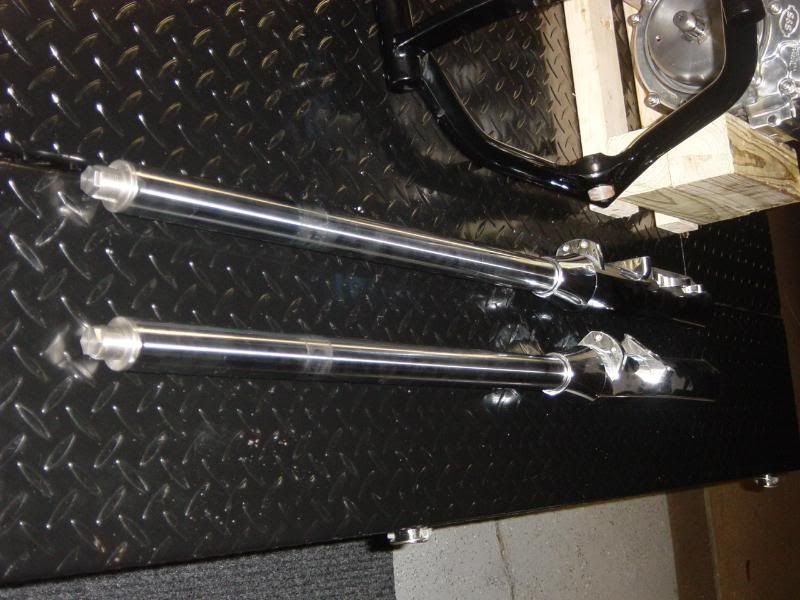
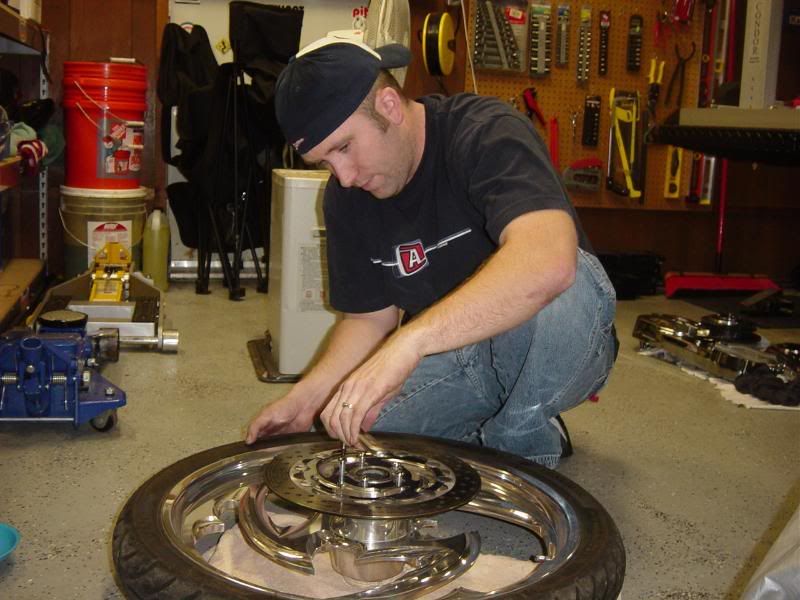
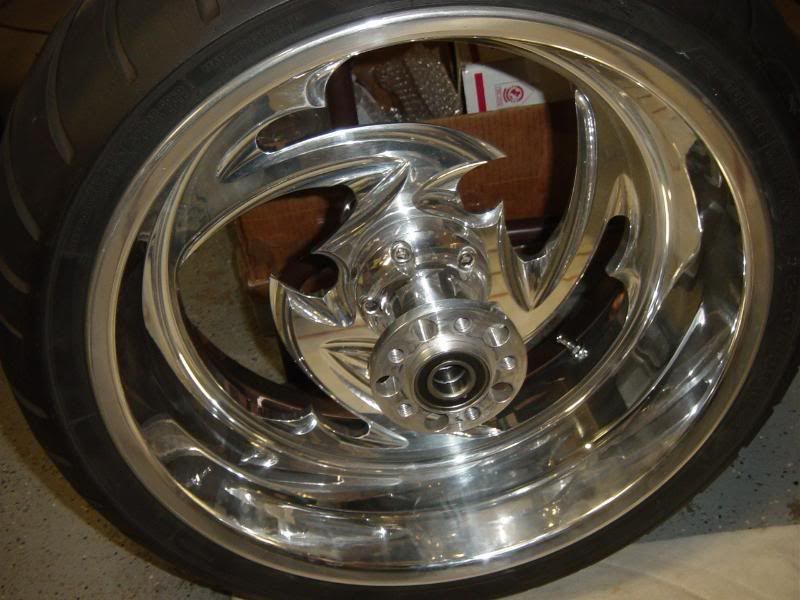
So then I made sure my new fork caps screwed into the ends of the forks, and took apart the front wheel from the forks. I want to have nothing in my way when it comes to polishing that wheel before I zoop it.

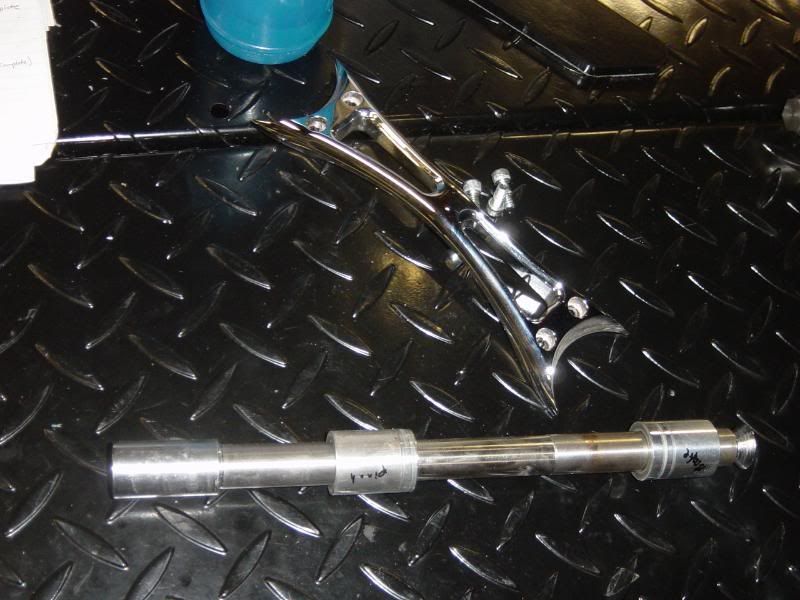
Pull the fork brace and the front axle


Mock fitted those end caps on the forks


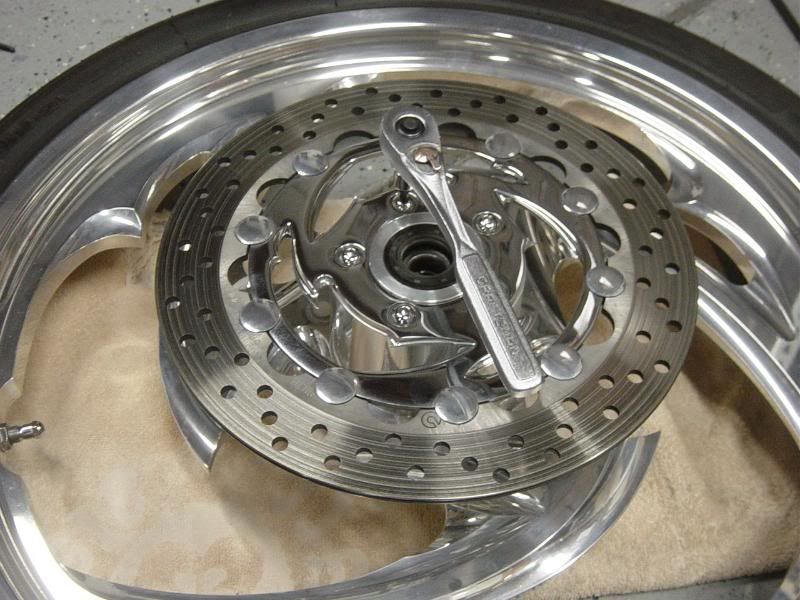
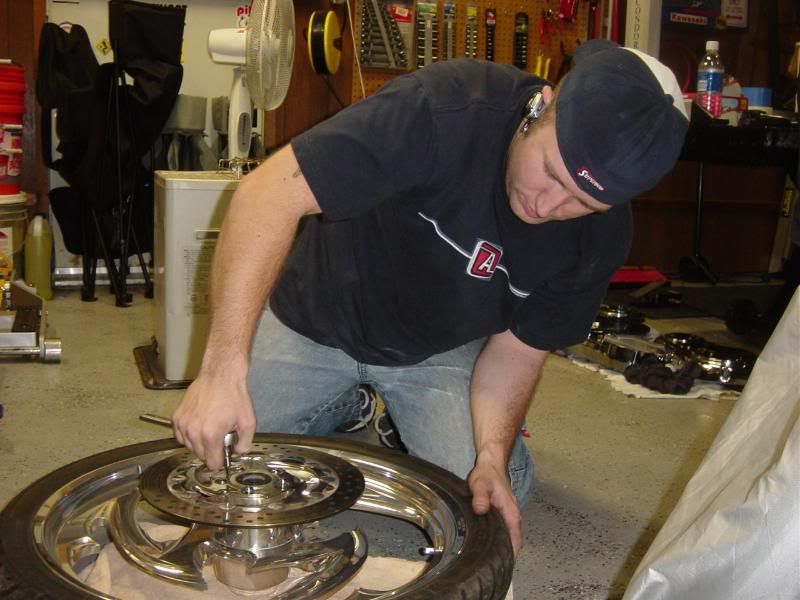
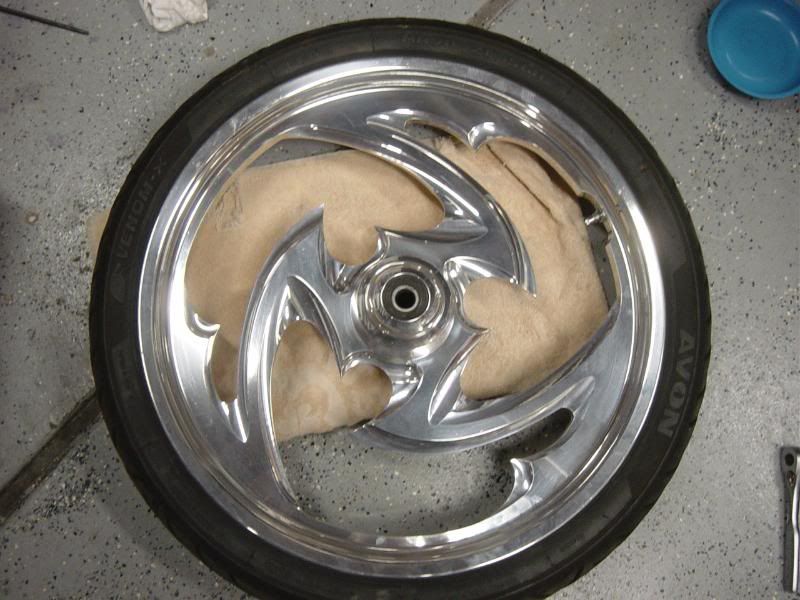
Took the front brake rotor off

(wifey thought it would be funny to take more pics of me)


No rotor


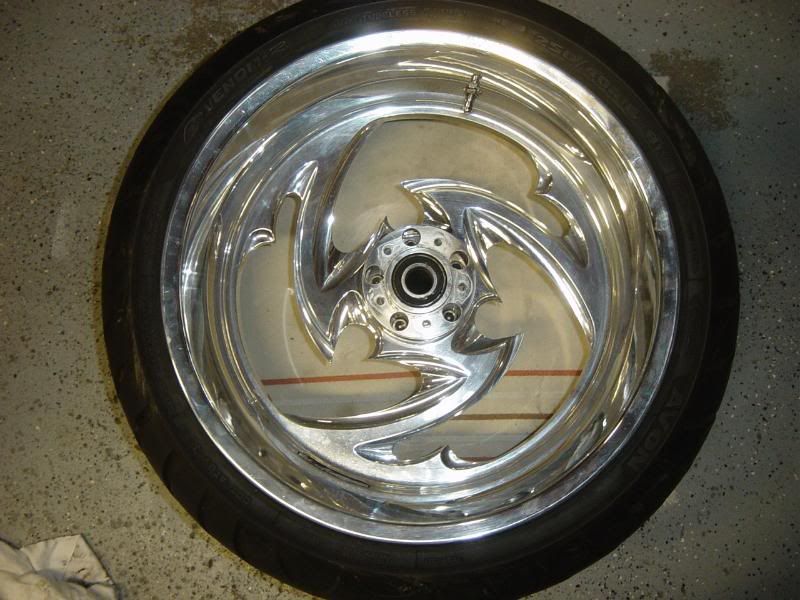
Then I pulled the rear pulley and rear brake rotor


Those rims got put inside the house to get warm, cause I have found polishing cold metal even when the garage is warm SUCKS. Your fingers leave dew/moisture behind and it sucks sucks sucks. So inside warmth in the basement will do the trick. Let them sit for a couple days and then go at polishing them.

Now Tuesday I just need to pull those damn wires... GRRRRR Oh and get a pic of just the empty frame... that I somehow forgot today...
 

Raywood

The Pirate
Staff member
Calendar Participant
Troop Supporter
Chris, don't know how many miles you have on the bike but the bearing are supposed to be changed every 10,000. If you have gone this far I would pull the hubs and have fresh ones put in. They are only about $15 for the five. You just take the hubs to a shop with a press and about 5 minutes of time.

Plus the wheel and hubs can be polished a lot better apart. Then sealed and assembled.

Just a thought, :cheers:
 

Gas Man

Cool isn't cheap
Calendar Participant
I got 6,000 on it... and was feeling the bearings today... wondering about that... what bearings have you used? BDM? Aftermarket? Where did you get them if aftermarket?
 

Gas Man

Cool isn't cheap
Calendar Participant
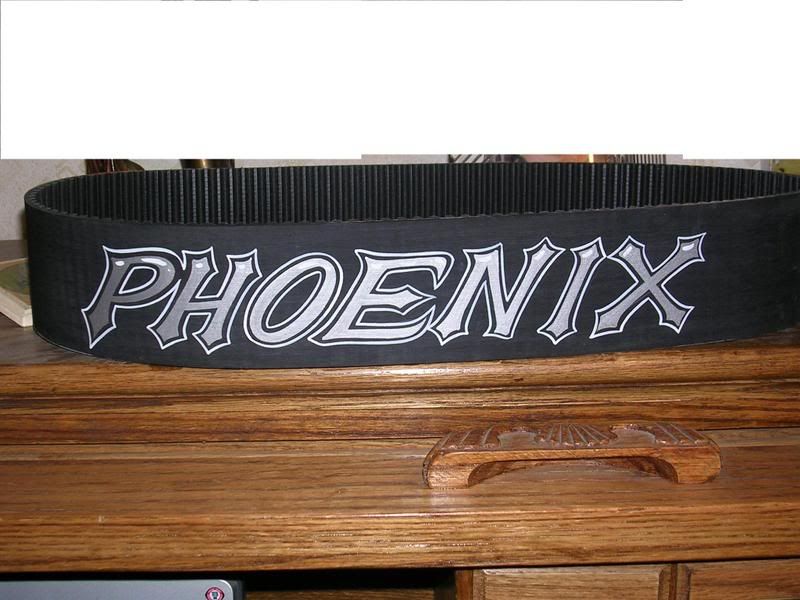
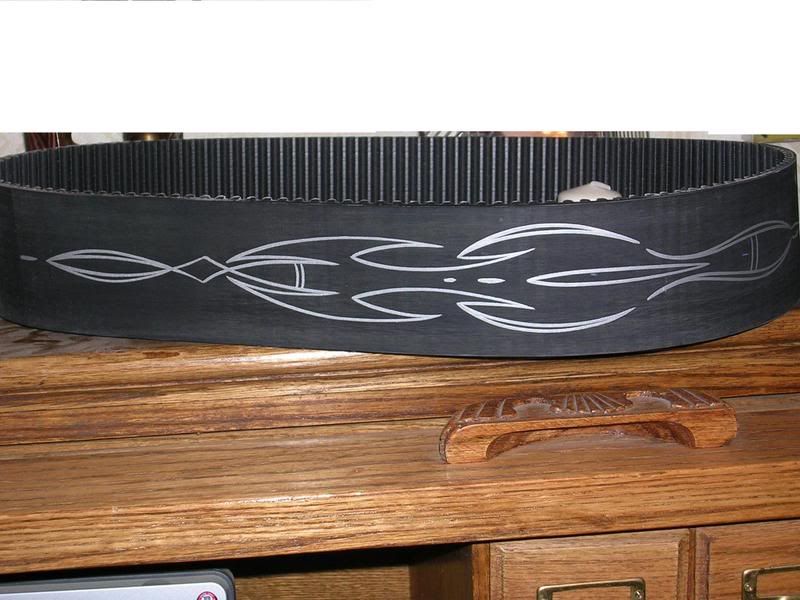
Also got a pic of the newly painted belt... Pics from Vickie, and she says they don't do it justice... would have loved to do more color but the bike's paint don't support that... so this looks great... the shading in the font is awesome...


Raywood

The Pirate
Staff member
Calendar Participant
Troop Supporter
I got 6,000 on it... and was feeling the bearings today... wondering about that... what bearings have you used? BDM? Aftermarket? Where did you get them if aftermarket?
I think they are generic but I got mine from the dealers both up here and in San Diego. :cheers:
 

Gas Man

Cool isn't cheap
Calendar Participant
But you got them from a BDM dealer... so probably nelson can get them for me... so I don't worry about them being wrong. Right?

Now, you said to pull the rear hubs, but the front tire I have to just take the whole tire in, correct?

Have you ever just did it yourself? I have access to a press... hell I have access to presses 30 times too big for the job at my bro's tractor shop.
 
Top