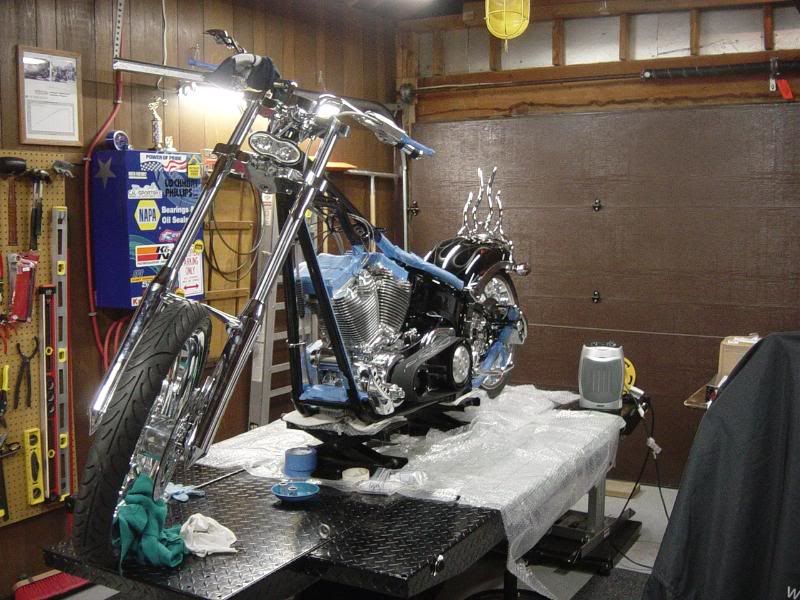
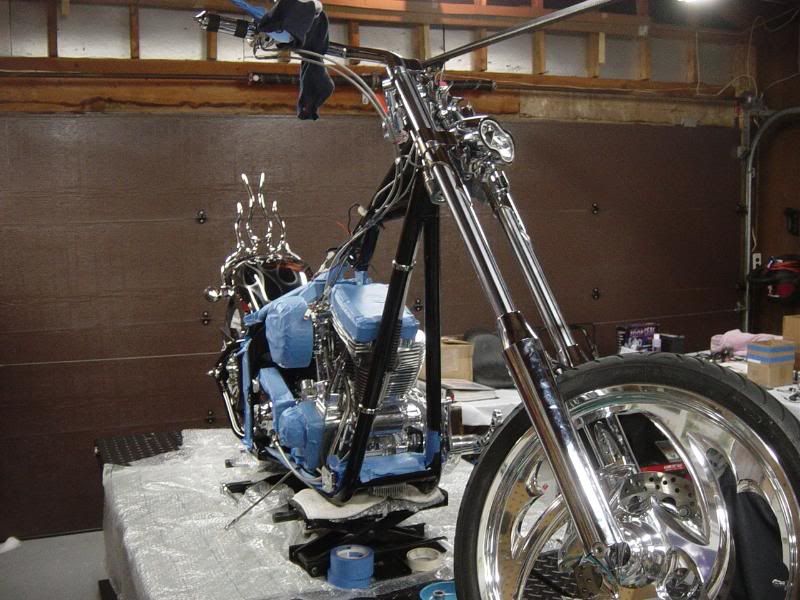
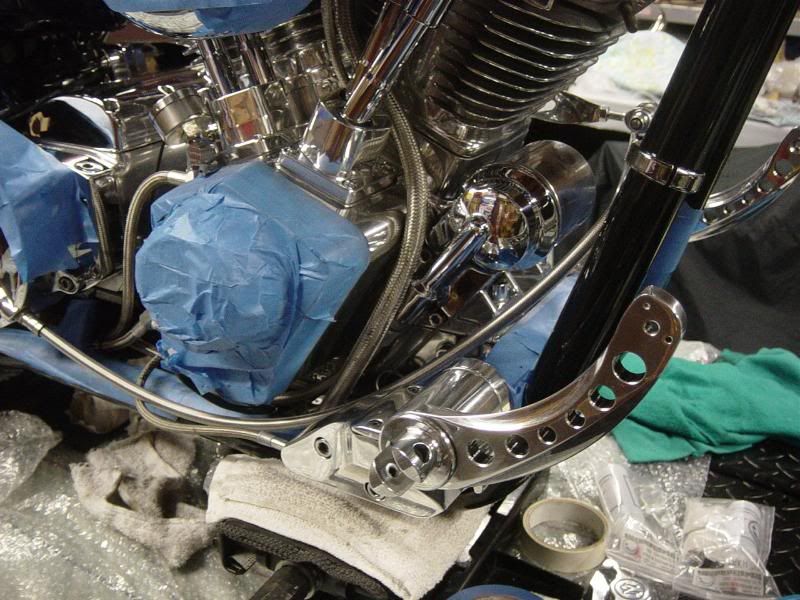
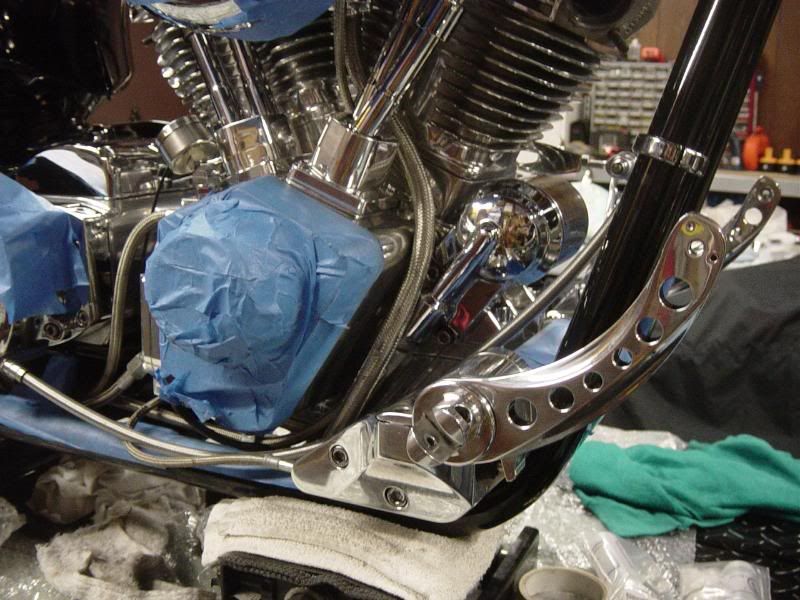
So I started to TRY to finish up some things.... things that have been giving me headaches... front end with the fork brace, fender mounts, and axle; plus the headlight...
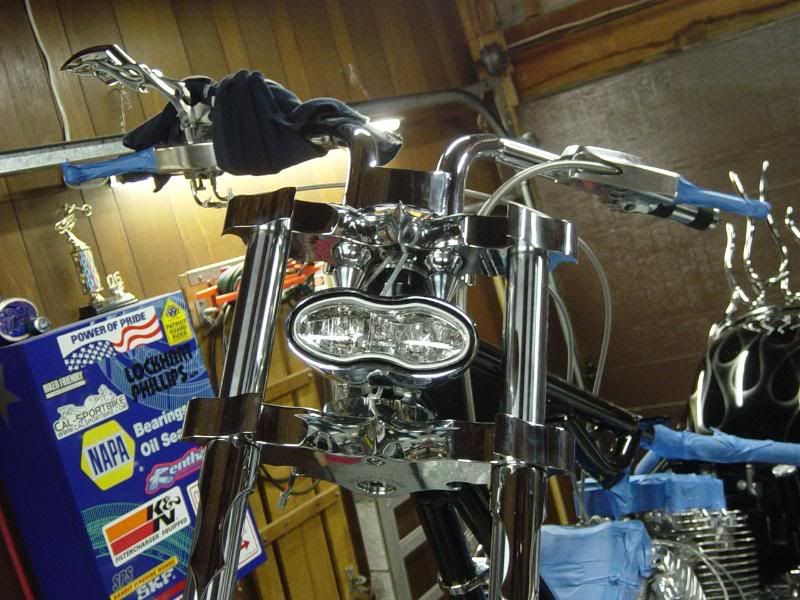
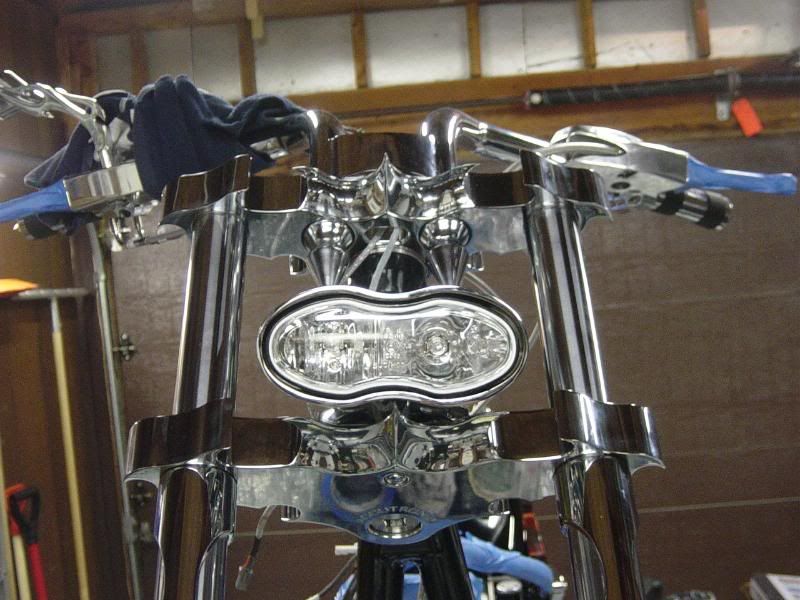
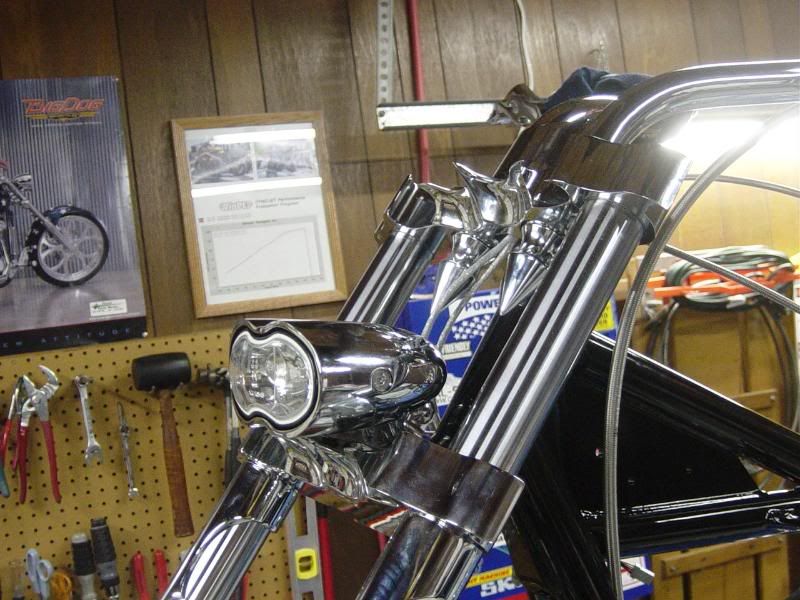
so with the headlight...
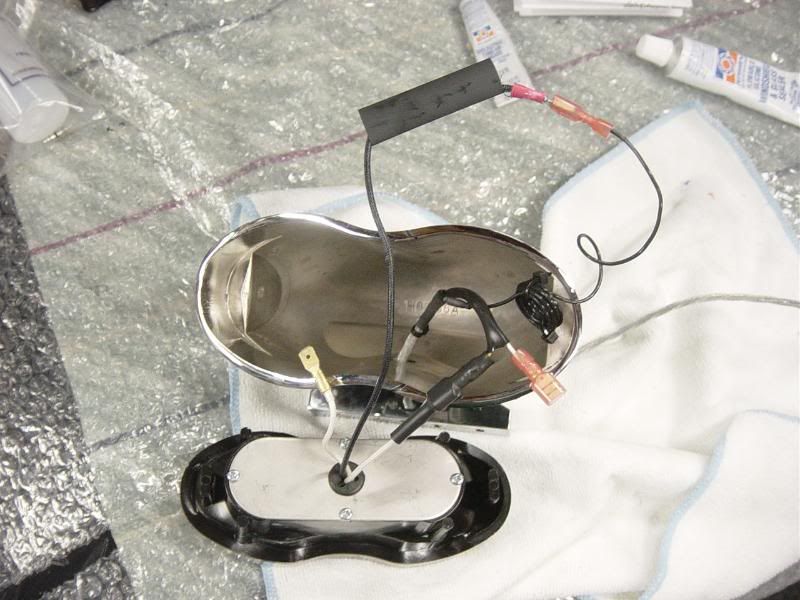
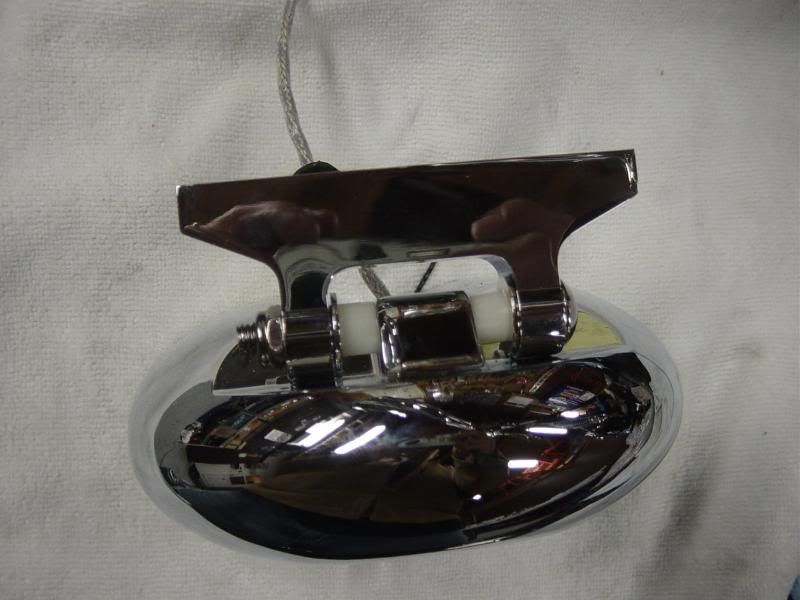
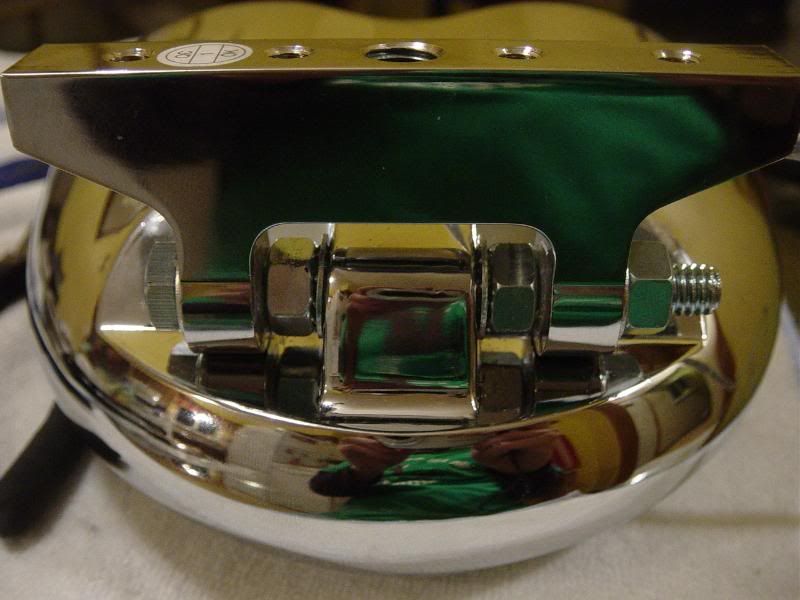
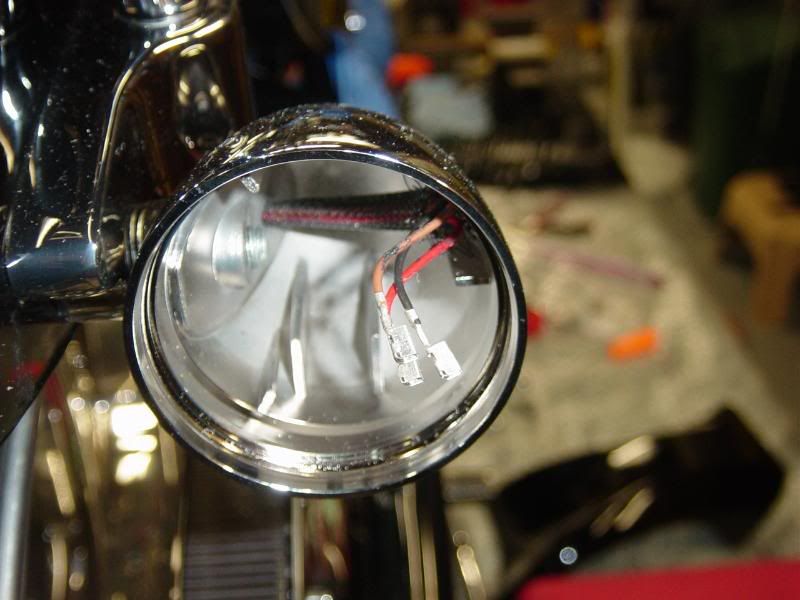
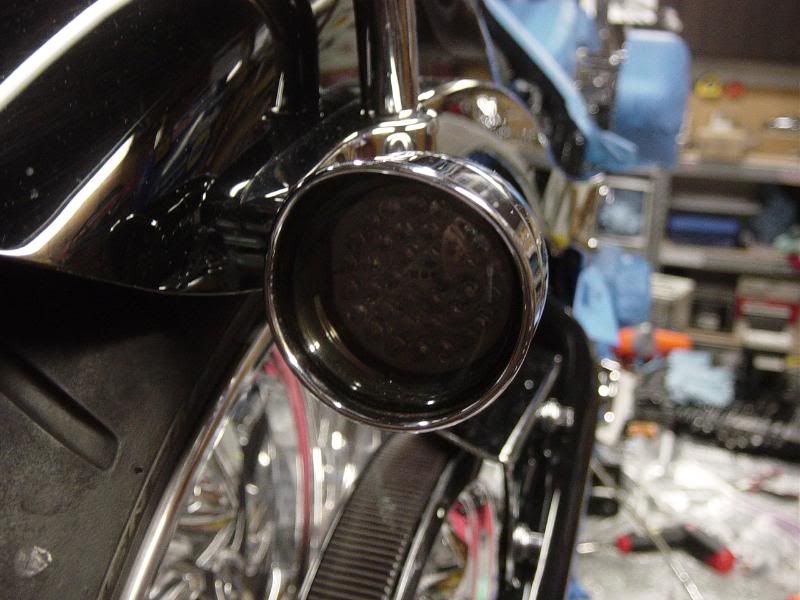
I picked up one of the wave headlights. Its a knock off of the cyclops headlight, no thanks on the real one at $750... so I guess you get what you pay for.
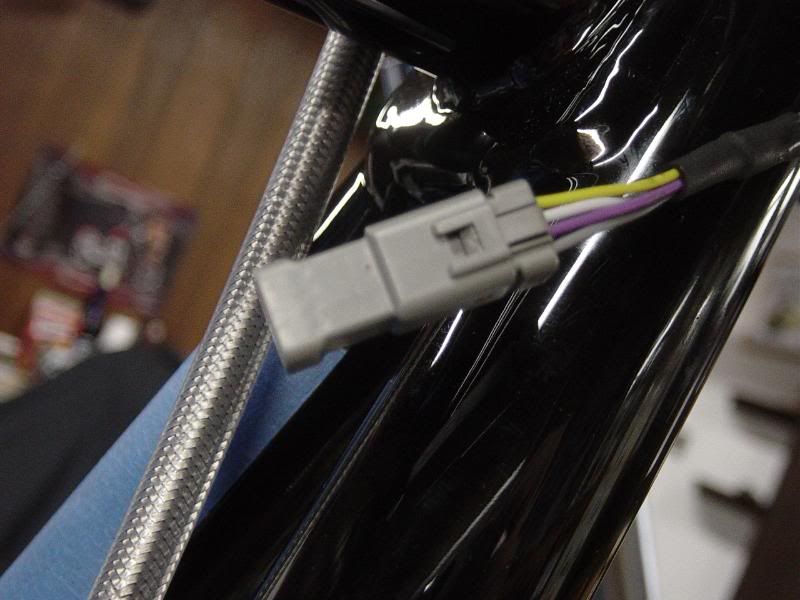
I wired in the stock wiring so it would just plug in to the BDM harness
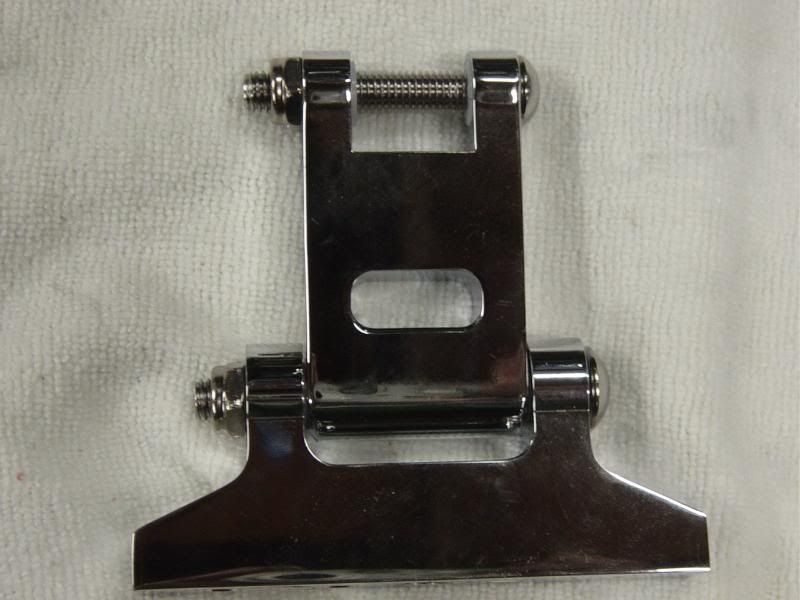
It came with this dual piece mount, that I didn't want to use the one piece cause it makes it stick out and I think would make it more unstable.
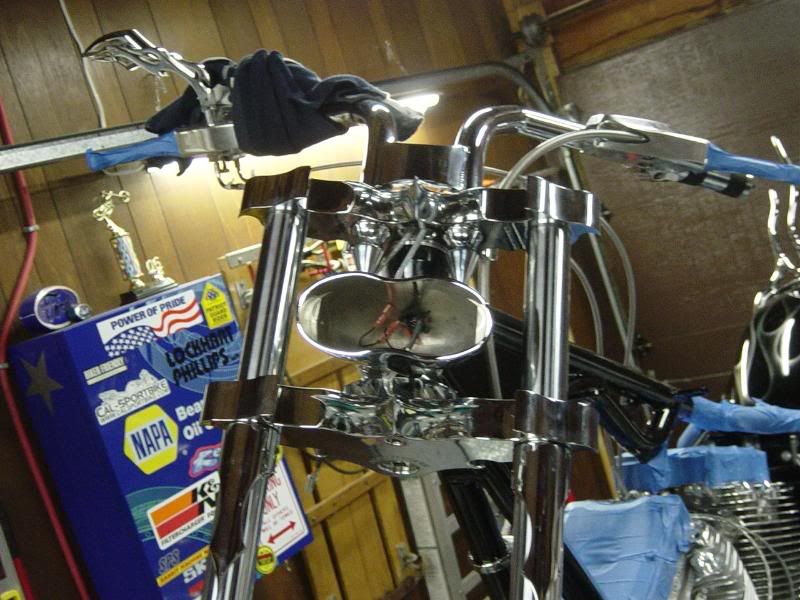
so trying to mount it with the one piece, but having a heck of a time keeping it sturdy and not moving.
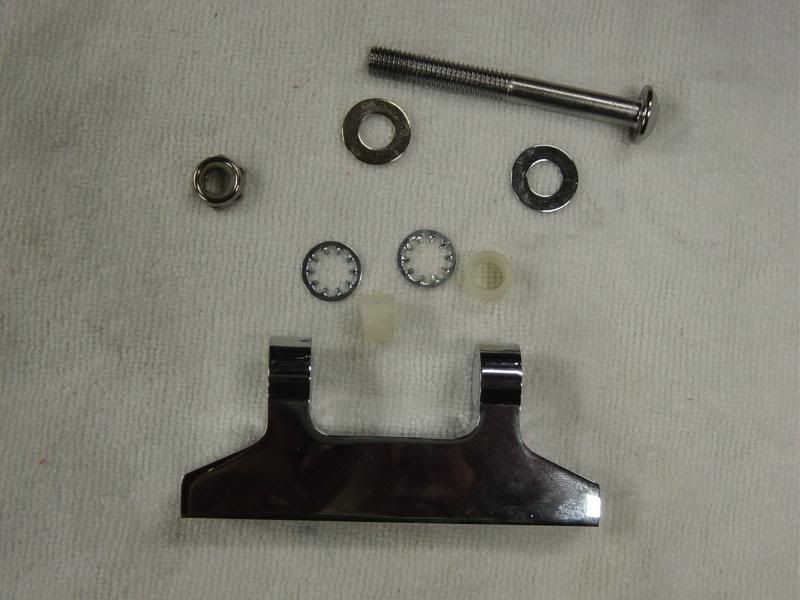
Tried nylon spacers and star lock washers..
didn't work GGGRRRR But still looks good I think
Tried a few different types of nylon and different washers... one of the techs at work suggested a pinch idea with a bolt and nut. Tried it and it worked. May have to upgrade the bolt to something nicer looking or cover it a bit
BUT IT WORKED!!!!!
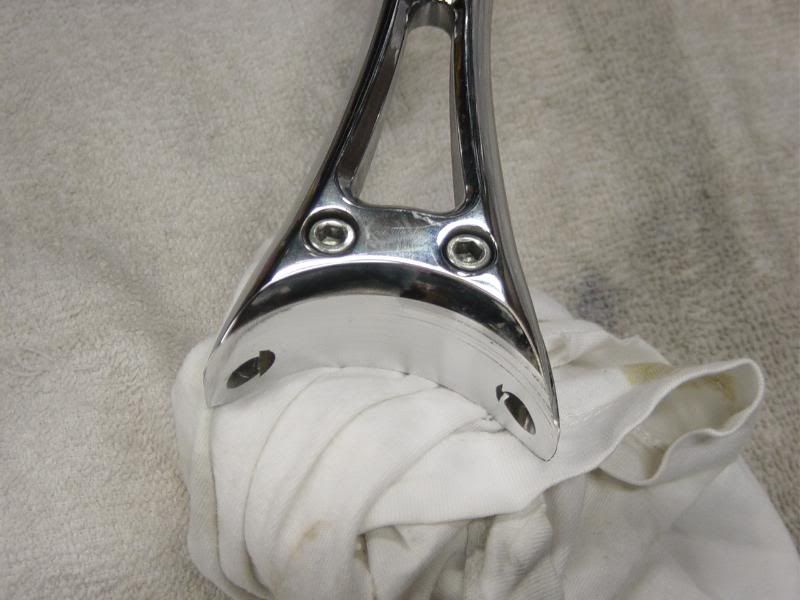
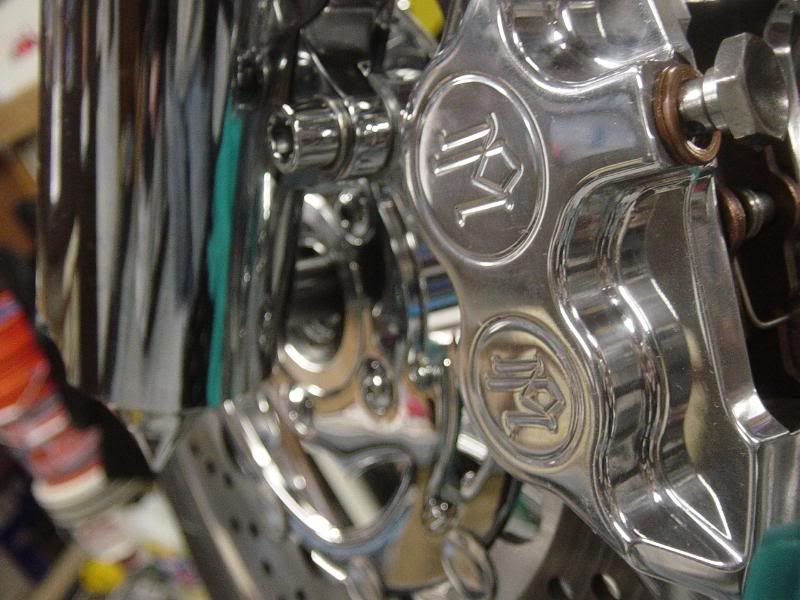
Now onto the front end stuff. Got my fork brace back from my maching guy. Had the radious cut in on the fork brace setup
BAM! Bolts up now without spreading the forks!!!
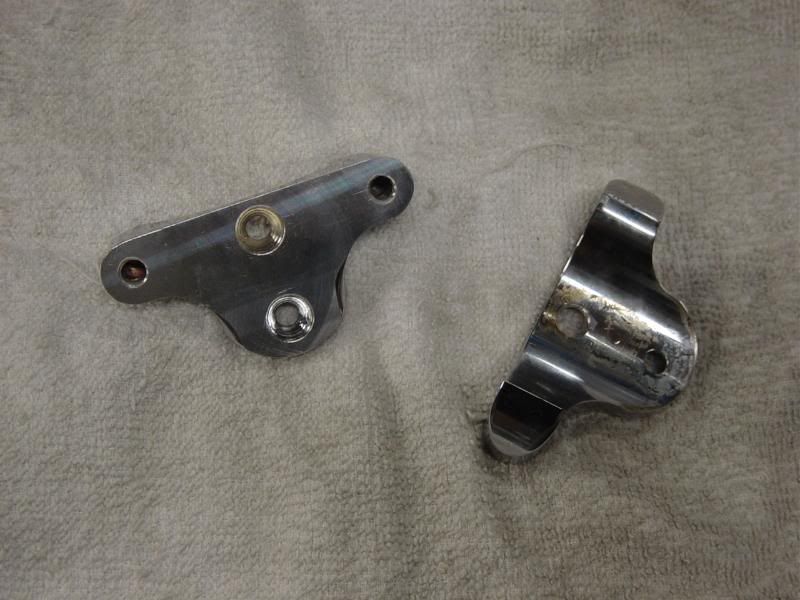
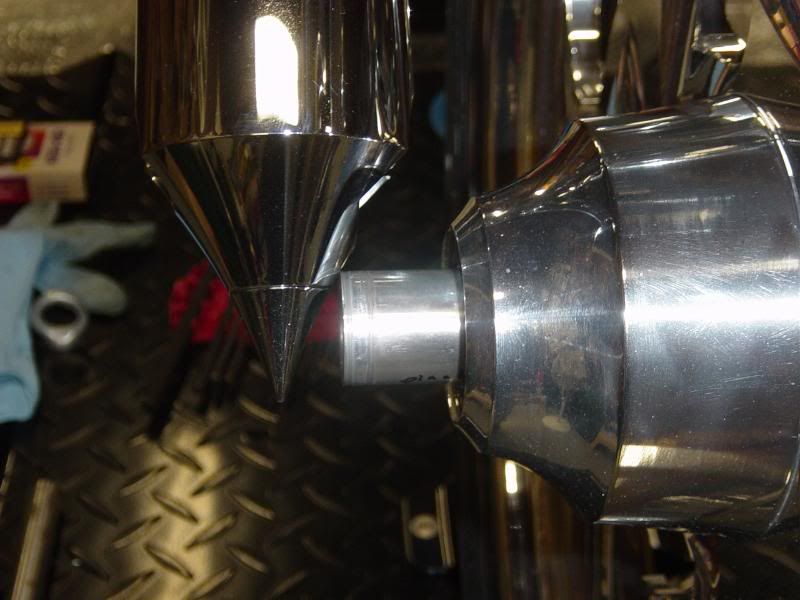
Had the outer surface of the fork-to-strut mounts machined flat to remove material due to the forks a bit closer as desribed before.
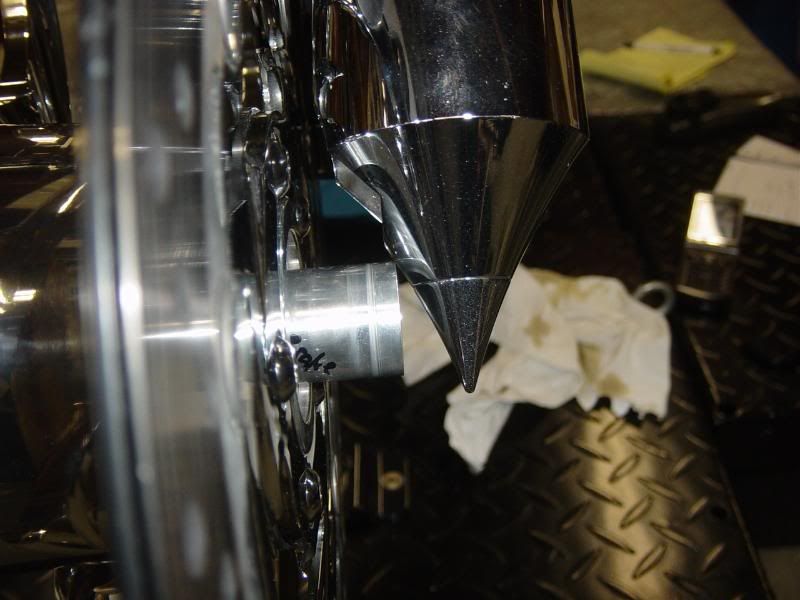
Now with it mocked up... you can see the current spacers won't work and will need to be lathed down a bit
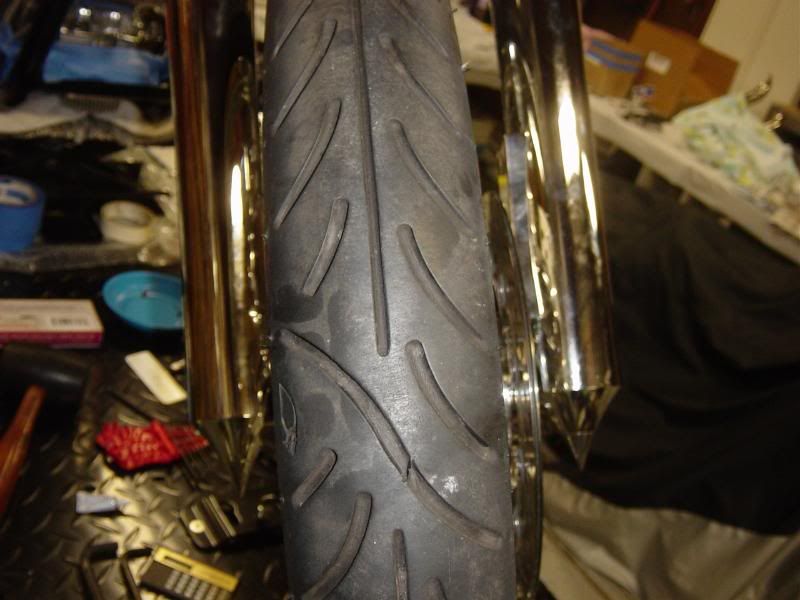
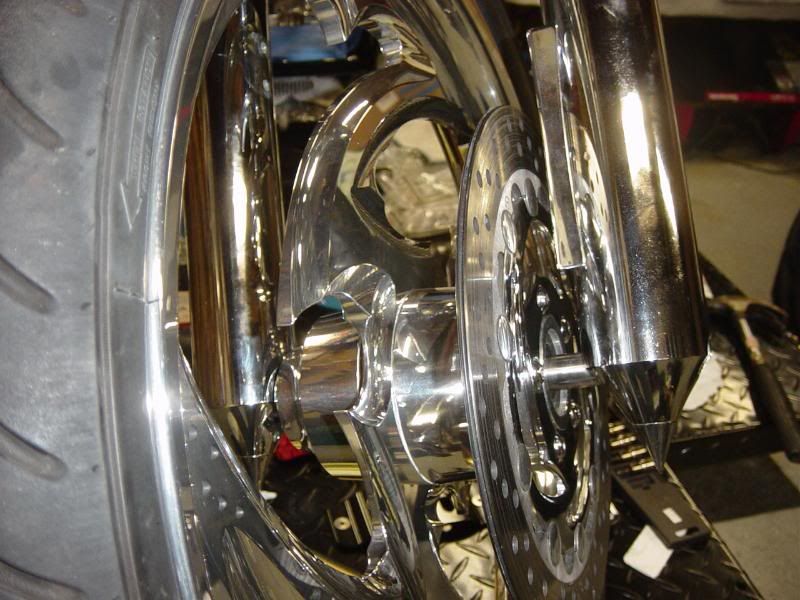
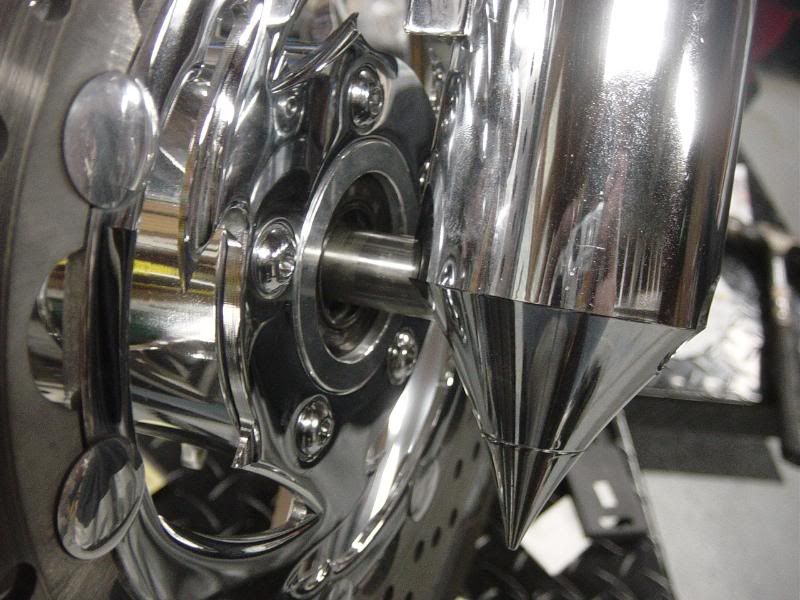
So mounted the front wheel to get measurements
Use the caliper to center the wheel
To be continued on this...
Lets move on...
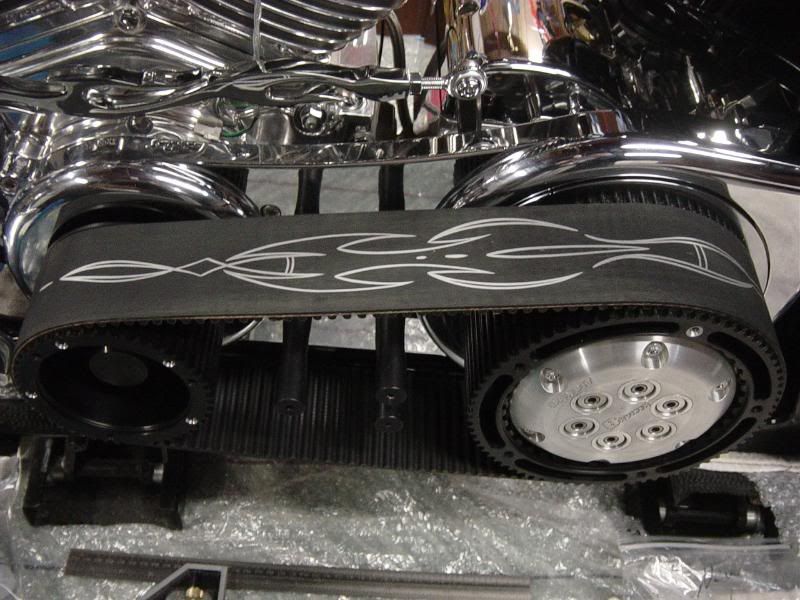
Flipped the belt to show the other side that has not gotten the love it should... the pin striping looks great
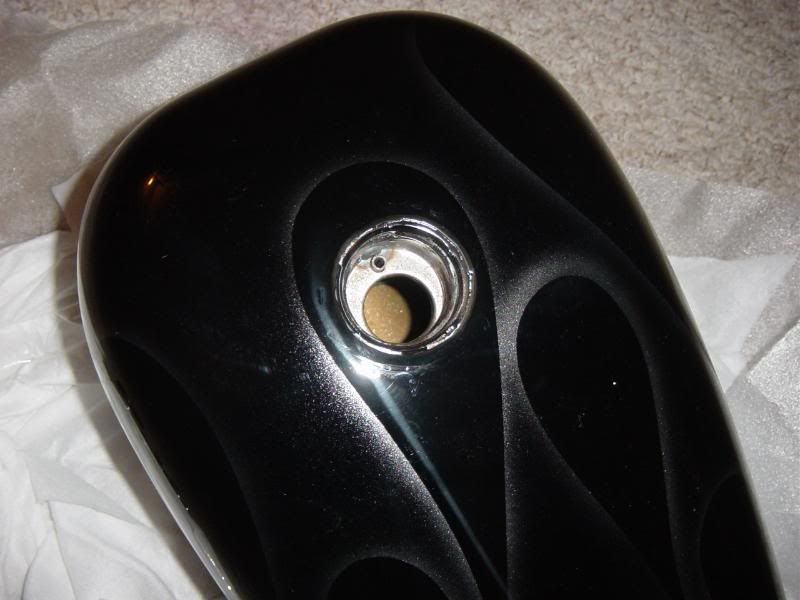
Also, got my tank back AGAIN now without the paint saver...
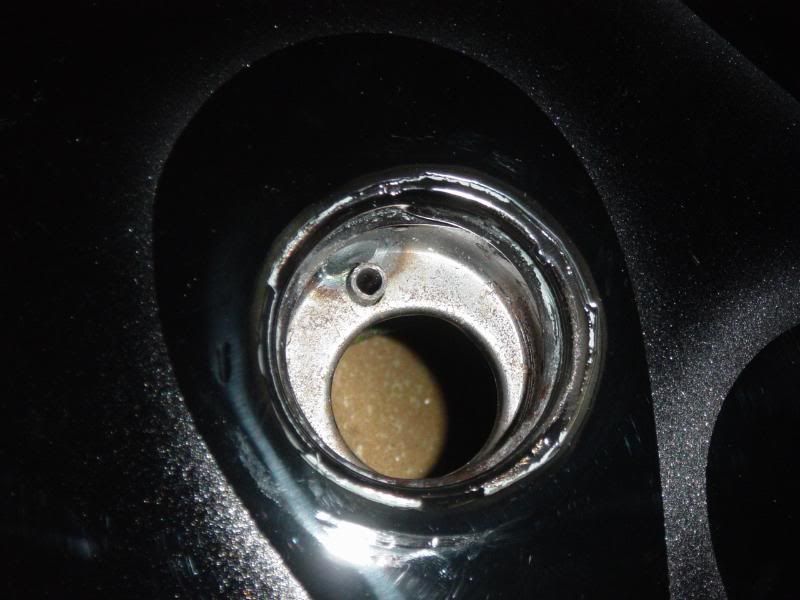
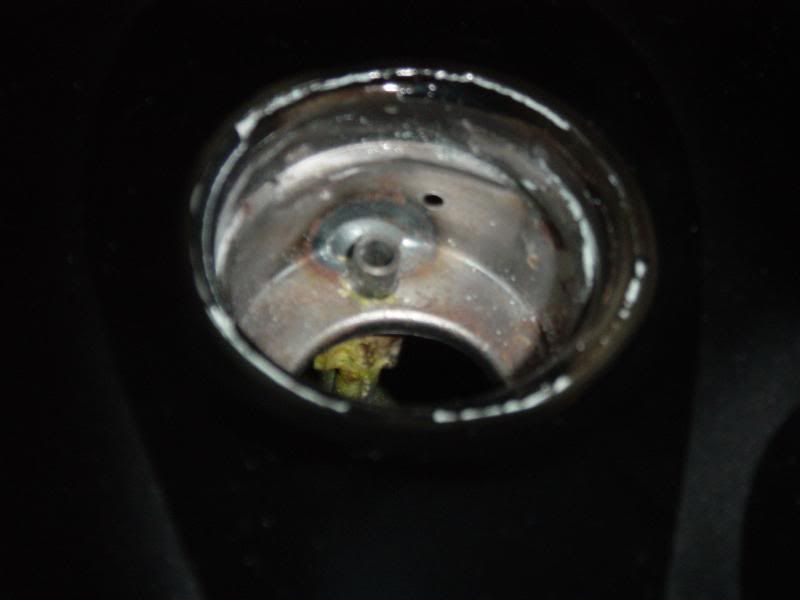
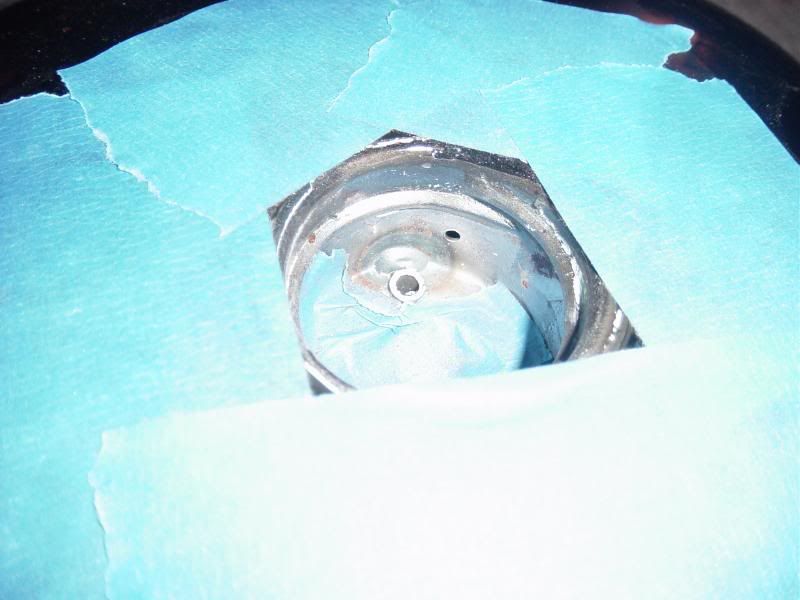
then went to spin in my new gas cap adapter to find that the vent tube is stopping it from spinning in...
Say BYE BYE to that!!
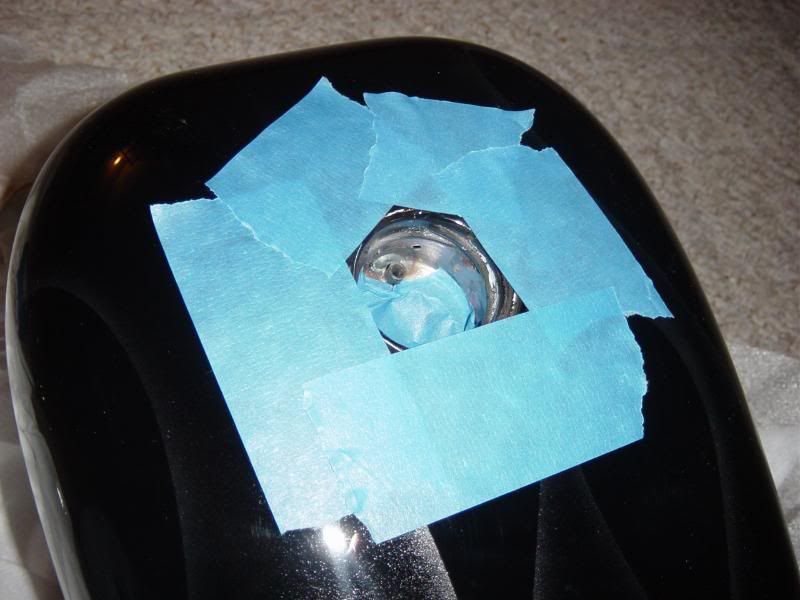
Tape up for protection
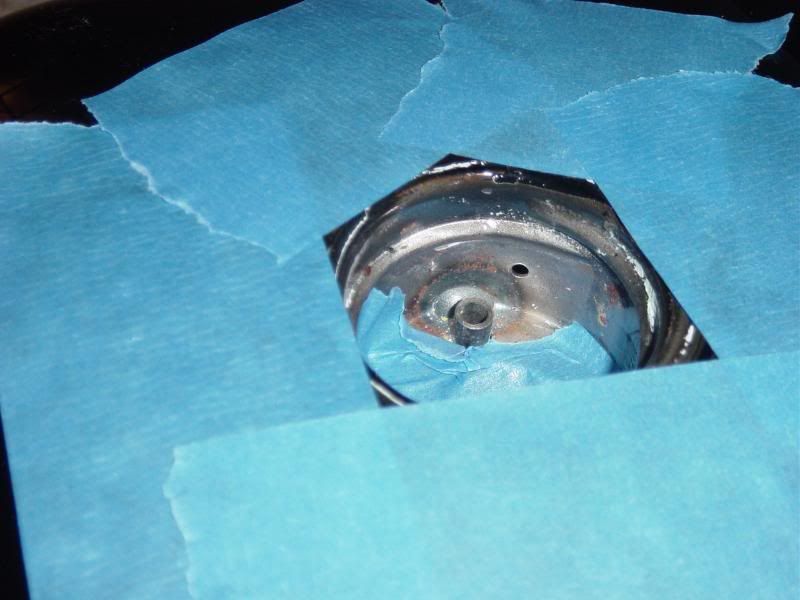
Get out a small cutting wheel and the dremel... like snip snip almost... but its...going
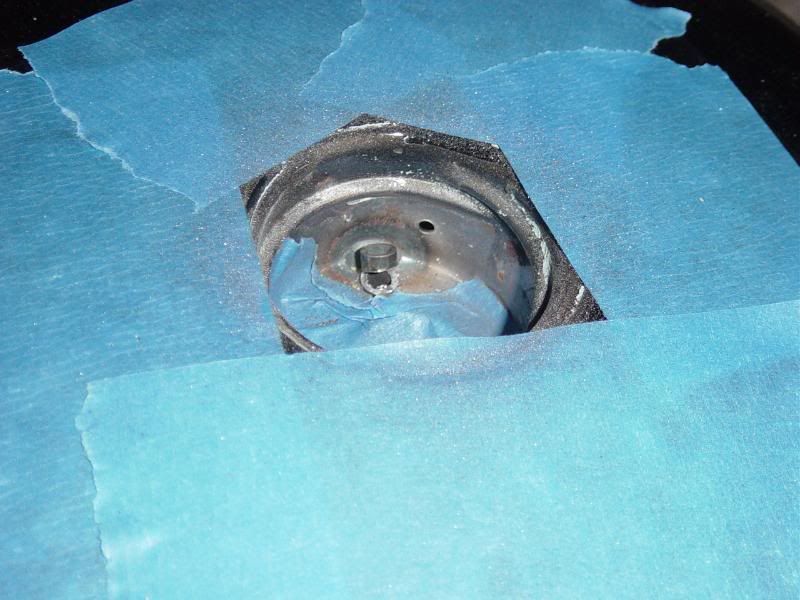
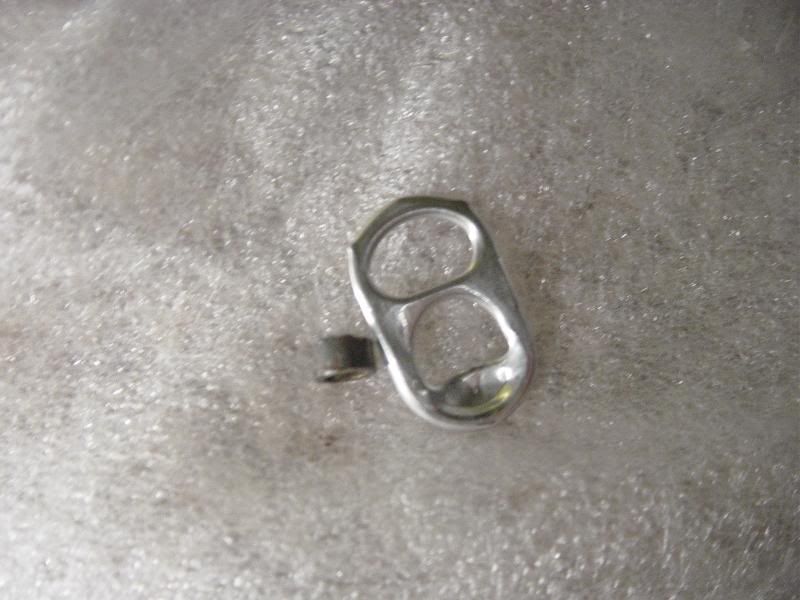
going gone
Just to get an idea of how much I had to take off
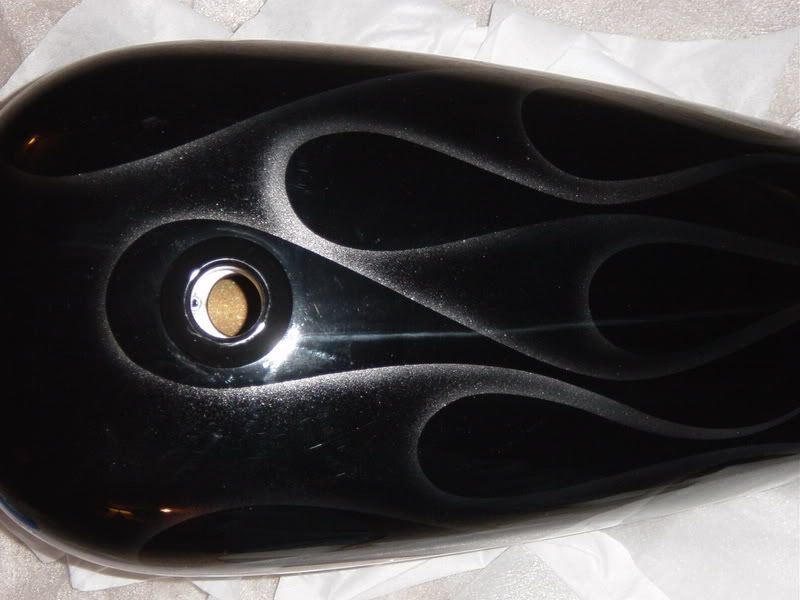
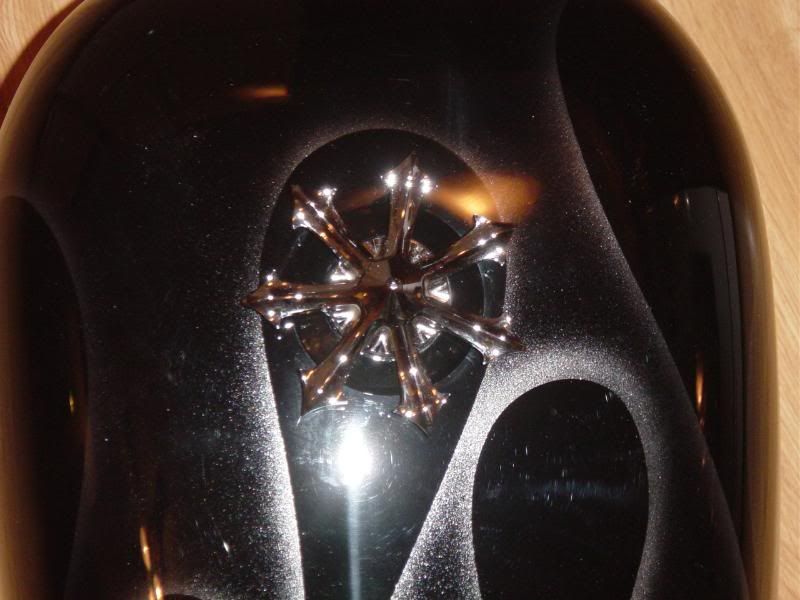
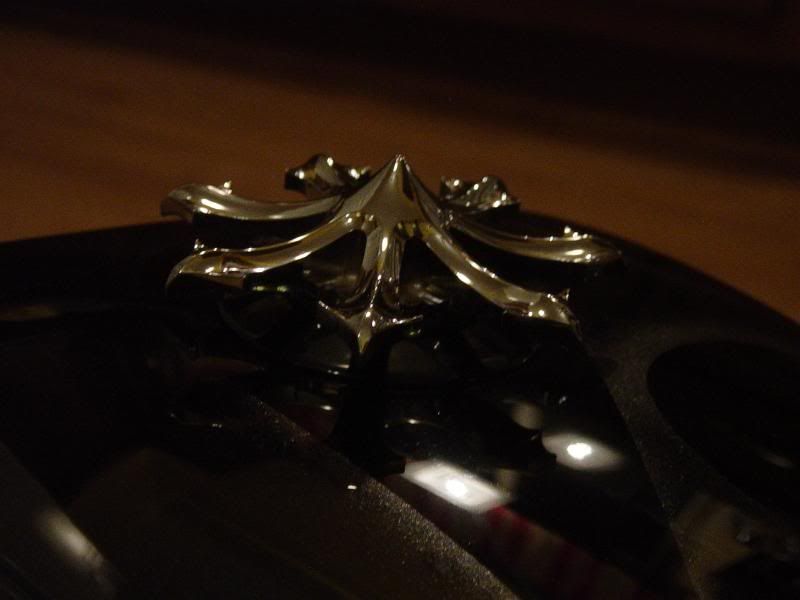
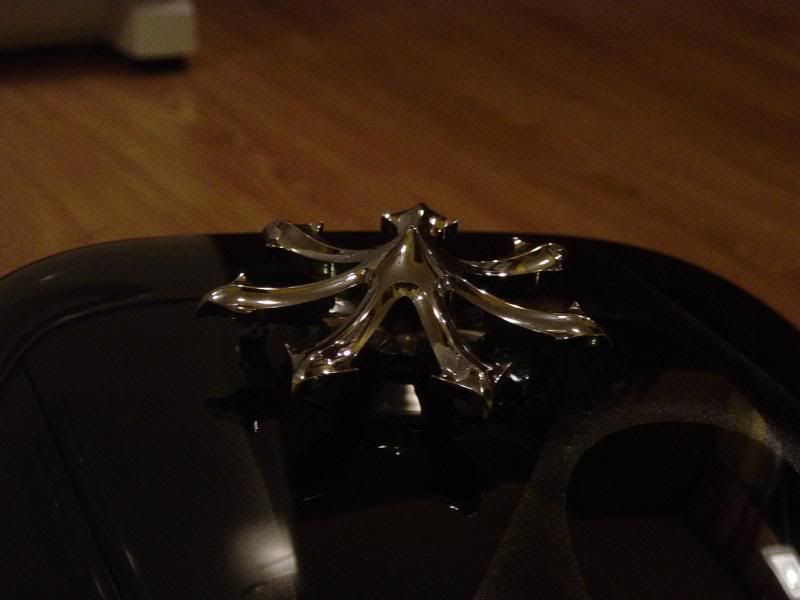
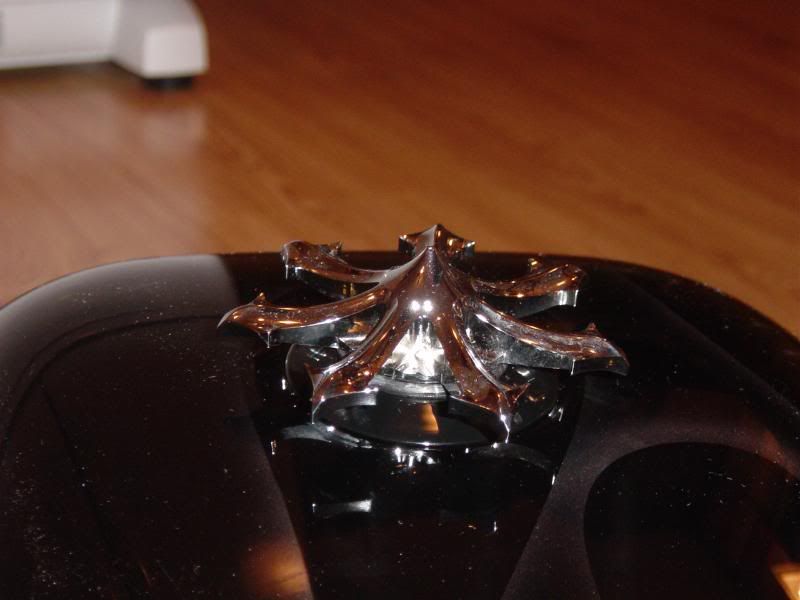
Added some clear silicone to the threads and spun in the new adapter. the powder matches GREAT!
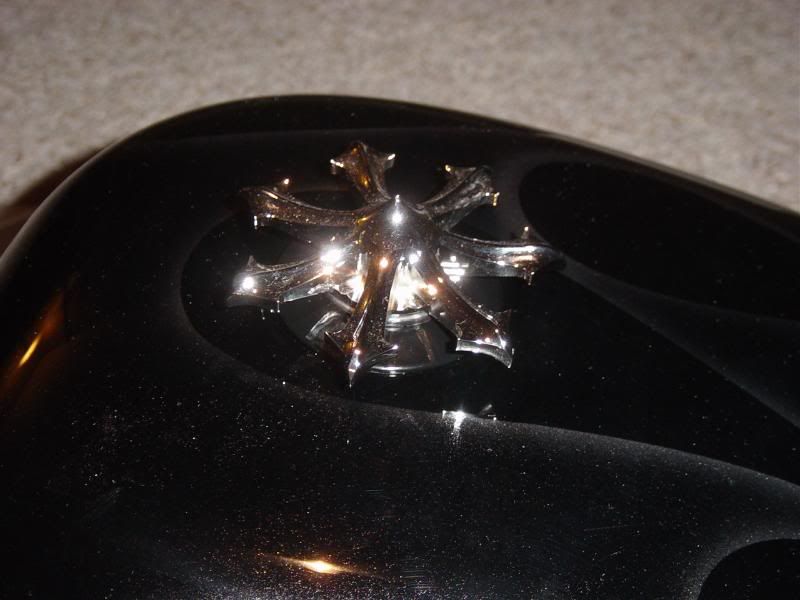
Here's some shots of the cap in the tank... turned out great and DAMN am I glad I did the adapter ring in black powder vs chrome
That looks great and will remain in the house for at least another day to help it cure...
Now onto MORE wiring.... YEAH!
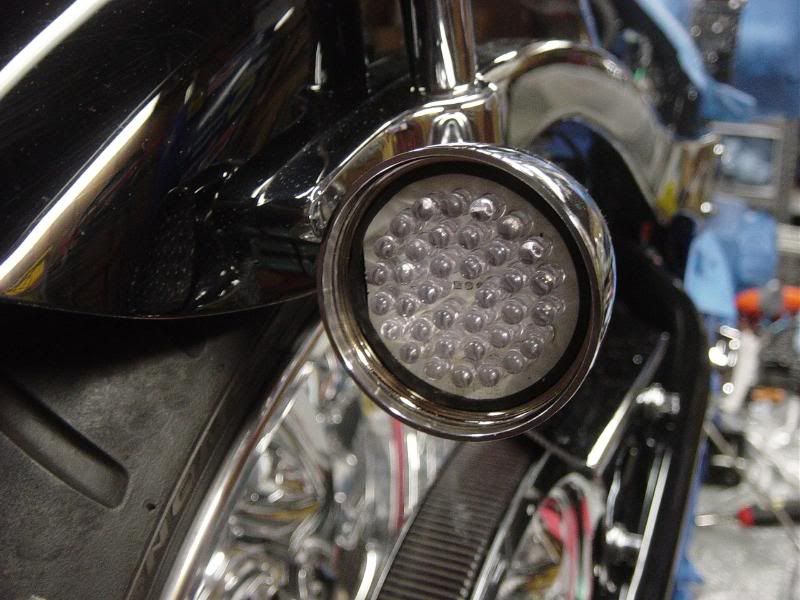
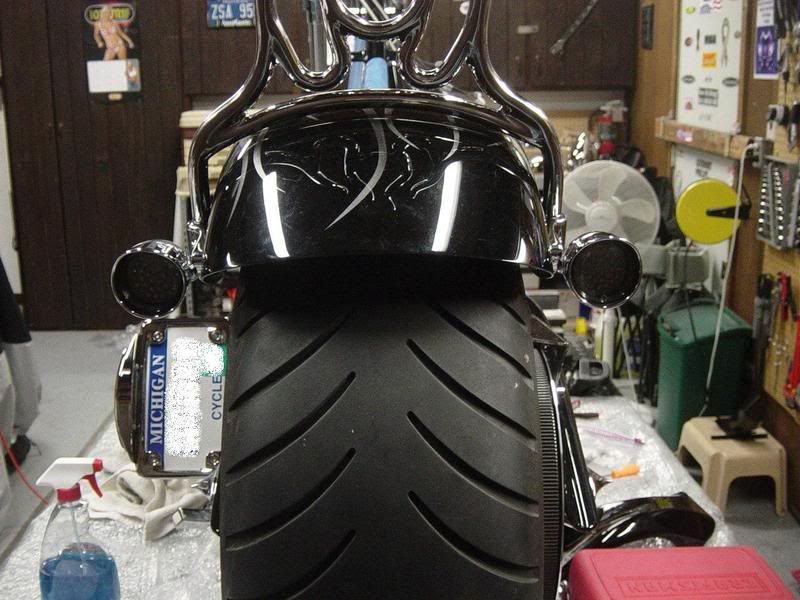
Wired the tail lights
With these clips
LEDs
BING
BLANG
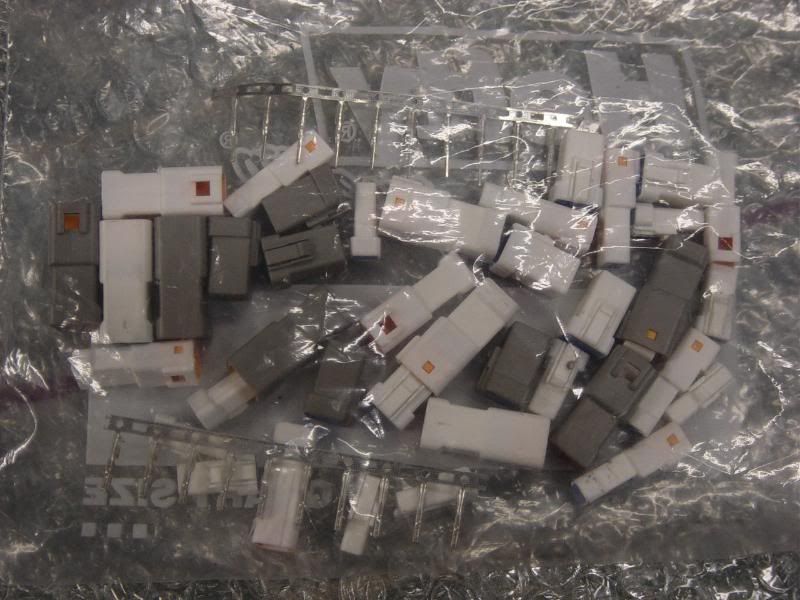
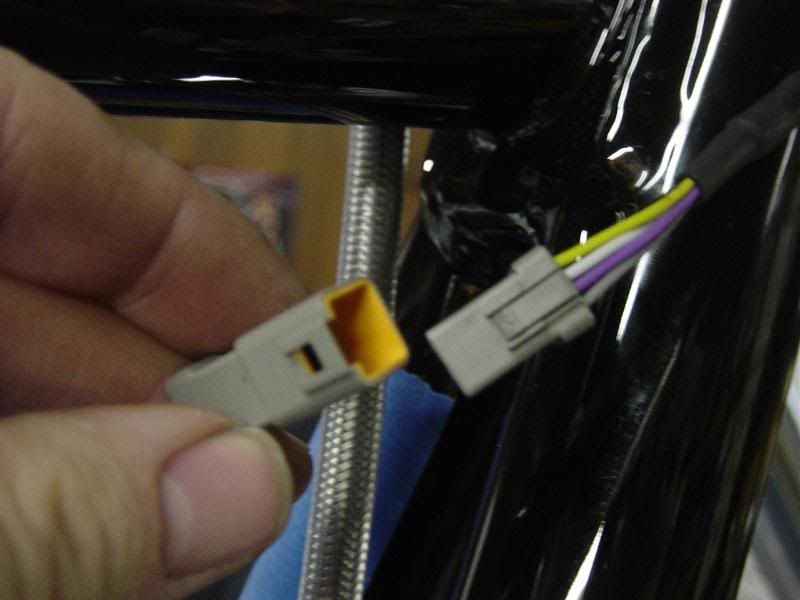
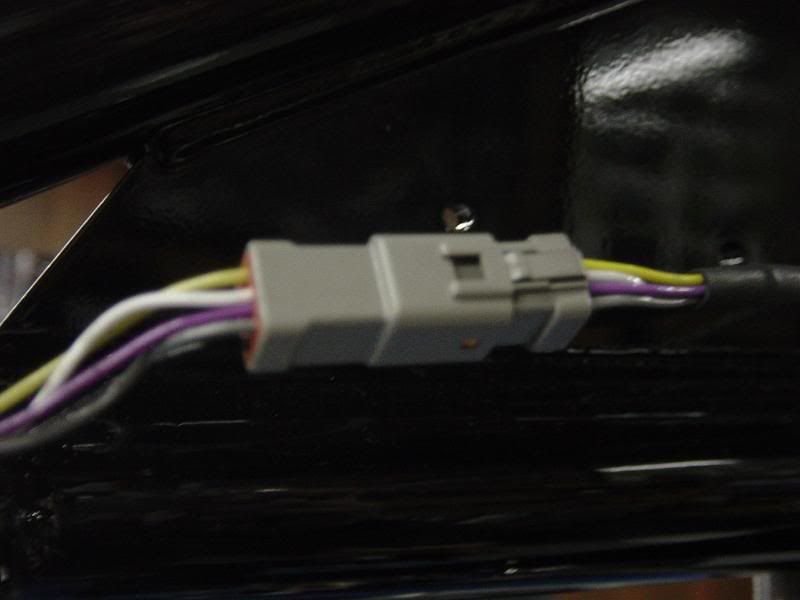
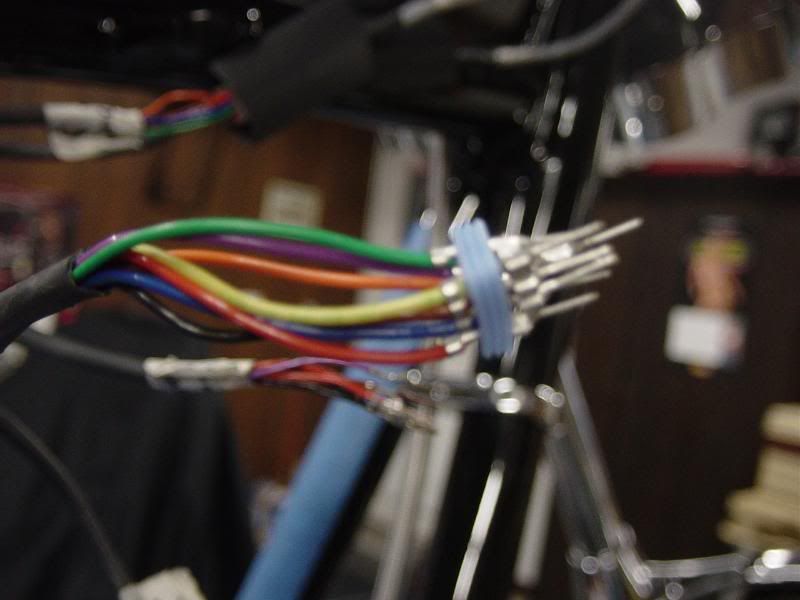
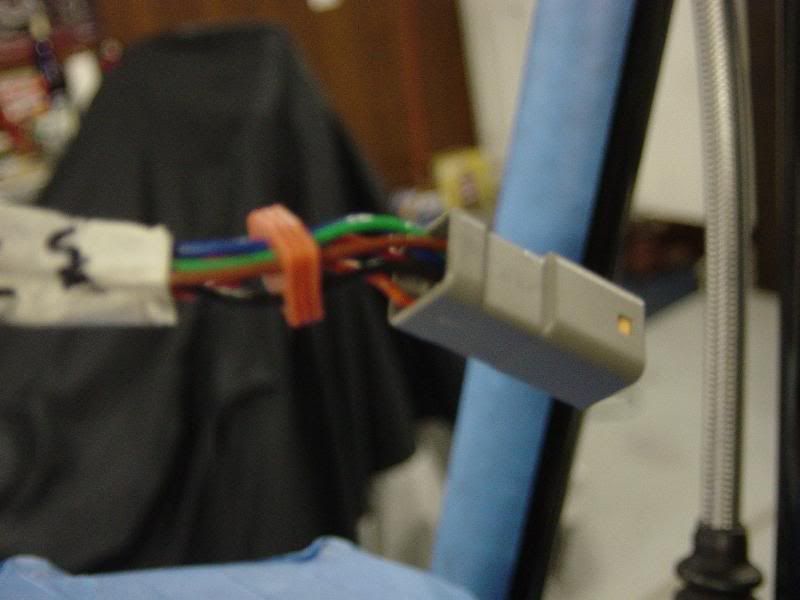
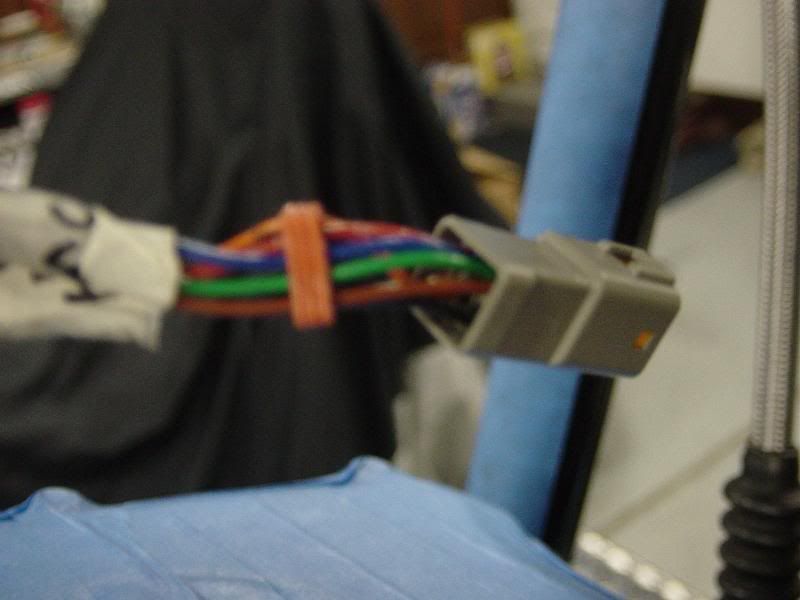
Got my replacement connectors and I will make good use of them
The task at hand
Match up the correct connector for the job
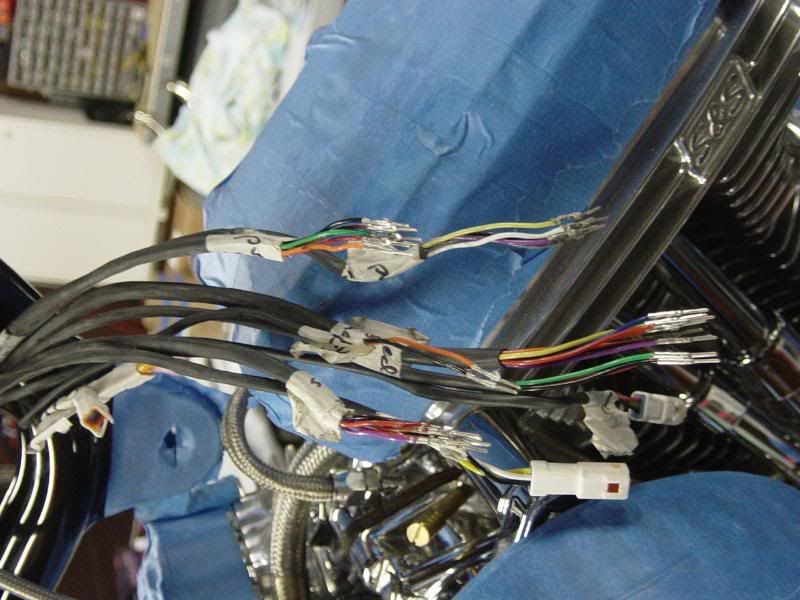
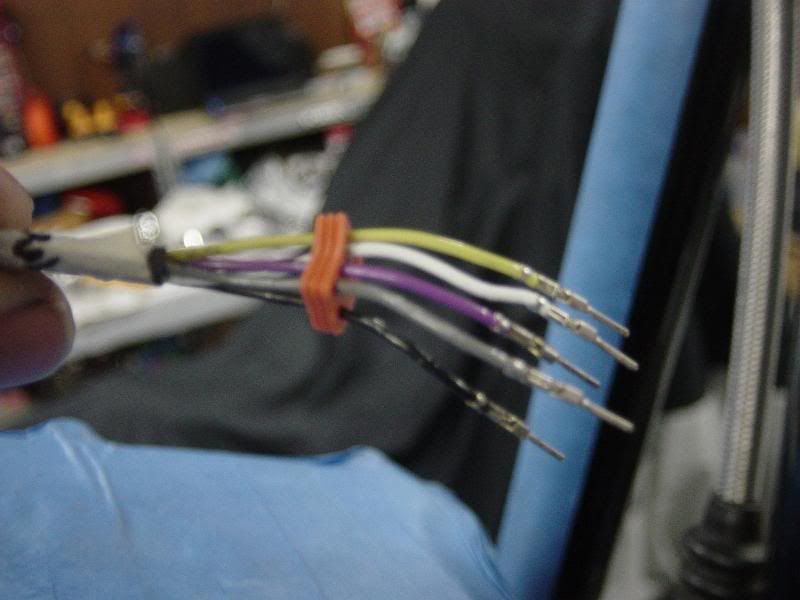
Line up the wiring correctly and slide the real seal onto the wires
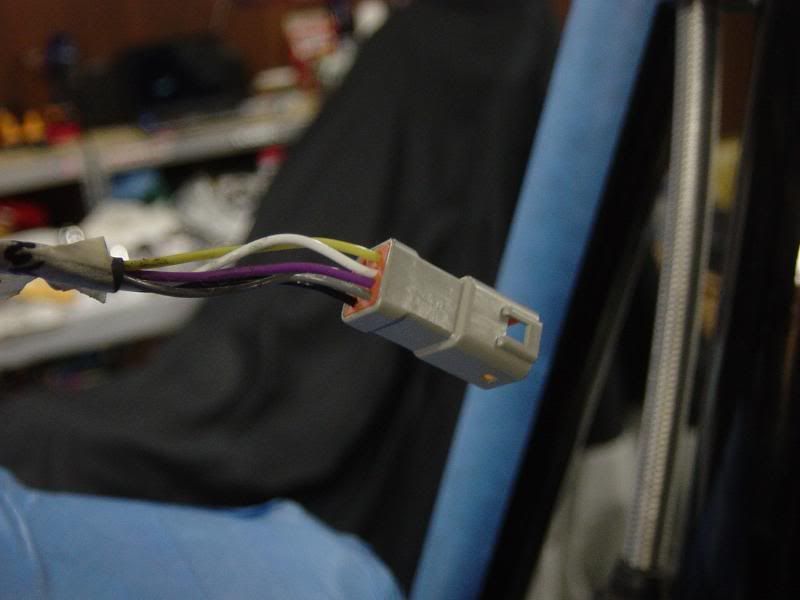
slide the wires into the clip till they snap into place, then slide the real seal into place
Add some di-electric grease and a piece of shrink wrap.. clip together
Of coarse this repeated many times as needed...
Already had the lower power harness done. Now I got all of the backbone wiring done, besides the tach/speedo hooked up (still waiting on something) and I still have to wire in the aftermarket key... but its 90% done... thank God!
Also got the throttle cables and little farrels installed at the grip
This left me with this at the end of the day


hey gas, go easy on taping up the filter cover with the silicone on it. takes forever for that shit to cure if it is in a sealed area. i'd hate for the flames to fall off on the maiden flight of the phoenix.:2thumbs: