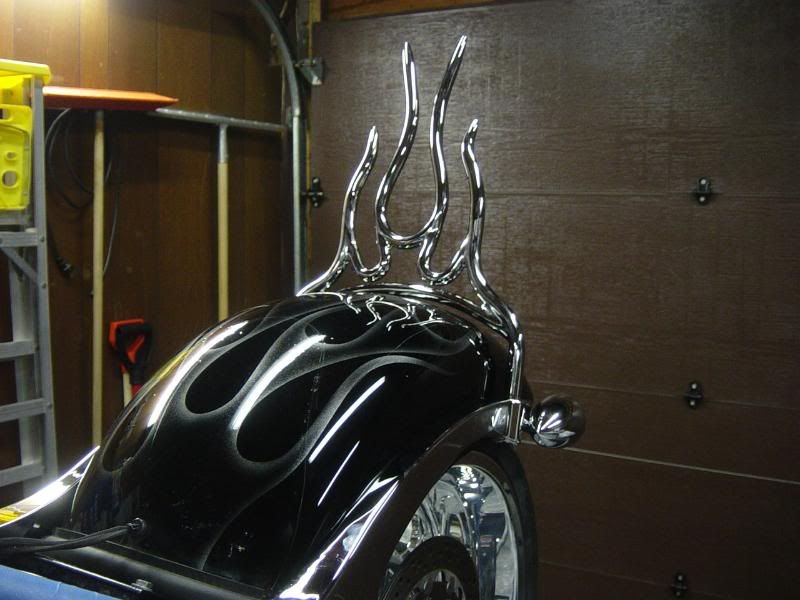
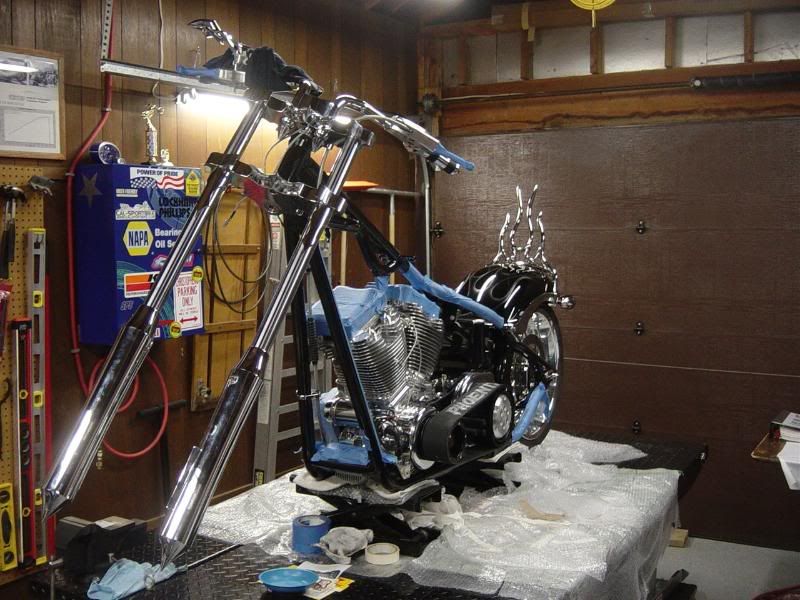
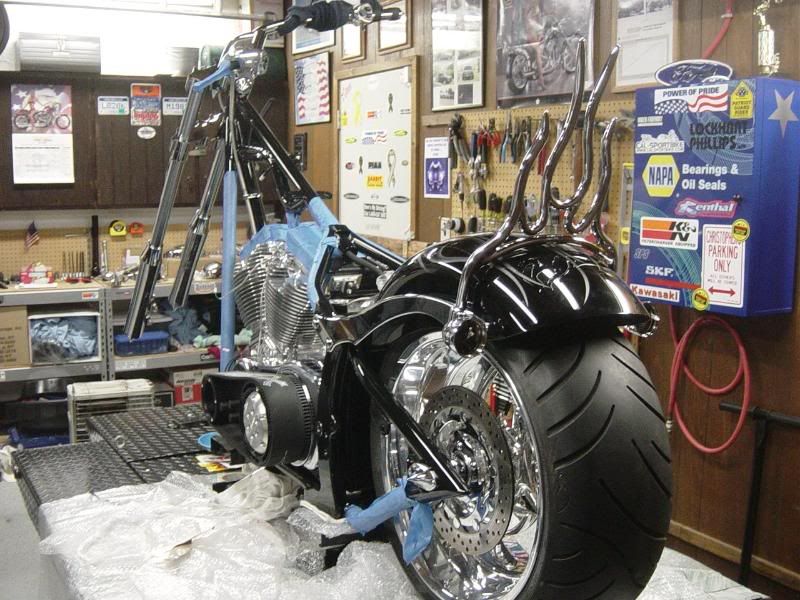
The Rebirth of the Phoenix

Energy One

Gas Man

Cool isn't cheap
Calendar Participant
Thanks Ray. That is all Flitz polish!! The stuff is AWESOME!!!!

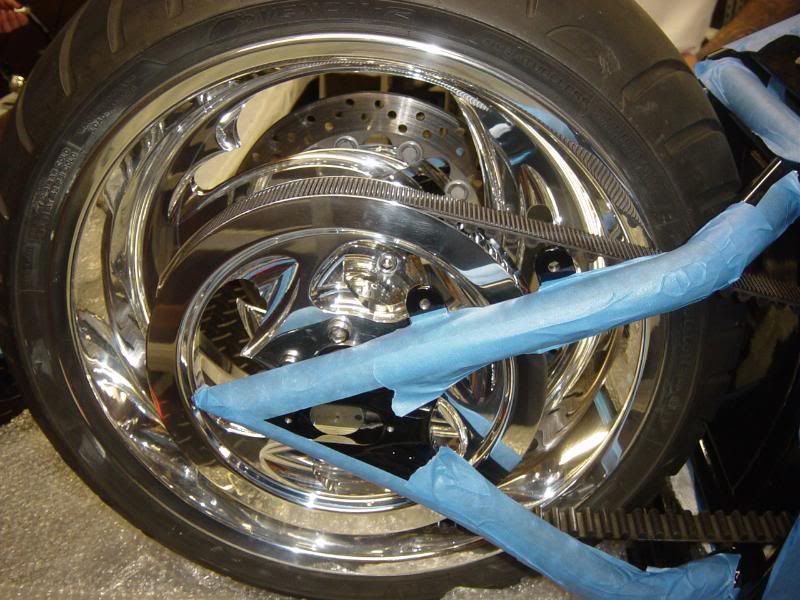
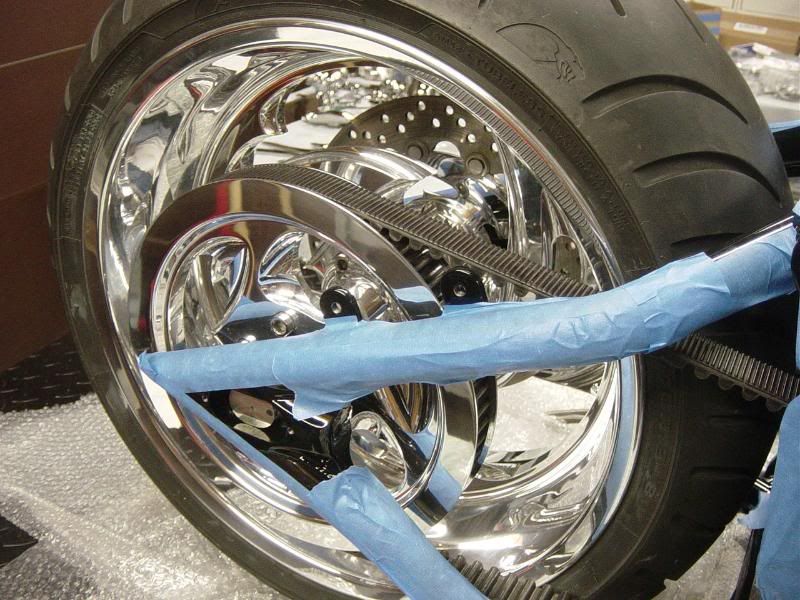
I should also have noted that over the last few weeks the wife and I have been working on the wheels and zoopin them.

It was a difficult road until we tried and failed, then tried again!!! Yeah that sucked... but now we got it down.

So first you polish the wheels. Then you have to clean them with their cleaner, this is to remove what oils are left behind from the polish.
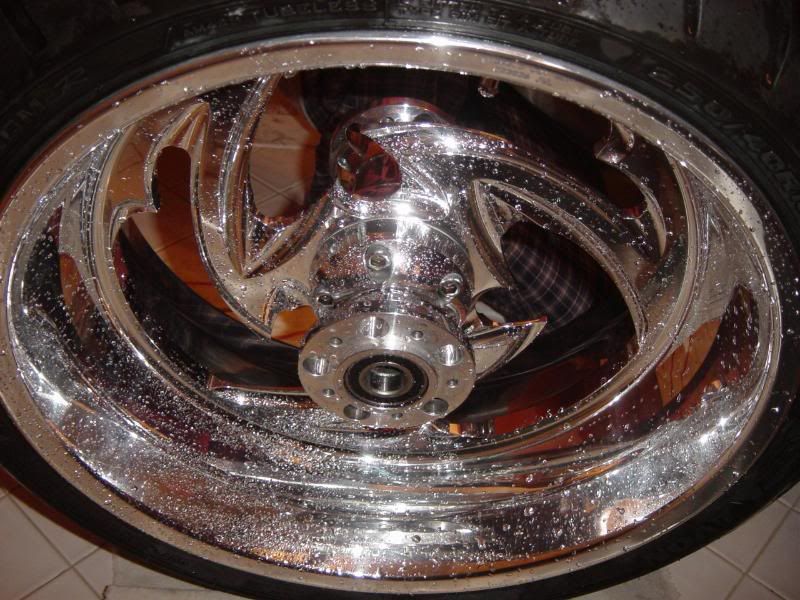
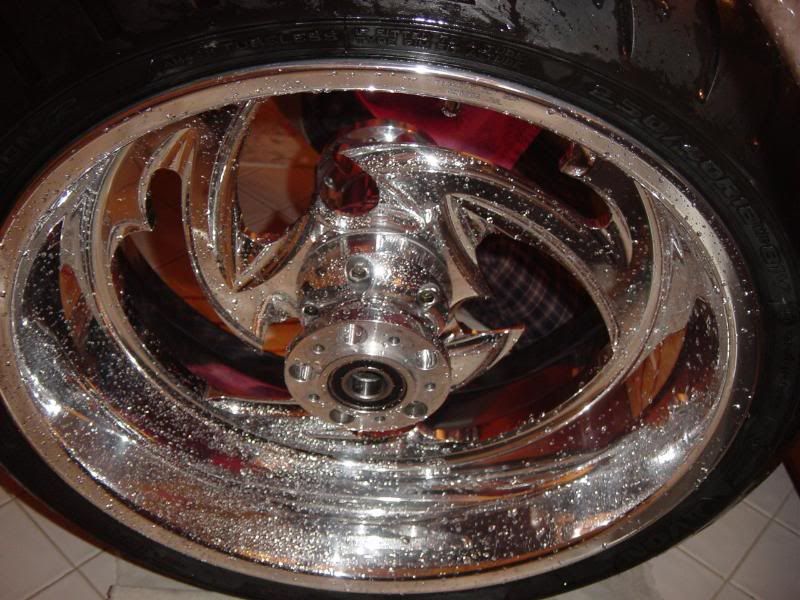

Its too cold to do outside... and the wheels are too big for the utility tub... so the bathtub it is....
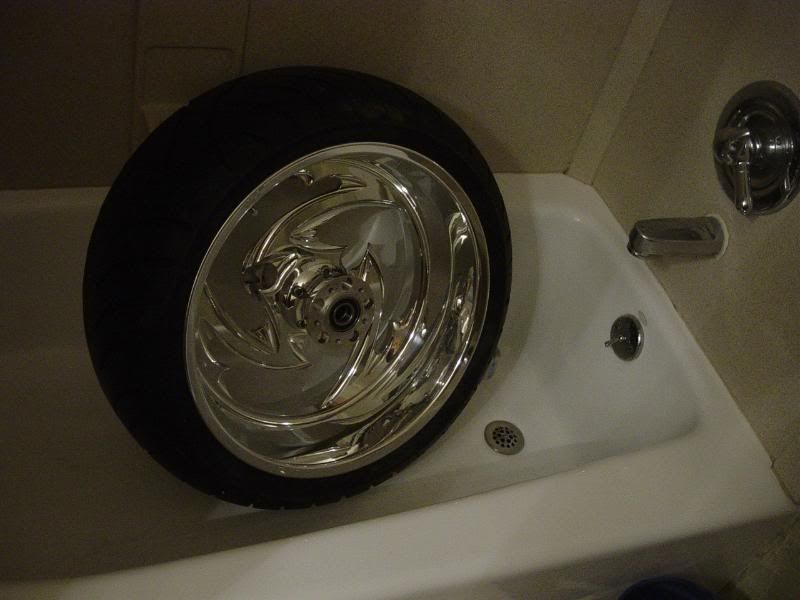
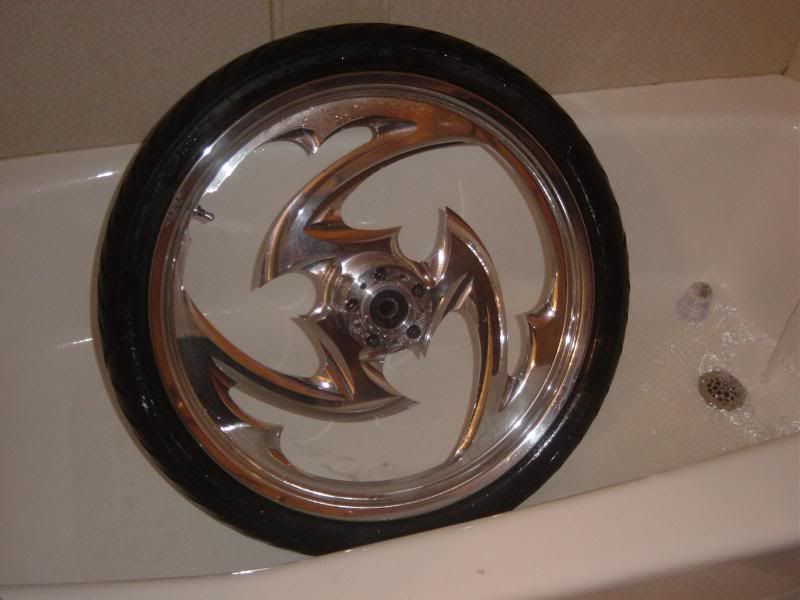

Then you have to seal them with their stuff. The instructions say "small amount" but after calling them a few times it suppose to be "barely damp & NOT WET" on the rag for wiping on. This is where we screwed up by reading the directions the first time...
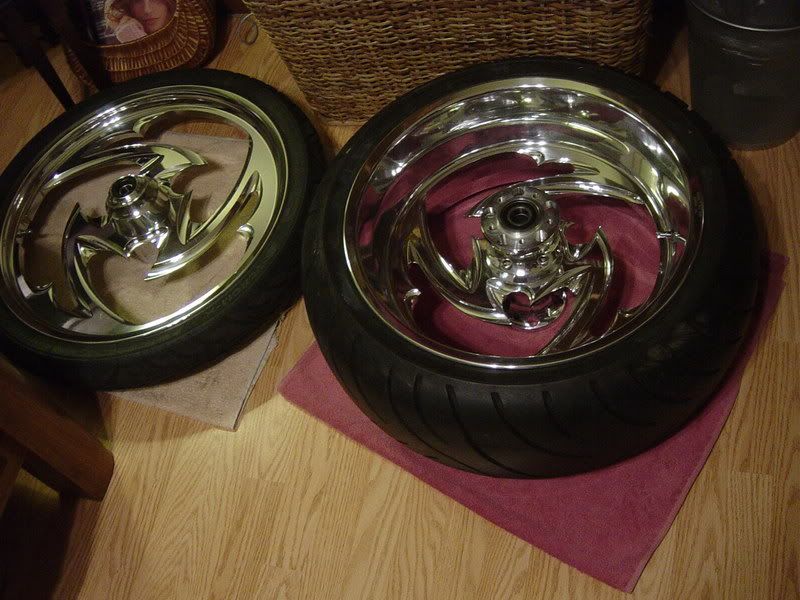
had to strip the wheels down with laquer thinner, polish them over again and do it all again...

Then one you get it sealed... you have to hit them with the final sealer which is basically a lite polish or wax that brings its luster back from the " barely damp" zoop sealer. Then the damn metal feels smoother than glass... its amazing especially considering how you barely touched any of the zoops on it... I'll post up some pics of those later...
 

bdmridgeback

Low Down Chop Shop
You'll love that Zoops in about a year or so when your wheels look just like they do now!!!

Just don't touch them with anything but soap and water!
 

f-okie

AllGaveSome-SomeGaveAll
Now that's some great work-LOOKS AWESOME.:2thumbs:
Let me know when you're ready to do mine:roll: :roll: :cheers:
 

Gas Man

Cool isn't cheap
Calendar Participant
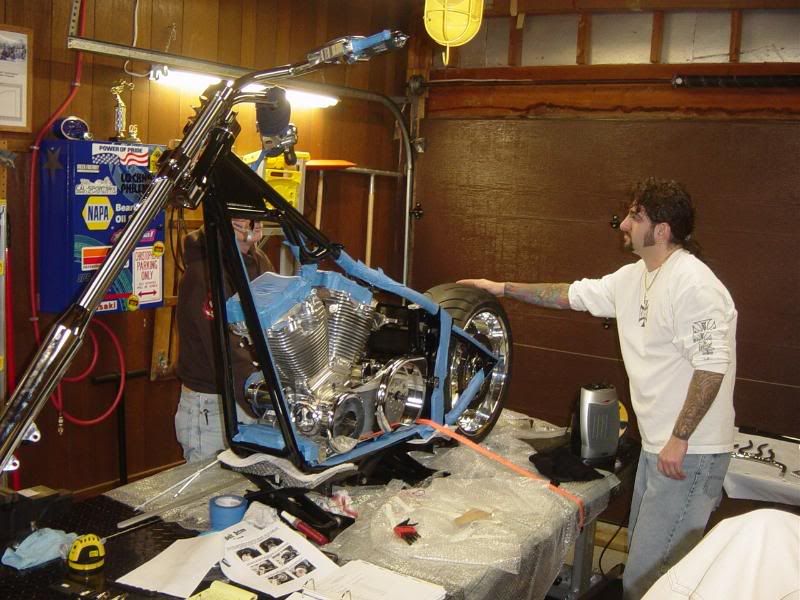
Well Alhall and Chopper Dave came over to get the big stuff done. The theme is "SHOULD"

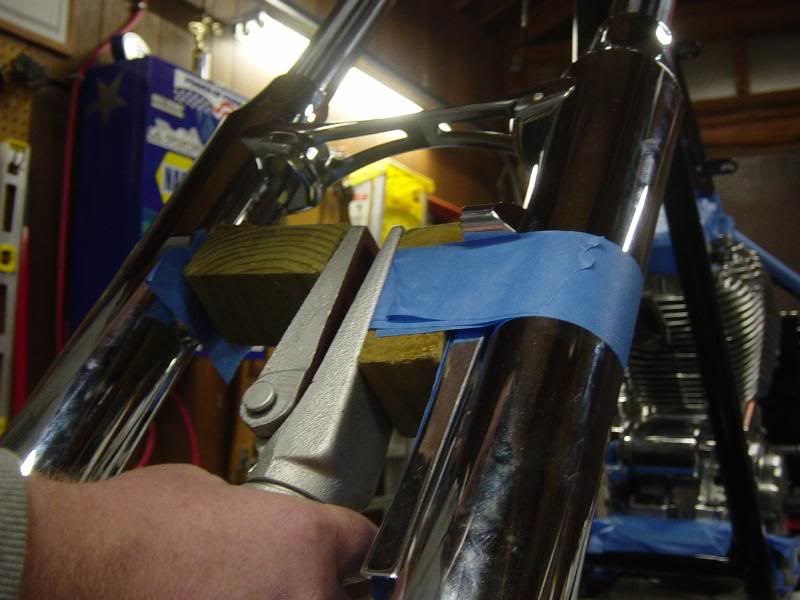
So with the new Accutronix on, and forks slid into place... everything else like the strut brace, fender and front wheel should bolt right in. NOT!!

A use of a porta power to help fitment and measurement...

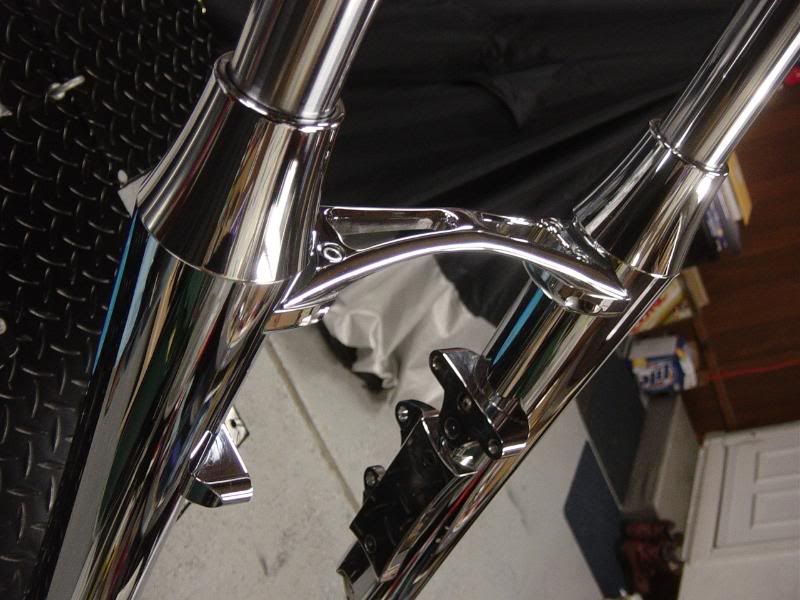
Figuring the Accutronix are standard and the BDM forks are the junk. The end result is that the front forks are too narrow now for the bdm fork brace. F ME!


What happens is the fork brace is too wide and therefor seperating the forks beyond where they want to rest.

Take a bunch of measurements and figure out I need to not only does the radious of the fork brace mounts and the fork brace need to be cut on both sides to accomidate for the shorter distance. I also have to have the fender mounts cut for the same reason... more biz for my cnc guy!!

Lets continue...

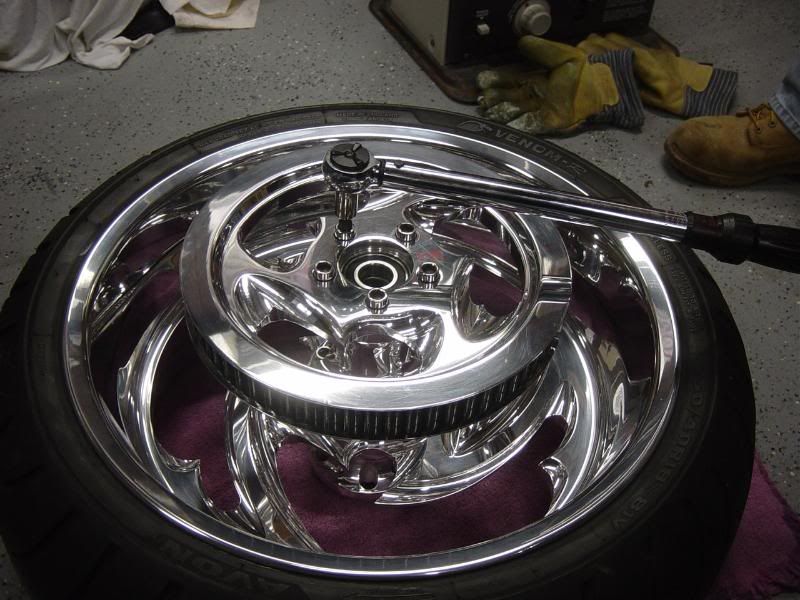
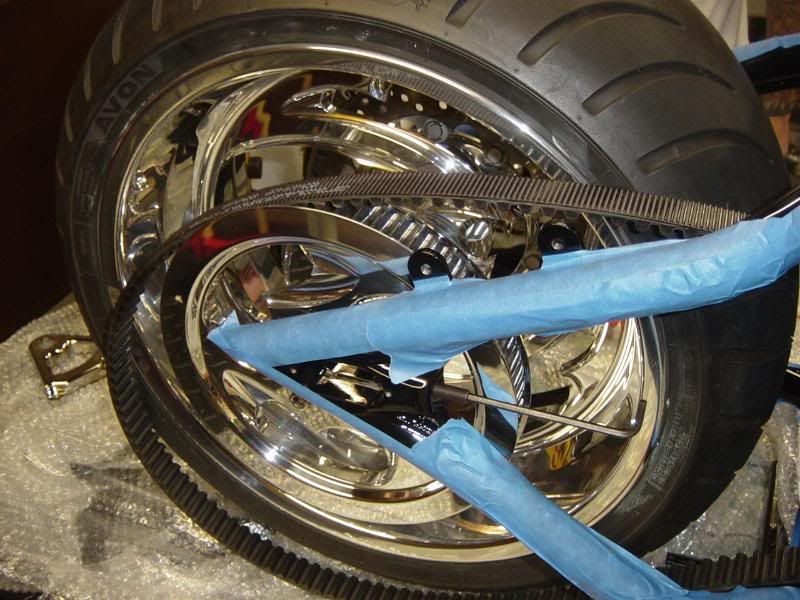
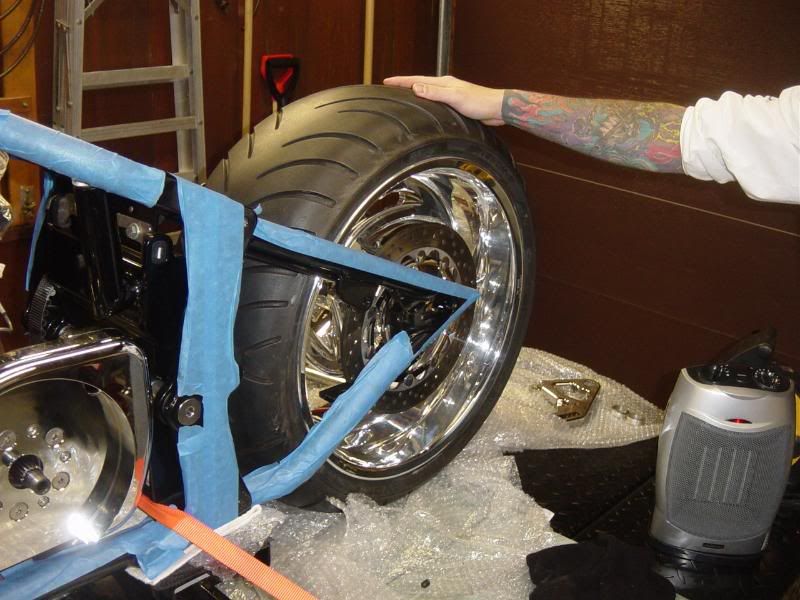
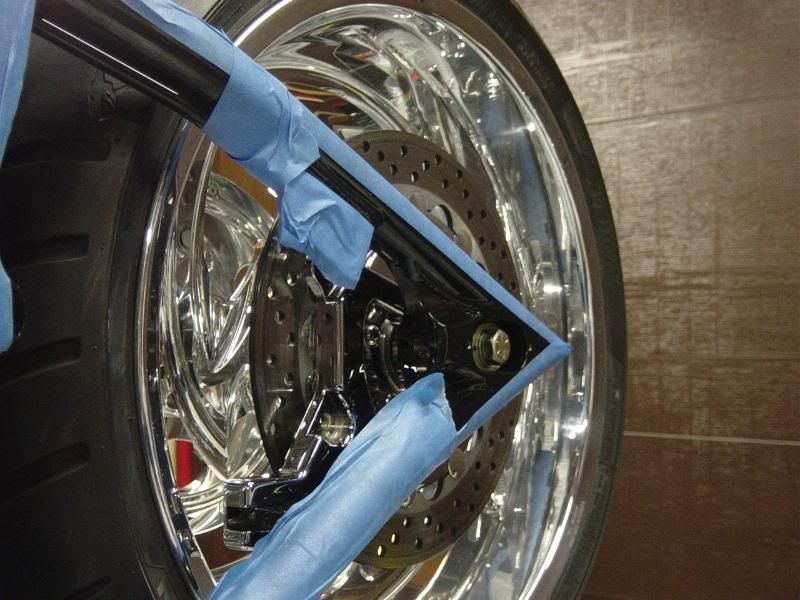
First we bolted up the rear wheel pulley and rotor.


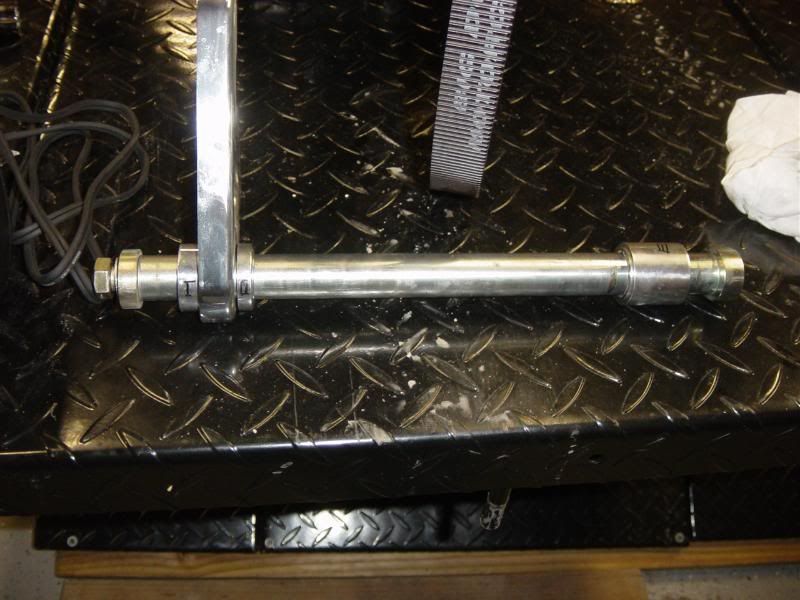
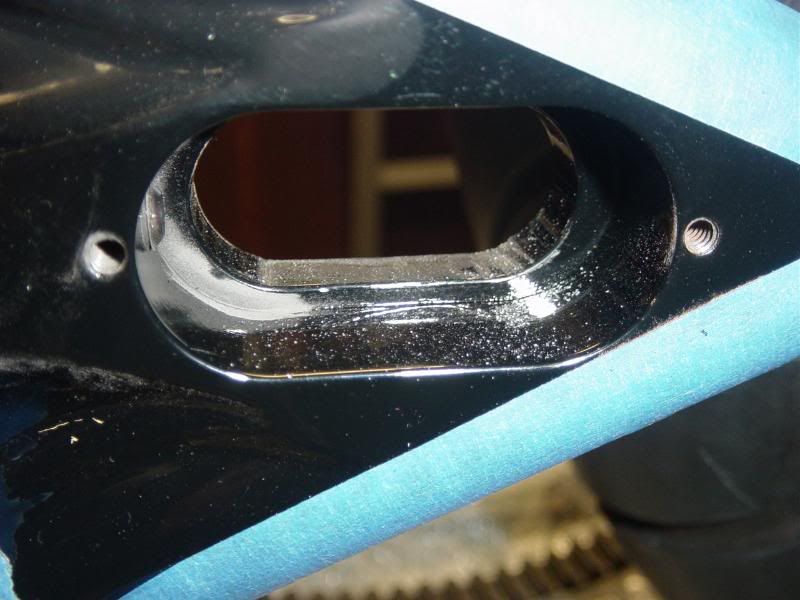
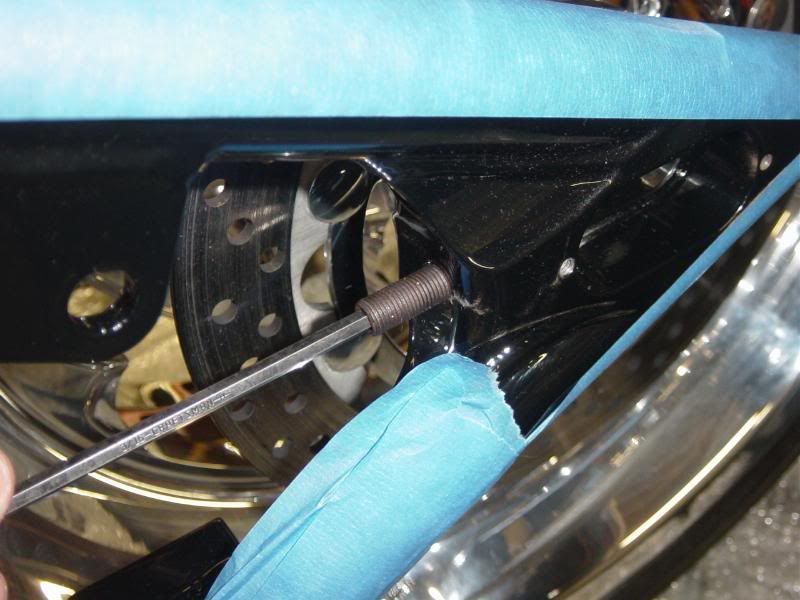
Slide that into place with the rear axle, its spacers and caliper bracket. Minding the correct placement of the spacers but to find out that we needed to shave out some powder in the axle holes of the swingarm


Install the axle adjusters


Dave gettin ready to do some "work son"


Then we got to work on the primary and drivetrain alignment. Which should have taken no more than maybe 3hrs or so. So we get to it. With the engine and tranny mounted as one with the inner primary we wanted to work on the rear wheel to drivetrain alignment.


So we started to do that. got it lined up with the swingarm pivit bolt and then reinstalled the rear shocks.


So then we went back to the primary so we could finish the job, which should have been easy. Knowing that the tranny is in line with the motor and the tranny is inline with the rear wheel. So we needed to finish torqueing in the motor plate.

The instructions said with the bolts snugged slide the clutch basket to the tranny, torque the engine bolts.


Then remove the clutch basket and torque the tranny bolts. Reinstall the clutch basket.

YEAH RIGHT!!! After trying 40 million different ways in every combination and/or variation we could think of... it didn't matter! The holes on the motor plate by the tranny were off by a "c-hair" and everytime we torqued them it moved the motor plate just enogh to make it nearly impossible to get the clutch basket back on the tranny thru the motorplate bearing.

So after all types of meathods we got very creative!

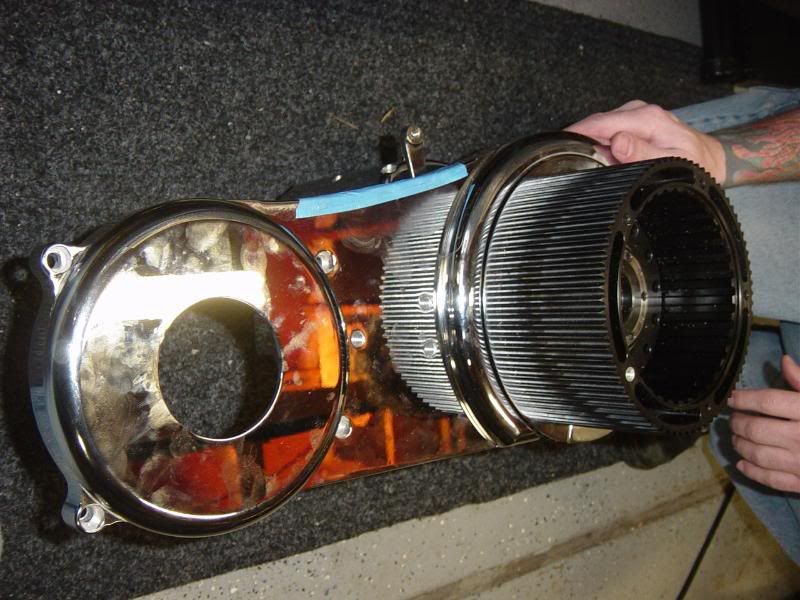
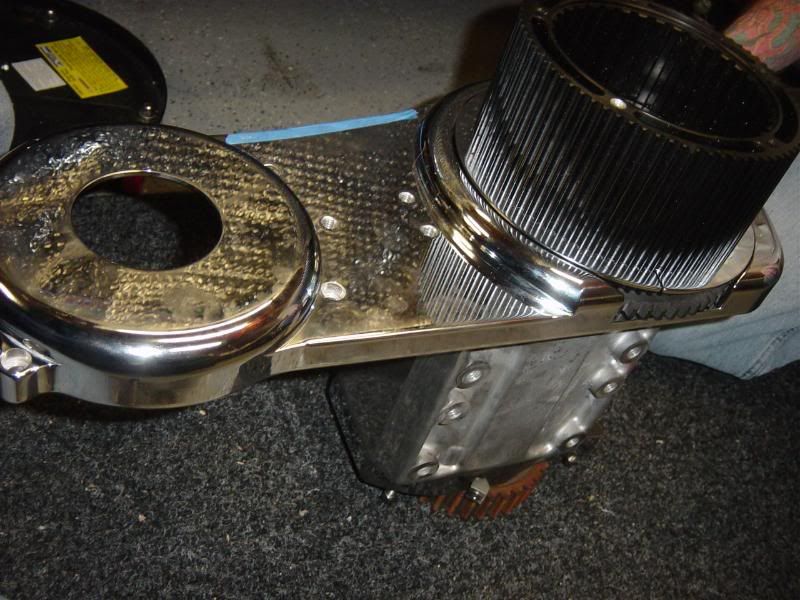
Removed the tranny from the bike and stand on its end. Loosely snug the bolts to the tranny.


then do the slide on clutch basket and remove again. Torque the bolts. And then maybe it will slide back on... well slide... no... but with a bit of "persuation" it went.


Now that is done... take the whole unit back to the bike and bolt it in to the motor and then to the tranny.


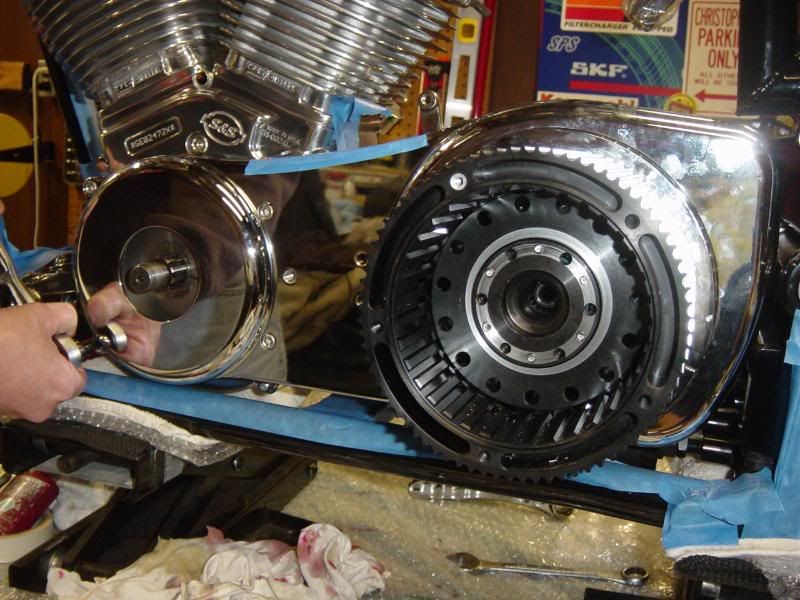
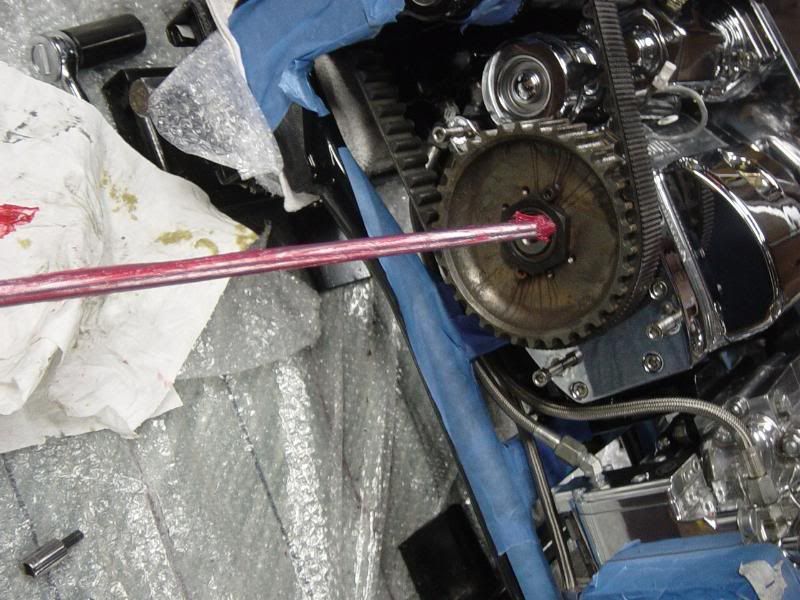
And install the left handed nut to secure it. A bunch of red loctite and some good whacks with the impact.


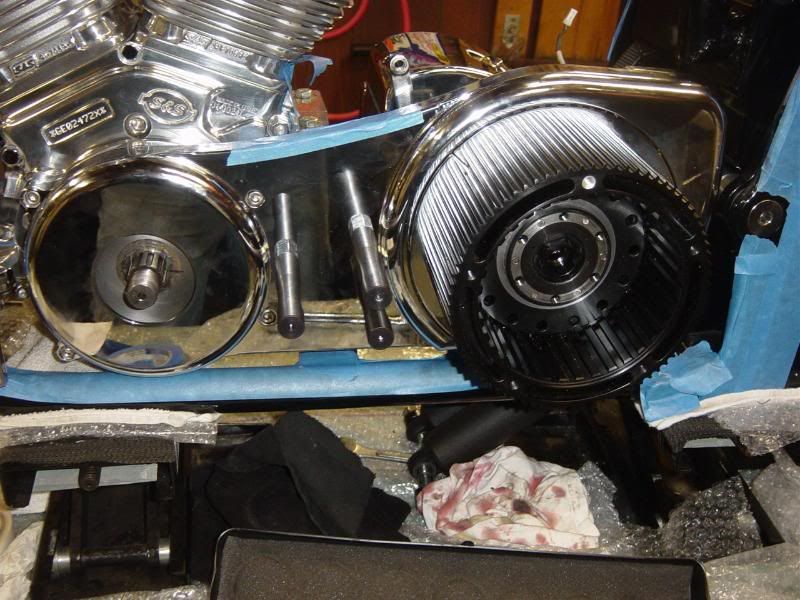
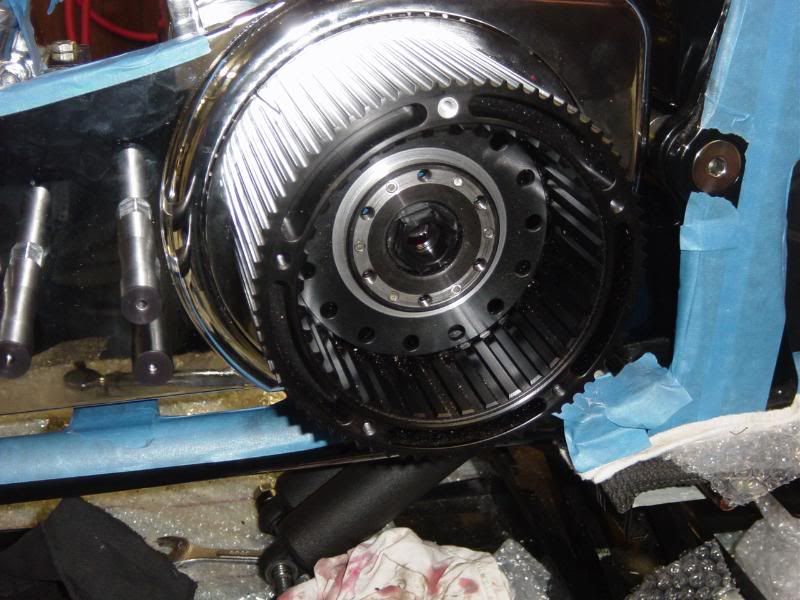
Install the clutch hub


Then the clutch plates & rod extension


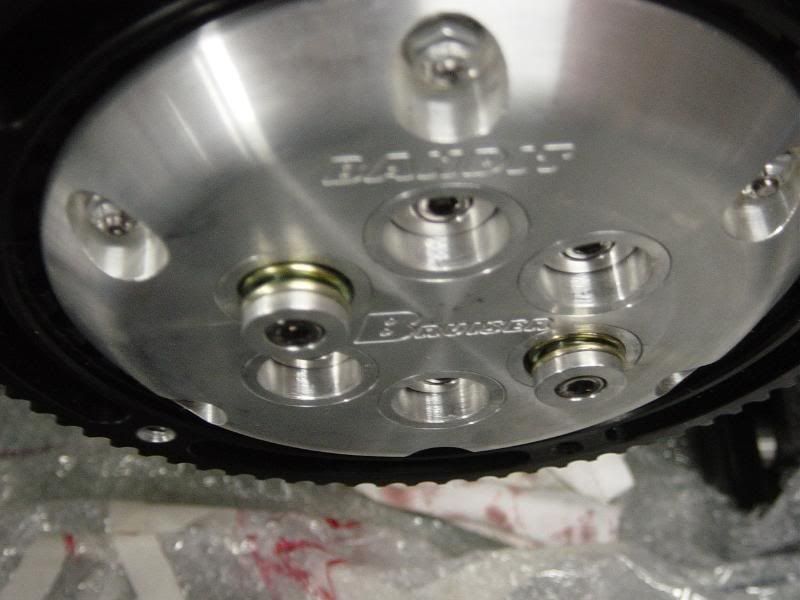
Then the outer plate and clutch springs


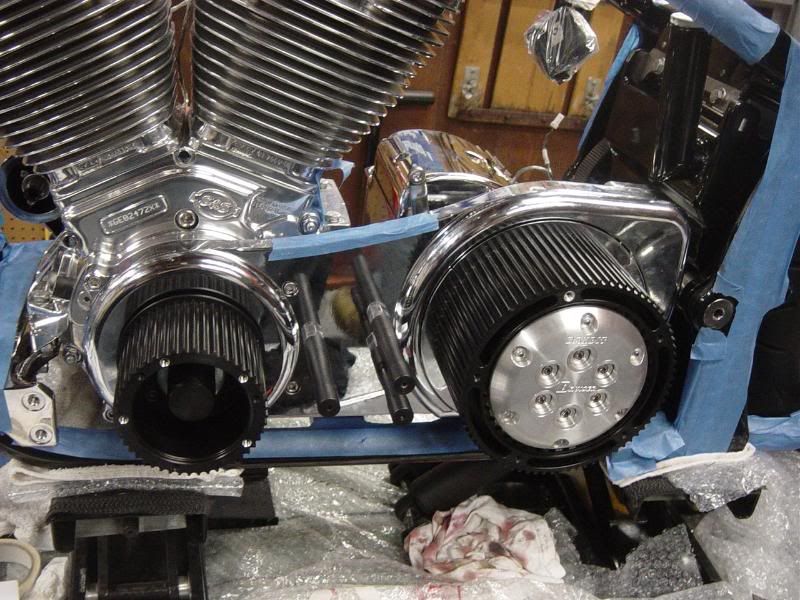
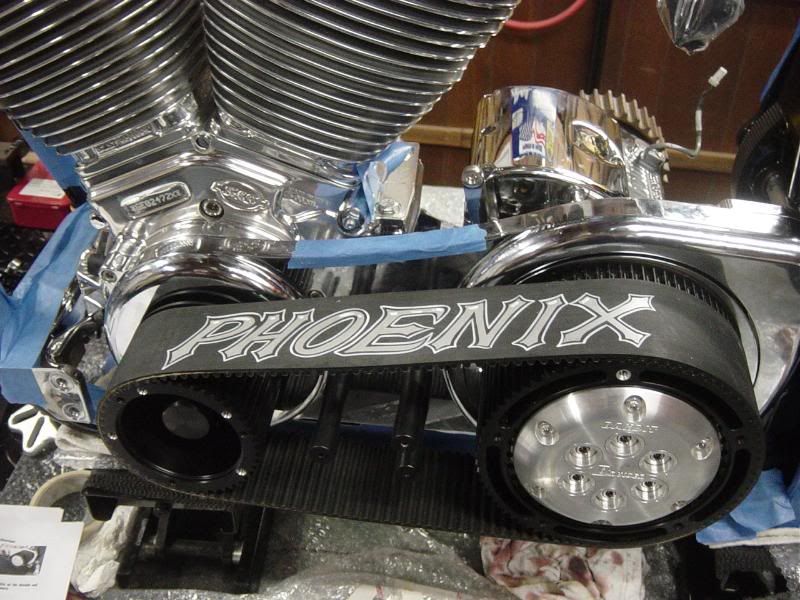
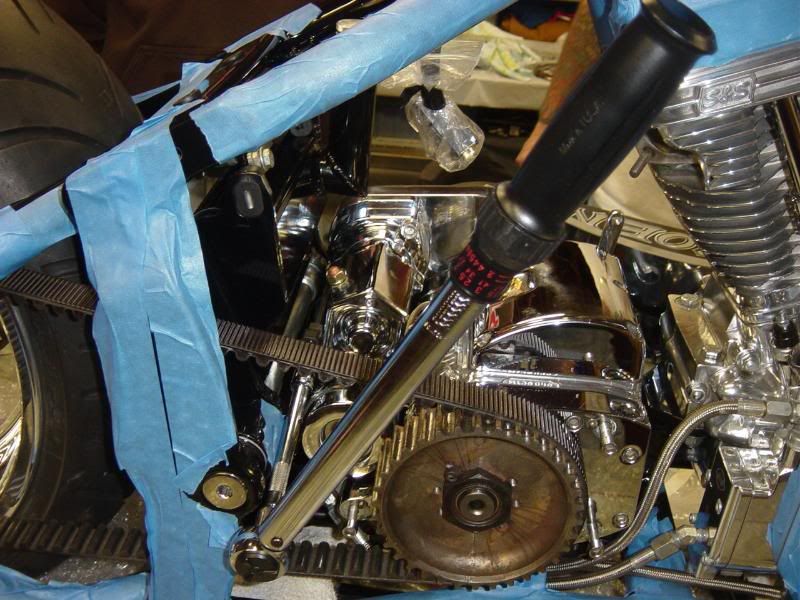
Then install front pulley to check alignment between front & rear


Its off and while I think the open belt drive kit should have came with some shims it DIDN'T. So I need a .050 shim for a primo front pulley...

But I couldn't help but to slide the belt on...


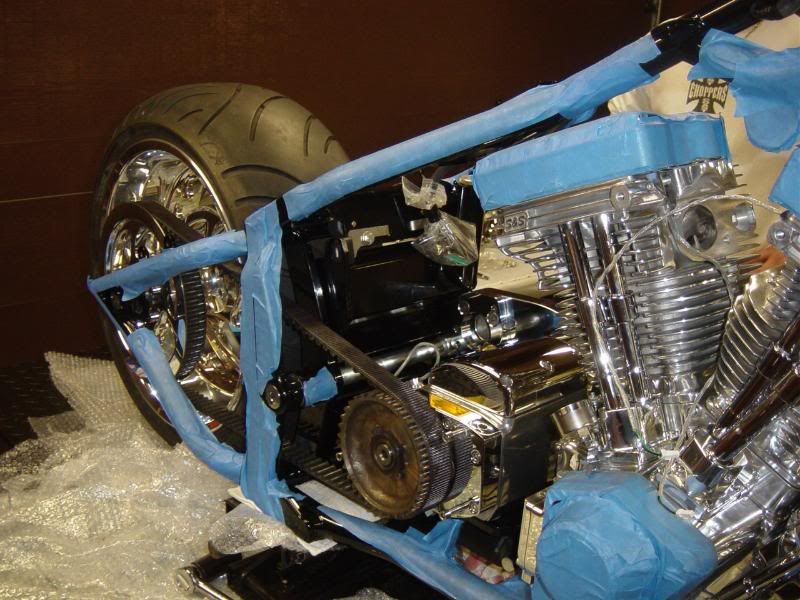
Then we got back to the rear belt alignment.


With the drivetrain loose we originally thought if we then aligned the rear wheel if would pull the drivetrain into alignment. We couldn't get it just right and the drive belt kept squeeking and was riding to the outside of the pulleys. So time to think outside the box.

This isn't suppose to be rocket science. So we understand that the motor and tranny mounts aren't really slotted, just loose fitting holes. Loosen the rear drive belt and remove it from the tranny pulley so its not holding the drivetrain. Center the motor the best we could and tightened.

Rehook up the rear belt, align it, and re-check the belt deflection


The belt alignment is much better and no sqeek


Re-install the rear shocks and recheck. All good.

Motor, Tranny, and rear wheel/belt... basically the entire drivetrain is done... that marks off the big stuff. This job that should have been a few hours... but with the primary problems and aligning these RSD bastards... try like 7!! WTF!
 

Gas Man

Cool isn't cheap
Calendar Participant
so now with the drivetrain done... lets get some more fun stuff done.

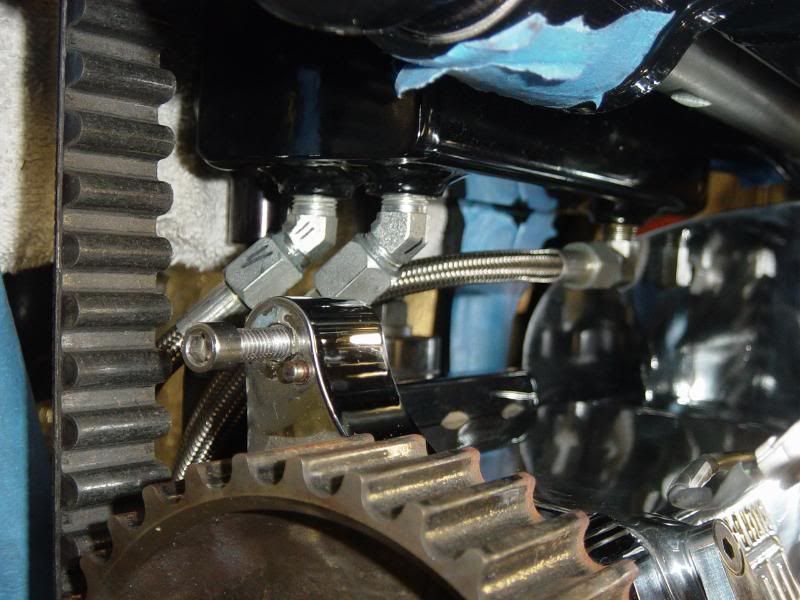
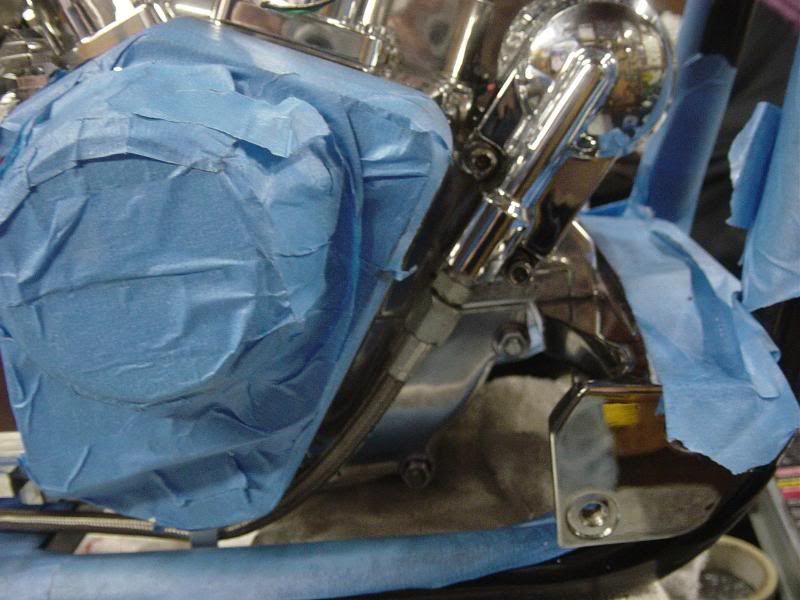
Install the oil lines.


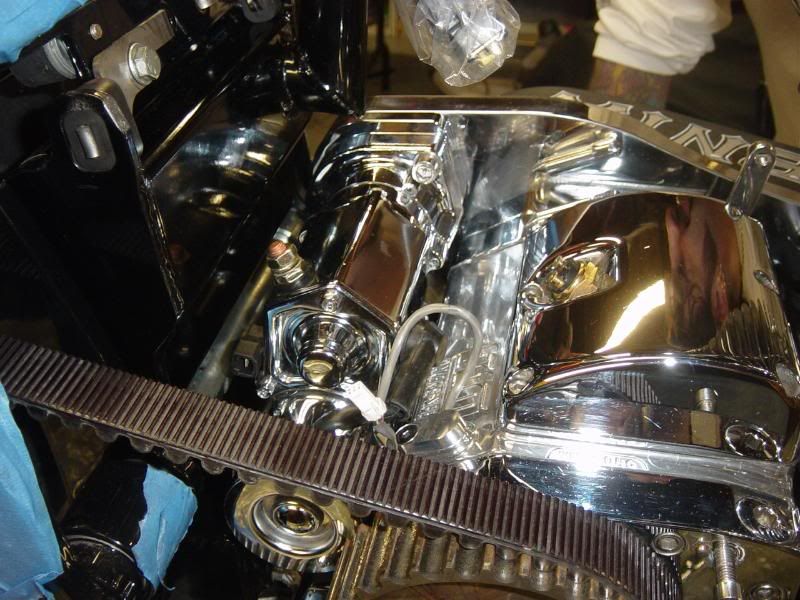
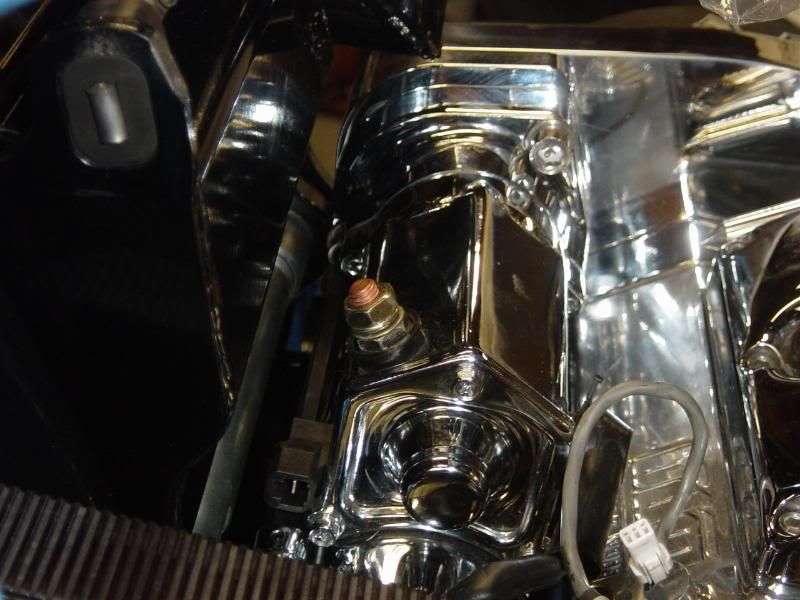
Install the starter


Grease the clutch rod


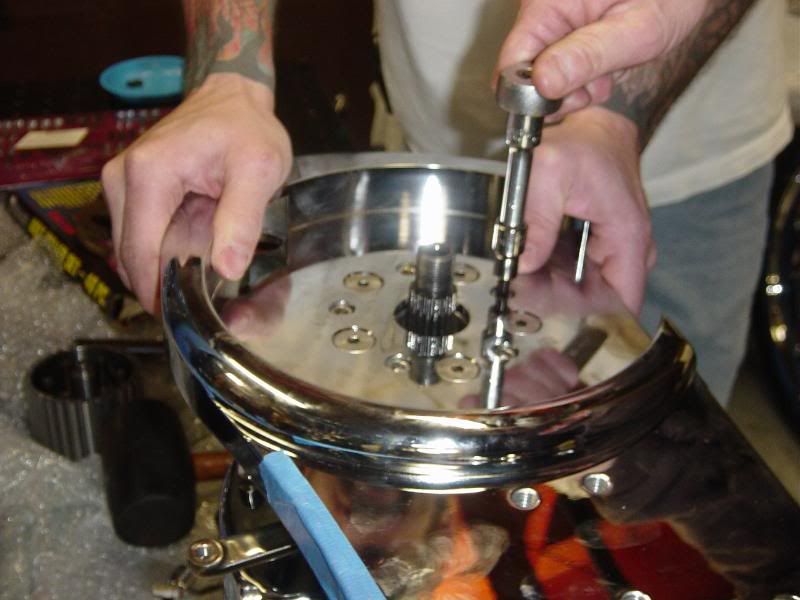
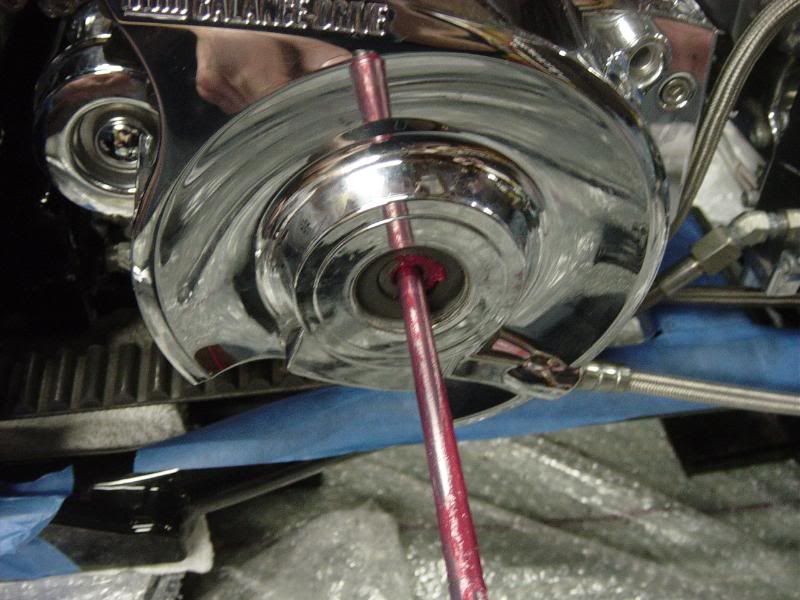
Install the pulley cover and clutch actuator, then the push rod gets threaded in


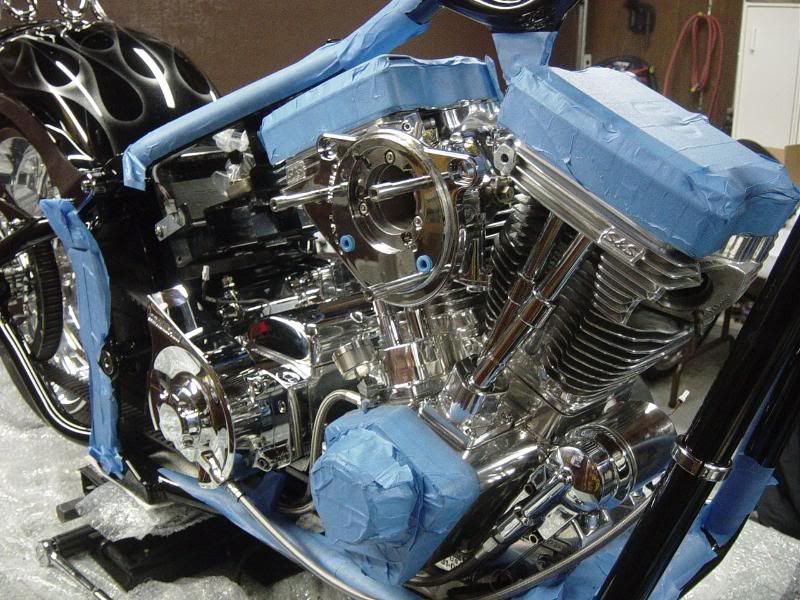
So far here's what we got now


Hook up the clutch cable to the hand controls


Adjust the pushrod then the freeplay


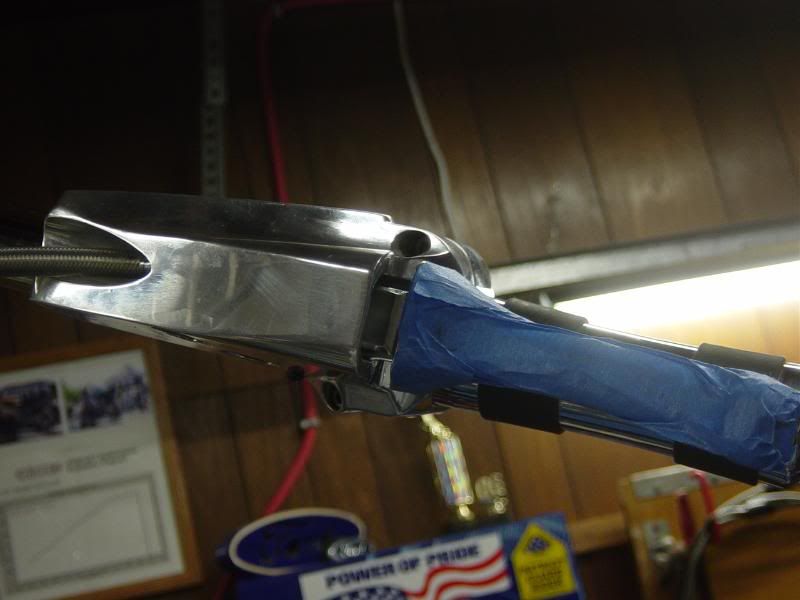
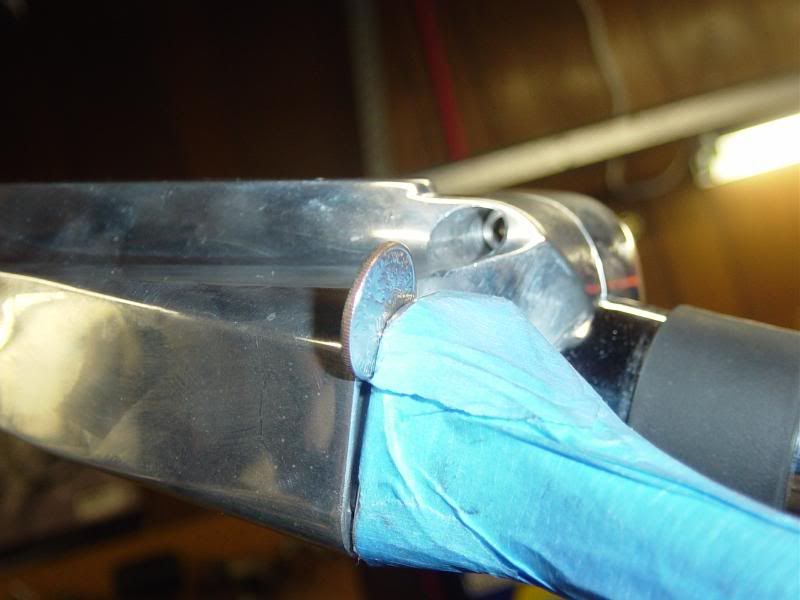
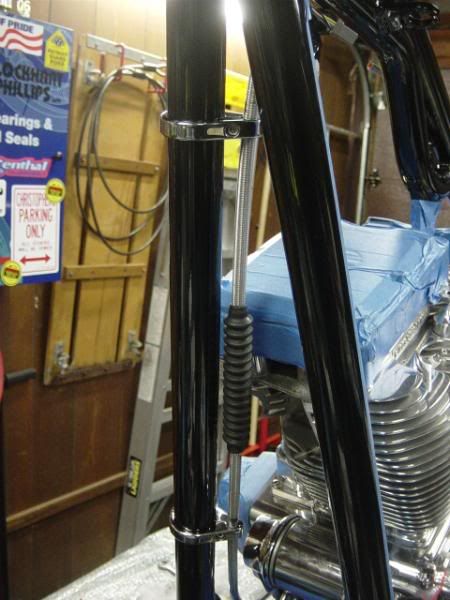
Line up and install the clutch cable clamps on the downtubes


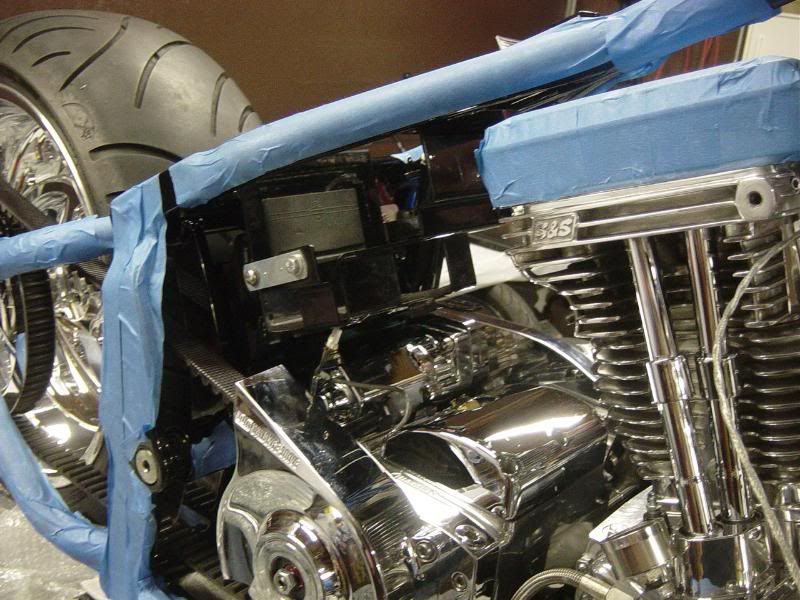
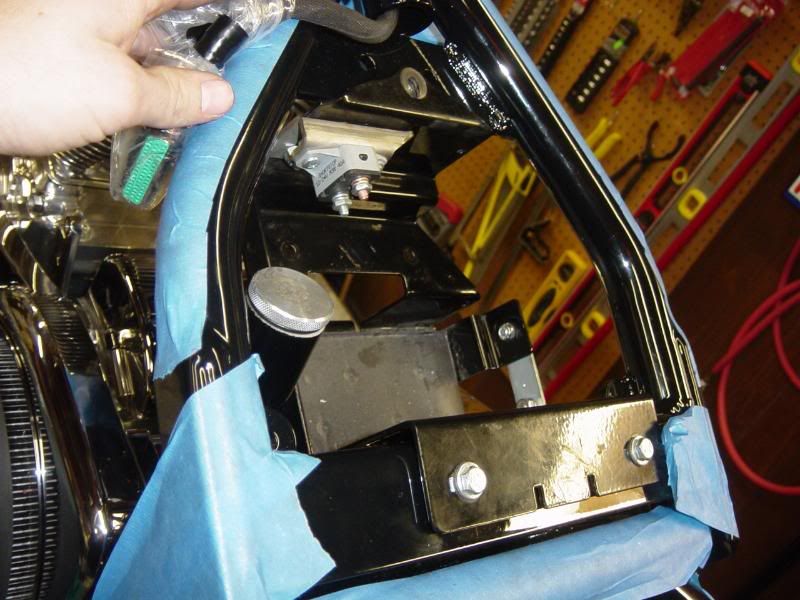
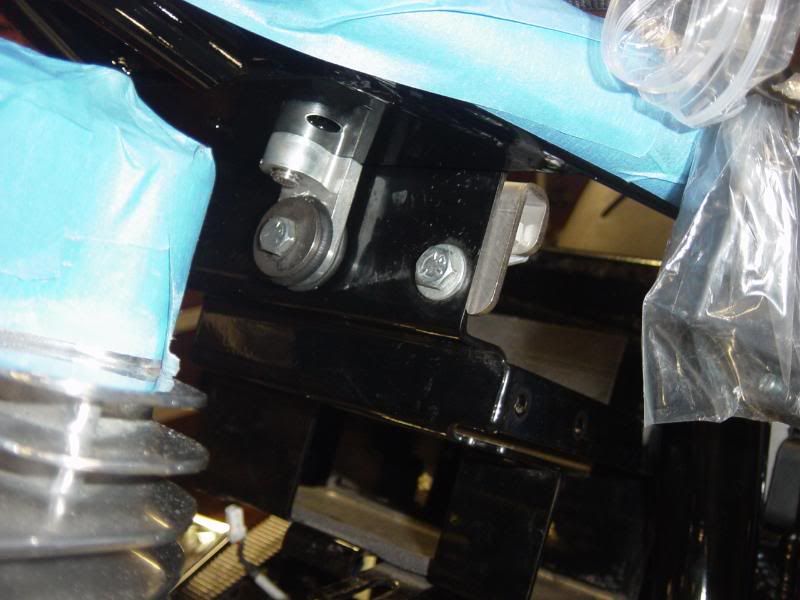
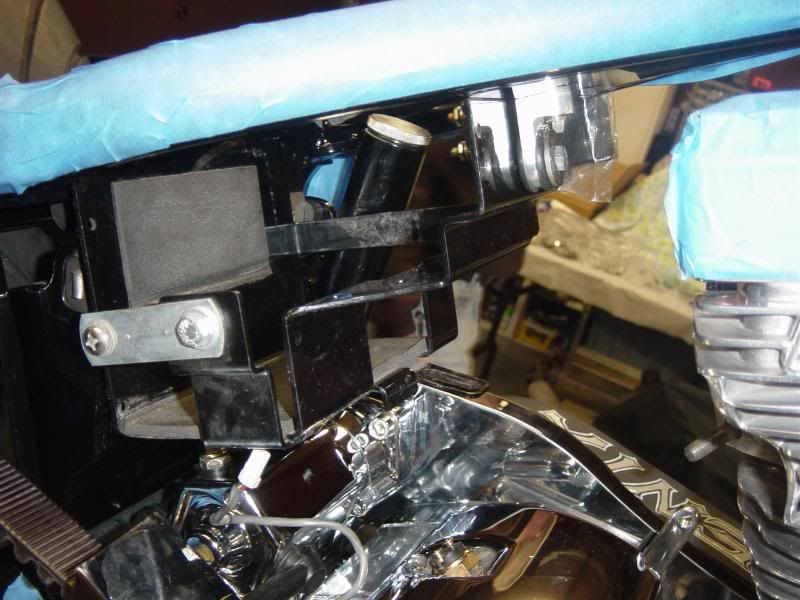
Install the battery tray


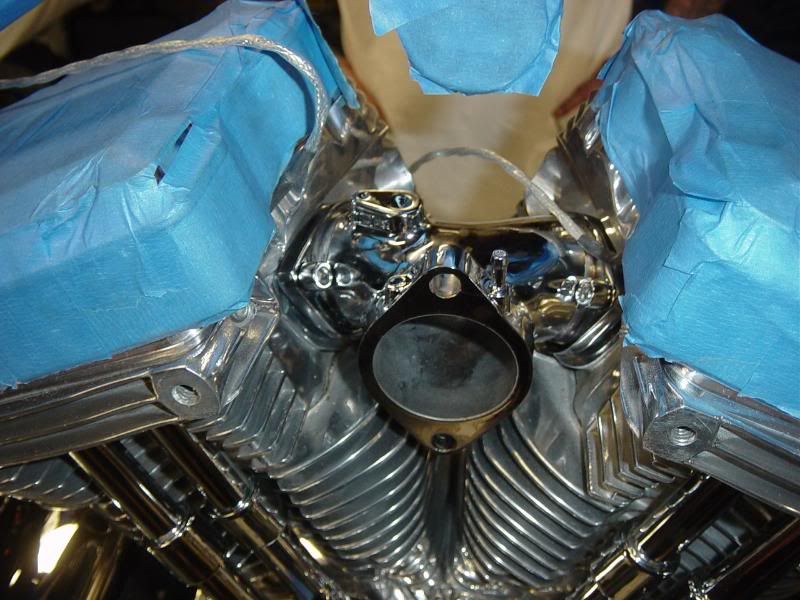
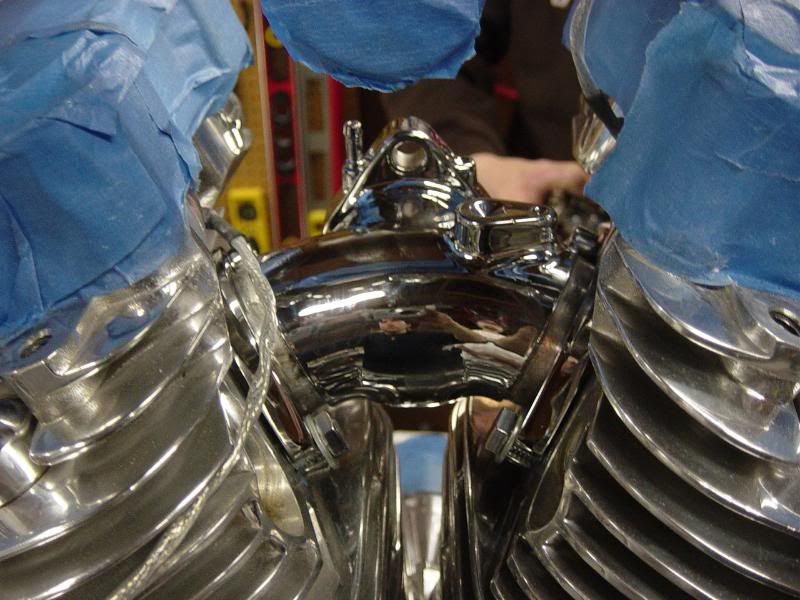
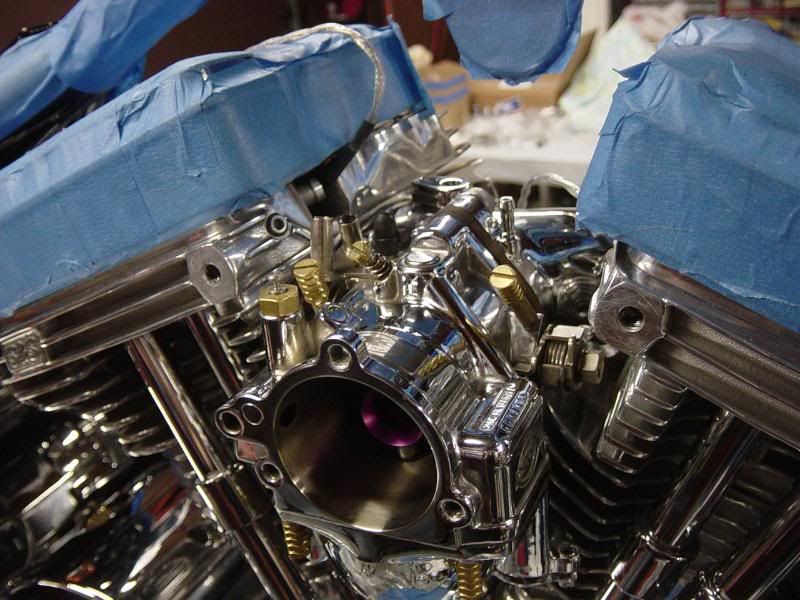
Next on the check list is to install the manifold.

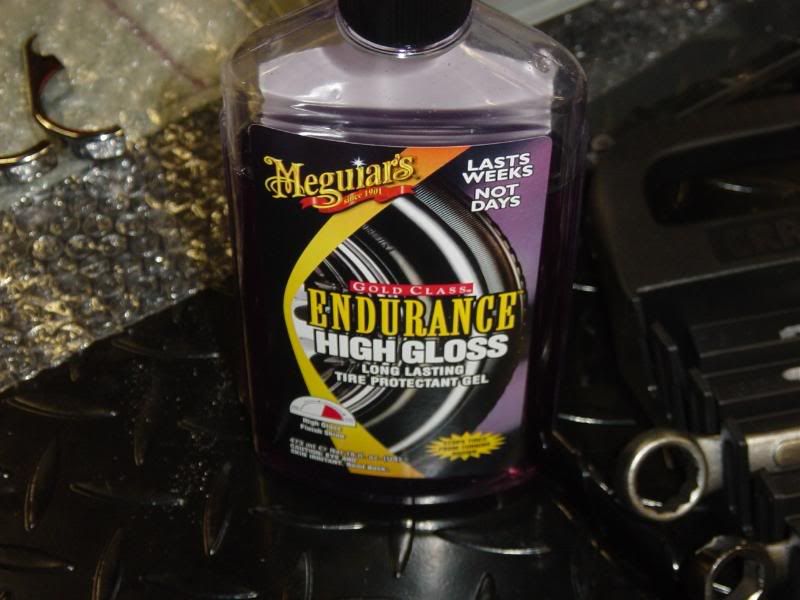
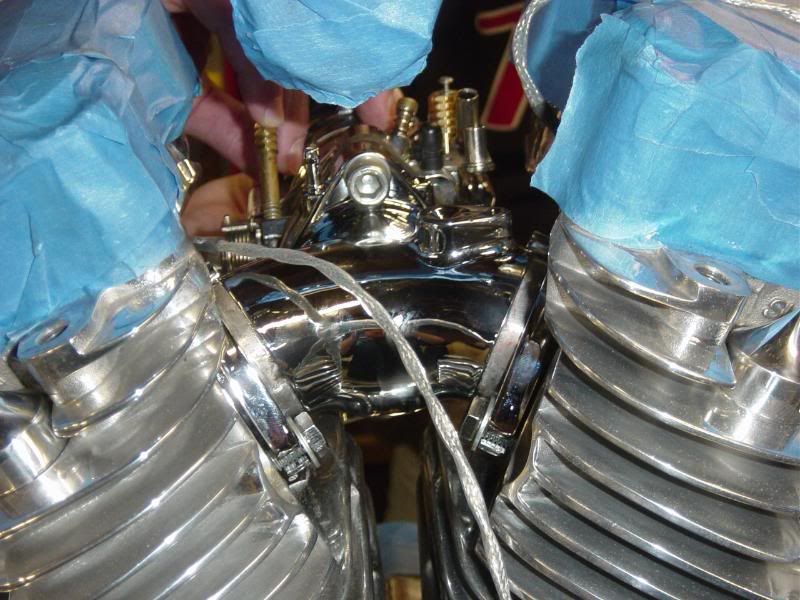
Lube the new gaskets with tire shine to keep them from sticking or deforming during installation. Plus it helps keep them plyable for more longevity.


then install the flanges and intake


Then BAM... we have carb-age


mocked up the Doherty Power Pacc backing plate just to find that even though it should fit, I need some longer bolts and such


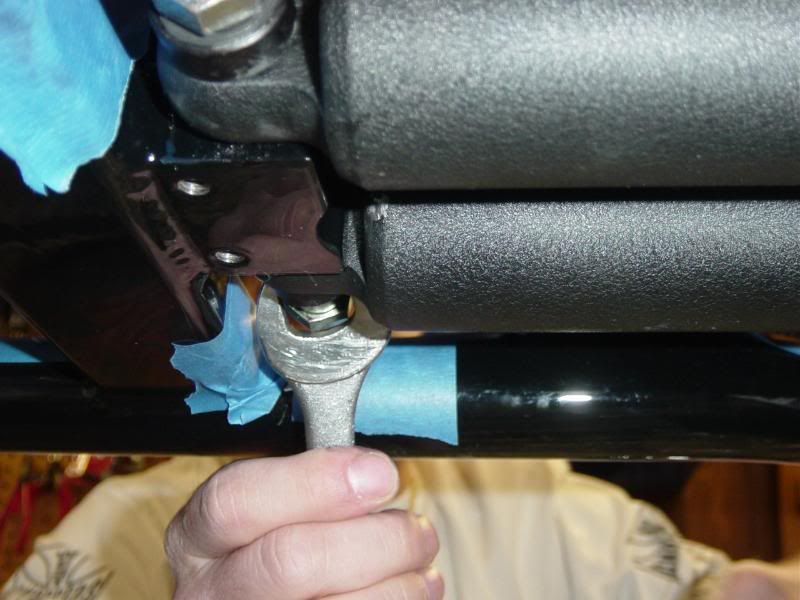
Installed the rear axle spikes


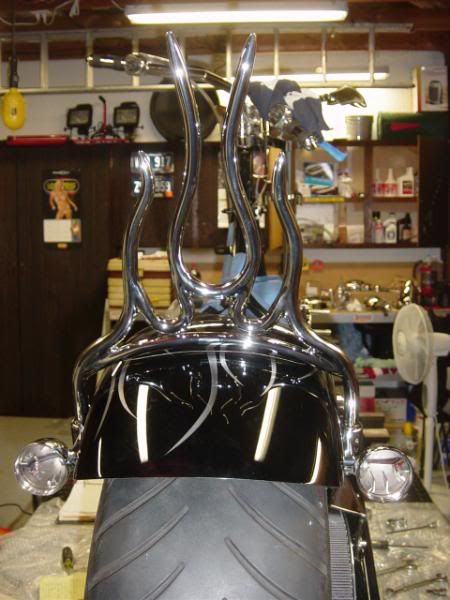
Mounted the rear fender and sissy bar... OMG yum!!!


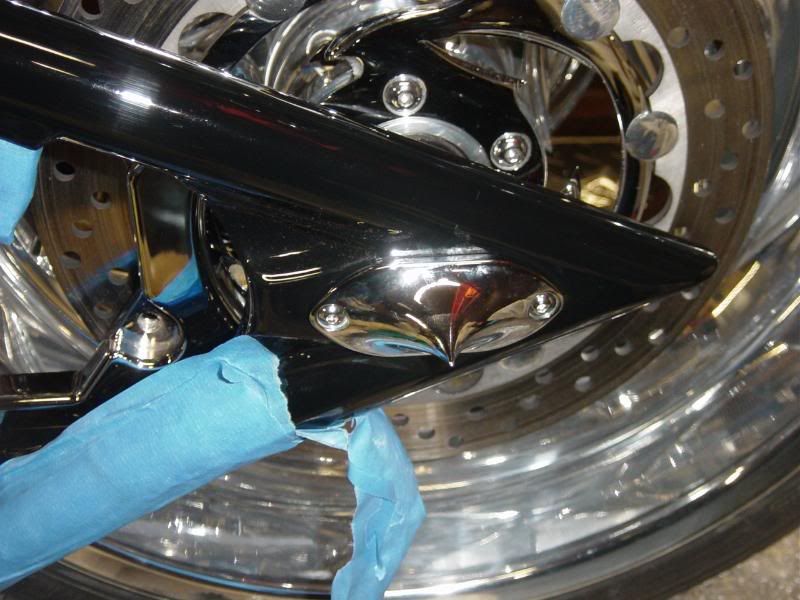
Also installed a few other goodies like the EHC, motor mount bolt caps, VR, belt gaurd...
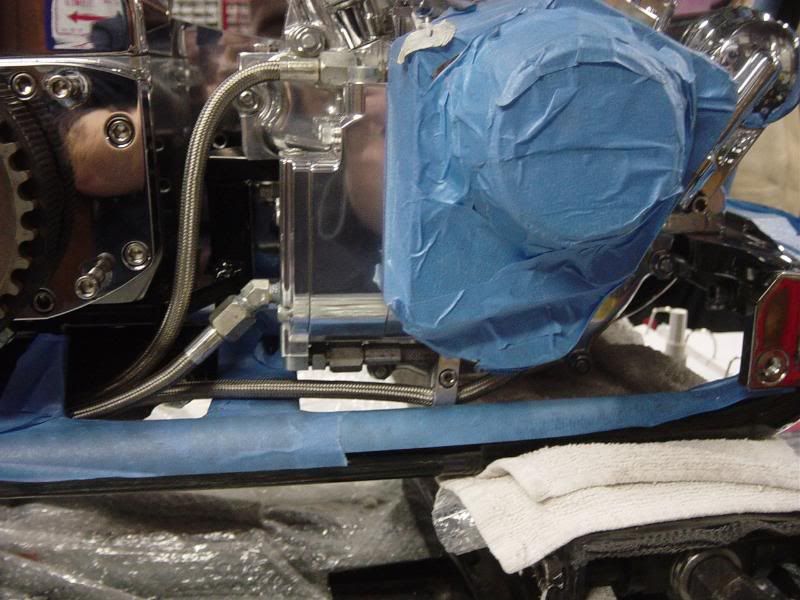
So here's how we left it after a VERY long day. Even though the theme was "should" it sure turned out good!!


Really starting to look like a bike again!!!
 

Vegas

Well-Known Member
You guys kicked some ass today. Don't get it done to quick or you'll be jonesing to ride before winters over.
 

Gas Man

Cool isn't cheap
Calendar Participant
Again... HUGE HUGE THANKS to Al & Dave for all the help. It damn near takes a saint to stay in it when we were screwin with the motorplate and tranny mounting problems.
Plus, I would have loved to get more done today but I became a Uncle today at 10:21am... so that took presidence over the bike.
 

Gas Man

Cool isn't cheap
Calendar Participant
You guys kicked some ass today. Don't get it done to quick or you'll be jonesing to ride before winters over.
No shit man... but I'd rather have that then the reverse!!! I don't want the roads to be clear and salt free with decent enough weather to ride and not have the bike together! With shit like the front fork spacing going on... it doesn't take much to add a few more weeks onto the project.

right now its not bad because I got enough to keep myself busy with a few hours here and few hours there...

we'll see and I'll keep everybody up to date
 
Last edited:

Chopper Dave

SIICK!!!
Again... HUGE HUGE THANKS to Al & Dave for all the help. It damn near takes a saint to stay in it when we were screwin with the motorplate and tranny mounting problems.

Plus, I would have loved to get more done today but I became a Uncle today at 10:21am... so that took presidence over the bike.
anytime Gas! It was a good learning experience for me too!:up: I had a good time helping out :whoop: Al is a really cool guy! and knows his shit!:up: was glad to finally meet him! :cheers:
 

narow37

Angry Southern White Man
Looking really good. Not much more to go now. You'll be back on the road real soon.
 

lee

Well-Known Member
looks fantastic GM - so what was the problem with the front end? - why is it different now to before you took it off? I wish I had the knowledge to do the stuff you have done there - I really do not envy you having to tackle the wiring though! best of luck with it, not that you need it
 

Cutter

Well-Known Member
Again... HUGE HUGE THANKS to Al & Dave for all the help. It damn near takes a saint to stay in it when we were screwin with the motorplate and tranny mounting problems.

Plus, I would have loved to get more done today but I became a Uncle today at 10:21am... so that took presidence over the bike.
:2thumbs: to Al and Dave :2thumbs:

Congrats on your progress with the Phoenix...

and the nephew, give my best to Nate and his wife on their new addition :cheers: :2thumbs:
 
It appears big dog used a different spacing on their tripple tree's. My guess without actually knowing would be that the accutronix trees are a industry standard and once again big dog has shown us that they are propietary parts. Overall it turned out that the difference was .300 between the 2. However I was thinking that sul swapped his front end with the ultima one and was able to still use his fender. maybe they changed year to year.
 
Top