

Webslinger
Doing this means I will never get another speedometer replaced under warranty from the factory and you should know that before you do this modification.
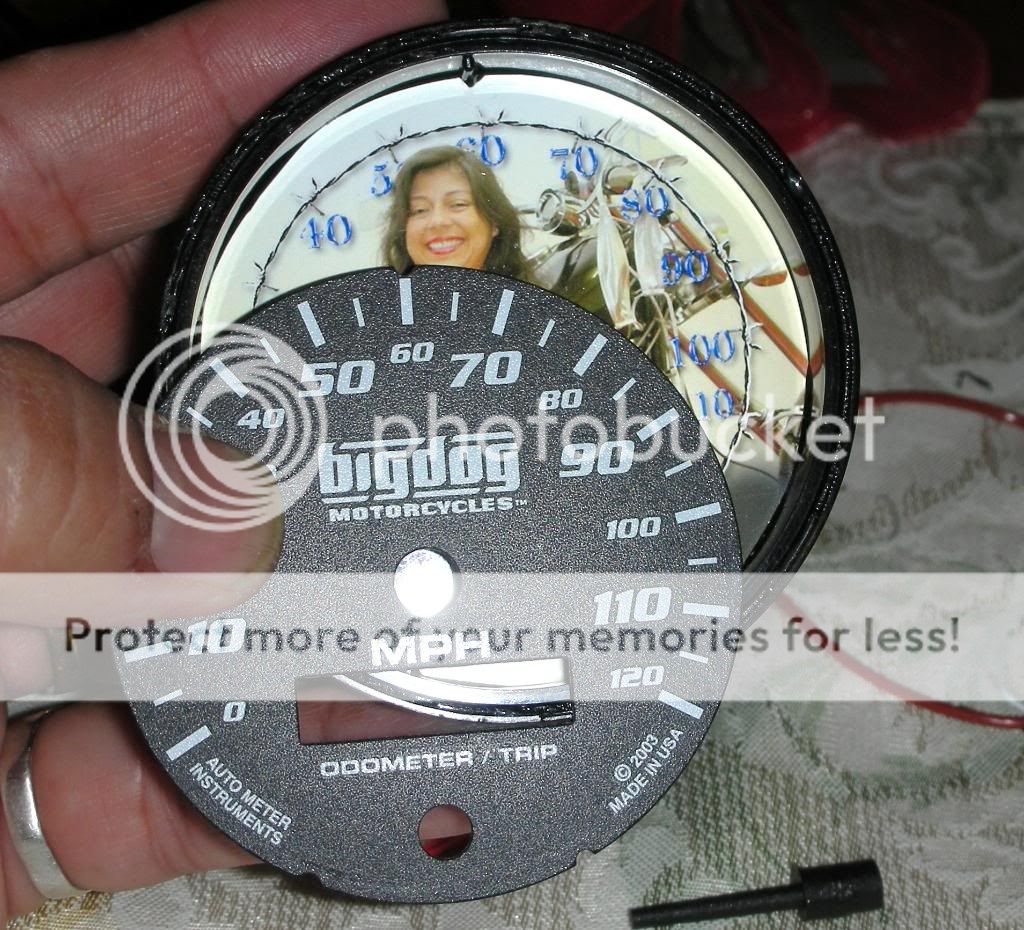
It's been posted here earlier about different faces for your speedo. These faces come from "Webslinger" and he can do about anything you want including your own personal picture. It's only $30 bucks so not that expensive of a mod but can be as personal as you want.
I had him make me a pic of Glenda on the bike with her bikini top hanging off the handlebars. It came out great and this is the install.
Warning now!!! This will ax your warranty so only do it if you are sure you want to and are able to handle it!
First off you need to remove your speedo from the handlebar mount. I didn't include that as all of you can do that yourself.
After you have the speedo removed you can then do the dis-assembly.
Here is the speedo casing. Mine is "plastic but some of you may have the metal casing:

You will need to first pry open the bevel one the beauty ring to open up the casing. I used a small screw driver to pry open the bevel part of the ring to slip over the case lip.

Here is the case lip you have to get over:

Once you get the beveled ring off then you need to separate the Plexiglas screen from the casing. It's sealed and glued on so I used my knife and tapped a back of the blade as I opened up the cover working around the casing. It does make a mess but it will be hidden when you get it all back together.

After you open it up you will need to let the slack out of the wires so unscrew the plastic nut on the back and this will allow the wires to relax.

There is a sealed nut inside and you want to ensure you get a tight seal when you put it all back together.

It will come out in pieces but each piece is indexed by ribs in the casing. They are in the shape of a "peace sign". Easy to put back together as it's all indexed.

Here it is all removed. I was worried about the speedo needle but it's not indexed so when it is powered up it will reset itself to zero again so no worries on how it goes back together.

The Plexiglas cover is glued on and when you separate it it has a bunch of residue on it so I cleaned it up with my knife blade so that when I re-glued it back on it would give me a tight seal:

Next thing to do is replace the face with the one you ordered. It's over sized so you will need to trim it down. I used some scissors and a file to achieve a tight fit in the casing.
A note here. The original cover moved around and vibrated with the bike so when I fitted the new cover in I made it a tight fit. Here it is:

Here you can see the slack in the original cover:

Here is my new cover fitted tightly to the case so it won't vibrate around:
You will need to cut out the indexes in the new cover you get to fit the three keys in the casing. This is just a matter of a little file work:
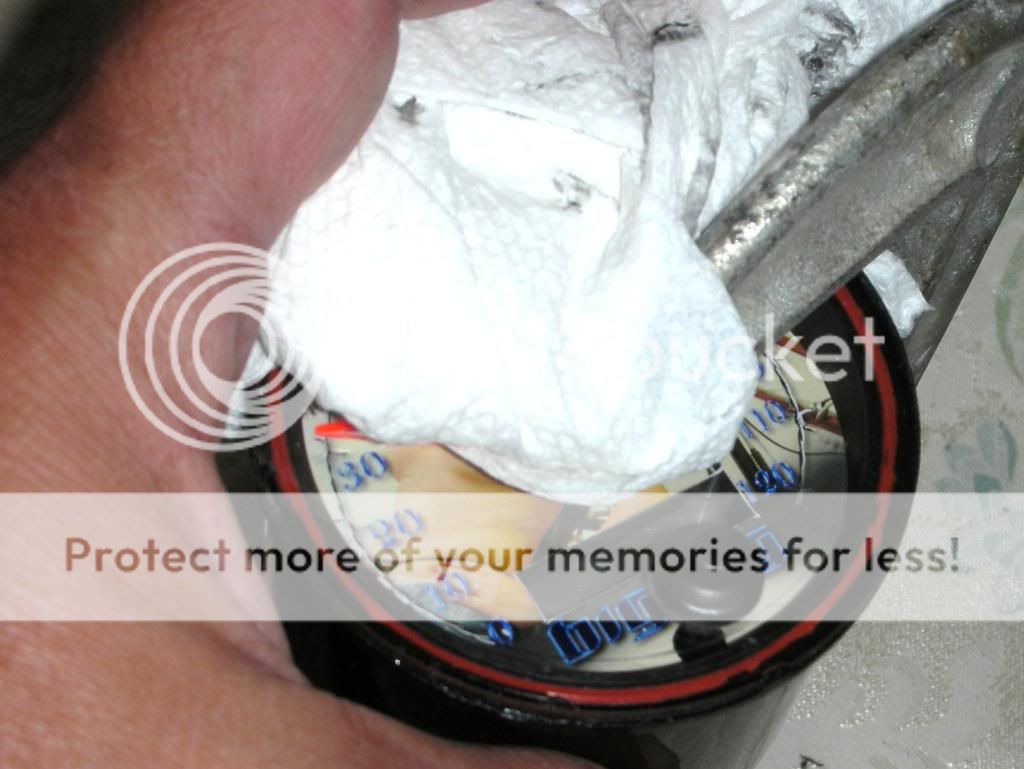
Then it's time for re-assembly. I installed a Desiccant package inside the case but on the backside not on the front side where it would interfer with the needle movement"

Then I fitted the control board to the case and then put in the new face:


Next was to clean up the screen cover from the glue I broke into and reseal it for a tight fit:

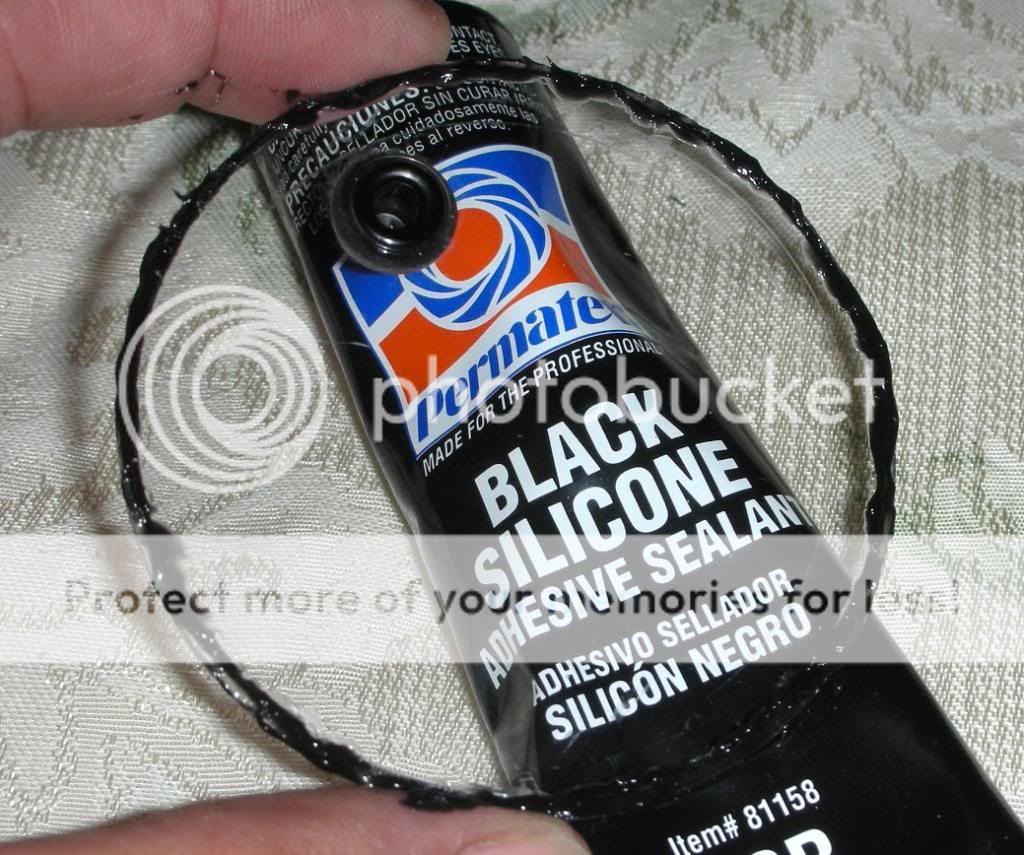
Then with a clamp I pressed the cover back on:

When it's all done it will look as good as new but with your own personal face.
About the desiccant package. I heated it in the oven at 200 degrees to dry it out prior to putting the speedo back together.
Another thing to do is ensure the three wires are solidly soldered to the control board. If not then you can re-solder them on.
Not an easy install but a good one to personalize your speedometer.
Enjoy


Doing this means I will never get another speedometer replaced under warranty from the factory and you should know that before you do this modification.
It's been posted here earlier about different faces for your speedo. These faces come from "Webslinger" and he can do about anything you want including your own personal picture. It's only $30 bucks so not that expensive of a mod but can be as personal as you want.
I had him make me a pic of Glenda on the bike with her bikini top hanging off the handlebars. It came out great and this is the install.
Warning now!!! This will ax your warranty so only do it if you are sure you want to and are able to handle it!
First off you need to remove your speedo from the handlebar mount. I didn't include that as all of you can do that yourself.
After you have the speedo removed you can then do the dis-assembly.
Here is the speedo casing. Mine is "plastic but some of you may have the metal casing:
You will need to first pry open the bevel one the beauty ring to open up the casing. I used a small screw driver to pry open the bevel part of the ring to slip over the case lip.
Here is the case lip you have to get over:
Once you get the beveled ring off then you need to separate the Plexiglas screen from the casing. It's sealed and glued on so I used my knife and tapped a back of the blade as I opened up the cover working around the casing. It does make a mess but it will be hidden when you get it all back together.
After you open it up you will need to let the slack out of the wires so unscrew the plastic nut on the back and this will allow the wires to relax.
There is a sealed nut inside and you want to ensure you get a tight seal when you put it all back together.
It will come out in pieces but each piece is indexed by ribs in the casing. They are in the shape of a "peace sign". Easy to put back together as it's all indexed.
Here it is all removed. I was worried about the speedo needle but it's not indexed so when it is powered up it will reset itself to zero again so no worries on how it goes back together.
The Plexiglas cover is glued on and when you separate it it has a bunch of residue on it so I cleaned it up with my knife blade so that when I re-glued it back on it would give me a tight seal:
Next thing to do is replace the face with the one you ordered. It's over sized so you will need to trim it down. I used some scissors and a file to achieve a tight fit in the casing.
A note here. The original cover moved around and vibrated with the bike so when I fitted the new cover in I made it a tight fit. Here it is:
Here you can see the slack in the original cover:
Here is my new cover fitted tightly to the case so it won't vibrate around:
You will need to cut out the indexes in the new cover you get to fit the three keys in the casing. This is just a matter of a little file work:
Then it's time for re-assembly. I installed a Desiccant package inside the case but on the backside not on the front side where it would interfer with the needle movement"
Then I fitted the control board to the case and then put in the new face:
Next was to clean up the screen cover from the glue I broke into and reseal it for a tight fit:
Then with a clamp I pressed the cover back on:
When it's all done it will look as good as new but with your own personal face.
About the desiccant package. I heated it in the oven at 200 degrees to dry it out prior to putting the speedo back together.
Another thing to do is ensure the three wires are solidly soldered to the control board. If not then you can re-solder them on.
Not an easy install but a good one to personalize your speedometer.
Enjoy
Last edited:

